OEV262H
5. Setting
5.3 Adjustment Using the Menus
29
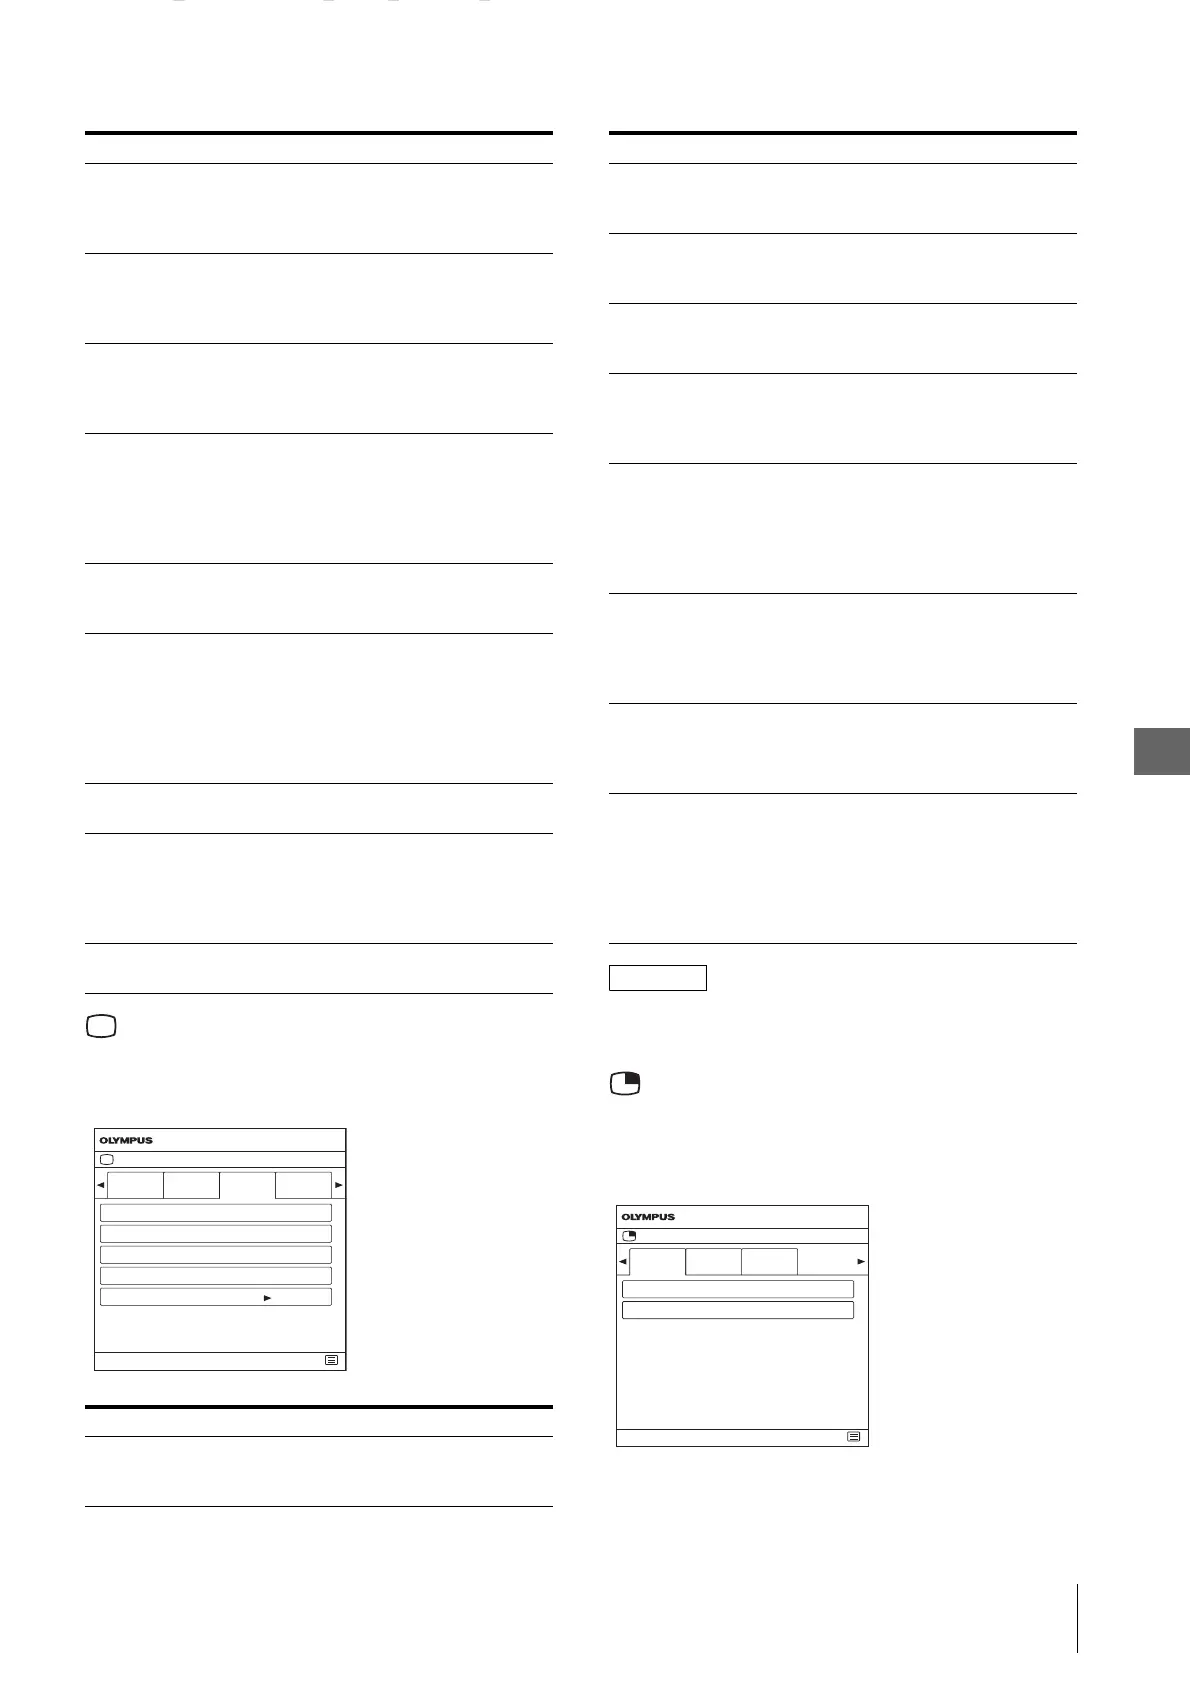
Screen Control menu
The Screen Control menu is used to set the image
display setting for each input.
NOTE
If the APA operation does not finish correctly depending
on the input signal, adjust “Dot Phase.”
PIP/POP menu
The PIP/POP menu is used to set the display mode for
the multi-image display and for each input.
Example “Clipping Size” menu
Mono Sets the display to a monochrome
picture. Set to “On” for a
monochrome picture, set to “Off”
for a normal (chromatic) picture.
Sharpness H Adjusts the horizontal sharpness.
The higher the setting, the sharper
the picture. The lower the setting,
the softer the picture.
Sharpness V Adjusts the vertical sharpness. The
higher the setting, the sharper the
picture. The lower the setting, the
softer the picture.
RGB Range Sets the RGB signal range. Select
from among “Auto,” “Limited,”
“Full.” If you set to “Auto,” this
item is set to “Limited” when
inputting video signal, and “Full”
when inputting PC signals.
RGB/YPbPr Sets the input signal of the HD15
connector. Select from among
“RGB,” “YPbPr,” “X-ray.”
Sync Detect Sets detection of the sync signal of
the input signal. Select from among
“Auto,” “Internal,” “External.” If
you set to “Auto,” internal
synchronization has priority. If
there is no internal synchronization,
“External” is set.
ACC Sets the ACC (Auto Color Control)
circuit to “On” or “Off.”
CTI Sets the CTI (Chroma Transient
Improvement) circuit to “On” or
“Off.” When a low color resolution
signal is input, a crisp image can be
displayed.
NTSC Setup Selects the NTSC setup level from
among “0%,” “7.5%.”
Submenu Setting
HD Scan Size Sets the scan size for the HD signal
display. Select from among “Off,”
“Mode2,” “Mode3.”
Submenu Setting
Screen Control
SDI 1 SDI 2 DVI 1 DVI 2
HD Scan Size Off
OEV262H
SD Scan Size Off
Flip Pattern Off
SD Aspect 4:3
APA
End
SD Scan Size Sets the scan size for the SD signal
display. Select from among “Off,”
“Mode1.”
Flip Pattern Sets the flip pattern of the display.
Select from among “Off,”
“Rotation,” “Mirror.”
SD Aspect Sets the aspect ratio of the SD
signal display. Select from among
“4:3,” “16:9.”
APA Select “On” to adjust the picture
automatically to maximum clarity
when an analog PC signal is
displayed.
Shift H Adjusts the horizontal position of
the picture. A higher setting moves
the picture to the right, and a lower
setting moves the picture to the left
when an analog PC signal is
displayed.
Shift V Adjusts the vertical position of the
picture. A higher setting moves the
picture up, and a lower setting
moves the picture down when an
analog PC signal is displayed.
Dot Phase Adjusts the dot phase. Adjust the
picture further for a finer picture
after APA is adjusted when an
analog PC signal is displayed.
Dot Pitch Adjusts the horizontal size of the
picture with the left side of the
picture fixed. The higher the
setting, the wider the picture. The
lower the setting, the narrower the
picture when an analog PC signal is
displayed.
Submenu Setting
PIP/POP
Clipping
Size
Sub Screen
Position
End
Port A Normal
Pattern
Skip
OEV262H
Port B Normal
 Loading...