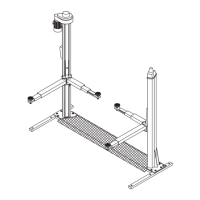
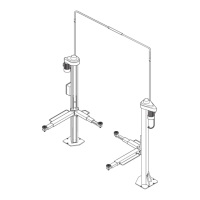
Fig.43-Abb.43
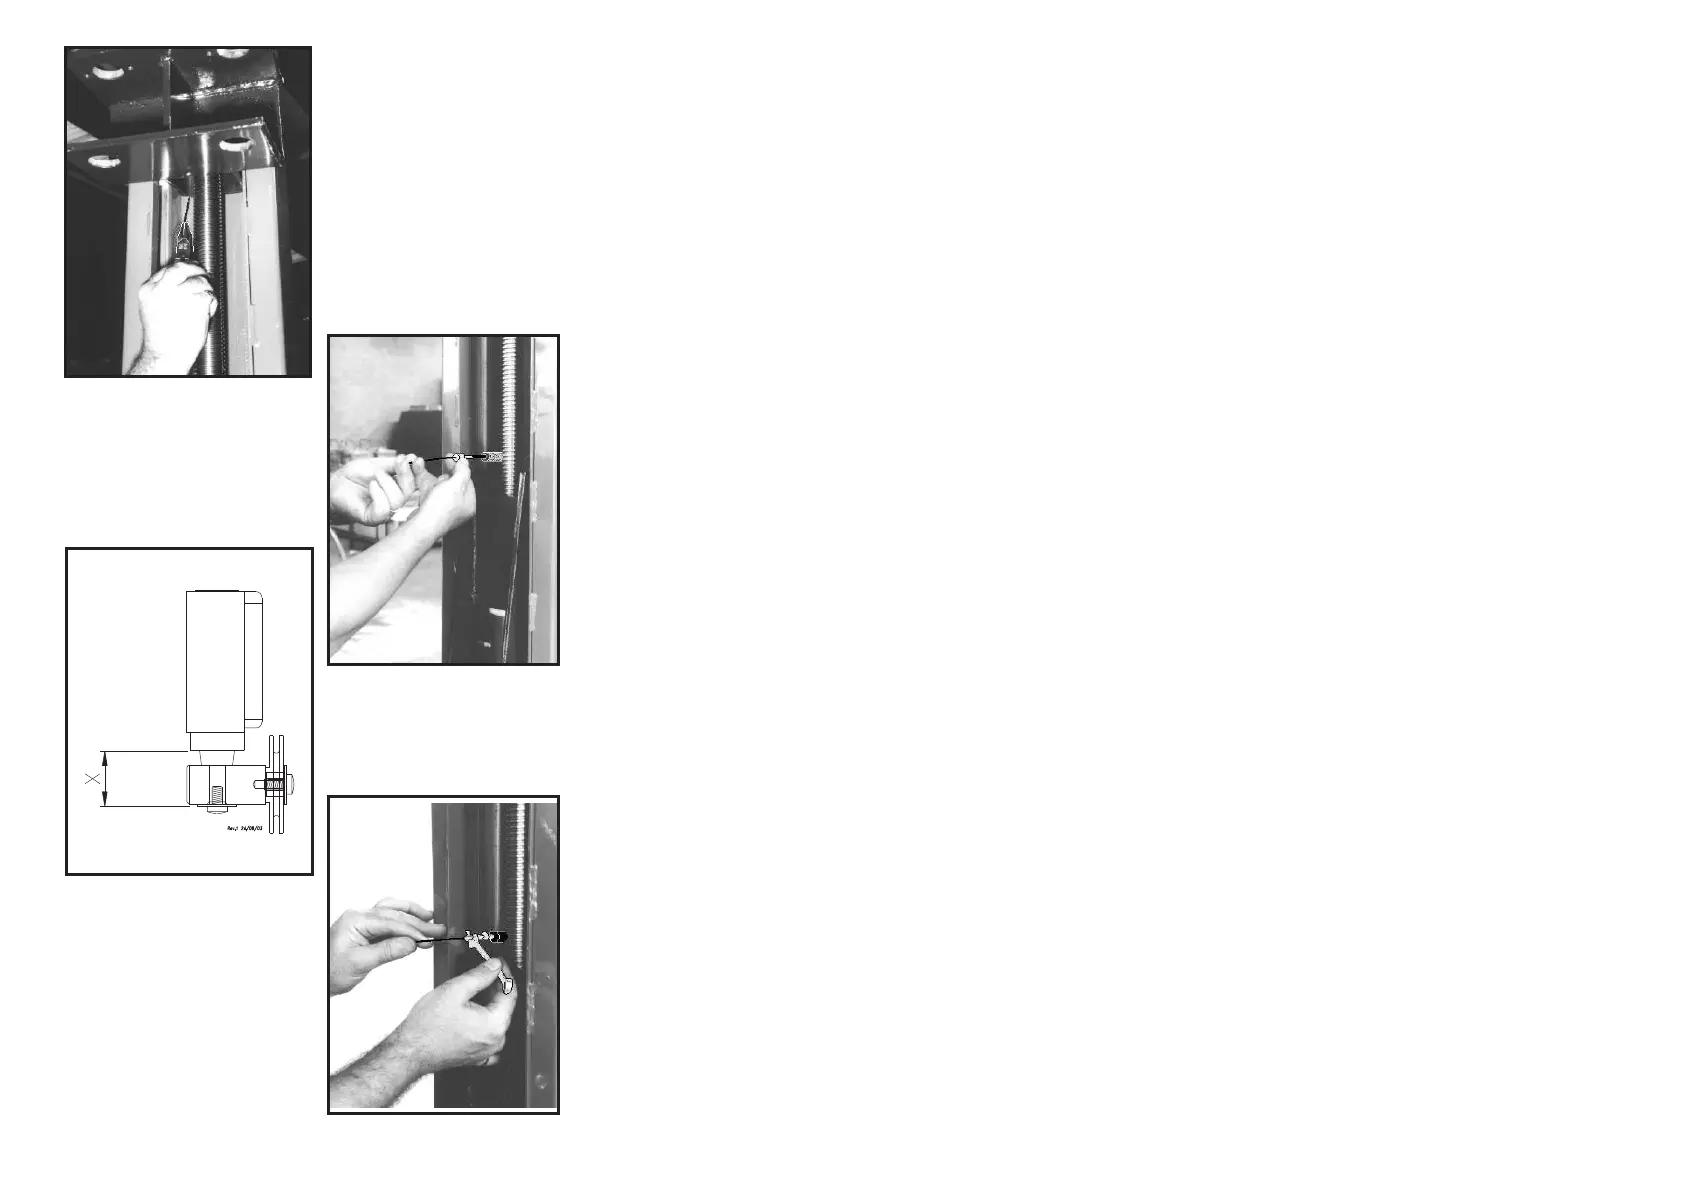
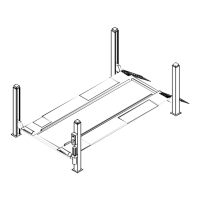
Fig.44-Abb.44
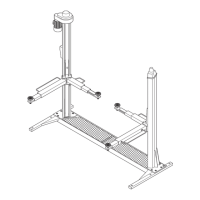
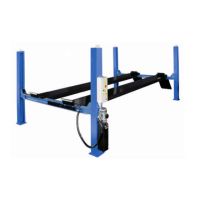
Fig.45-Abb.45
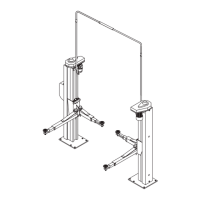
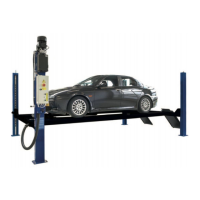
Fig.46-Abb.46
5)Saliredinuovofinoallapartebassadelcarrelloedinserireilcavo,
conl’aiutodiunapinza,neltubopostoallabasedelcarrello(Fig.43);il
cavodeveusciredicirca10cmdaltubonellapartealtadelcarrello.
6)Infilarenelcavo,lavitediregistroedavvitarlanelforodeltuboper
unalunghezzadi20mm.(Fig.44).
7)Tirareilcavofinoacheladistanzaindicatainfigura45risultaessere
di32mm.conunatolleranzamassimadi+/-1mm.,quindifissareil
cavoconilsecondomorsetto.
Assicurarsicheladistanzaprevistadi32mm.siacorrettae,seneces
-
sario,effettuareunaregolazionefineagendosullavitediregistro
(Fig.46).
5-Passthecableupintothelowerpartofthecarriage,thenwiththe
helpofapliersinsertthecableintothetubeatthebaseofthecarriage;
approx.10cmofcablemustemergefromthetubeatthetopofthecar
-
riage(Fig.43).
6-Slidetheadjustingscrewoverthecableandscrewitintothetube
threadforatotallengthof20mm(Fig.44).
7-Pullthecableoutforalengthof32mm(Fig.45),thensecureitwith
thesecondclamp.
Checkthatthelengthof32mmiscorrect;ifnot,turntheadjusting
screwuntiltherequiredlengthisobtained(Fig.46).
42