14
2. Preparation
2.1 Installing Batteries
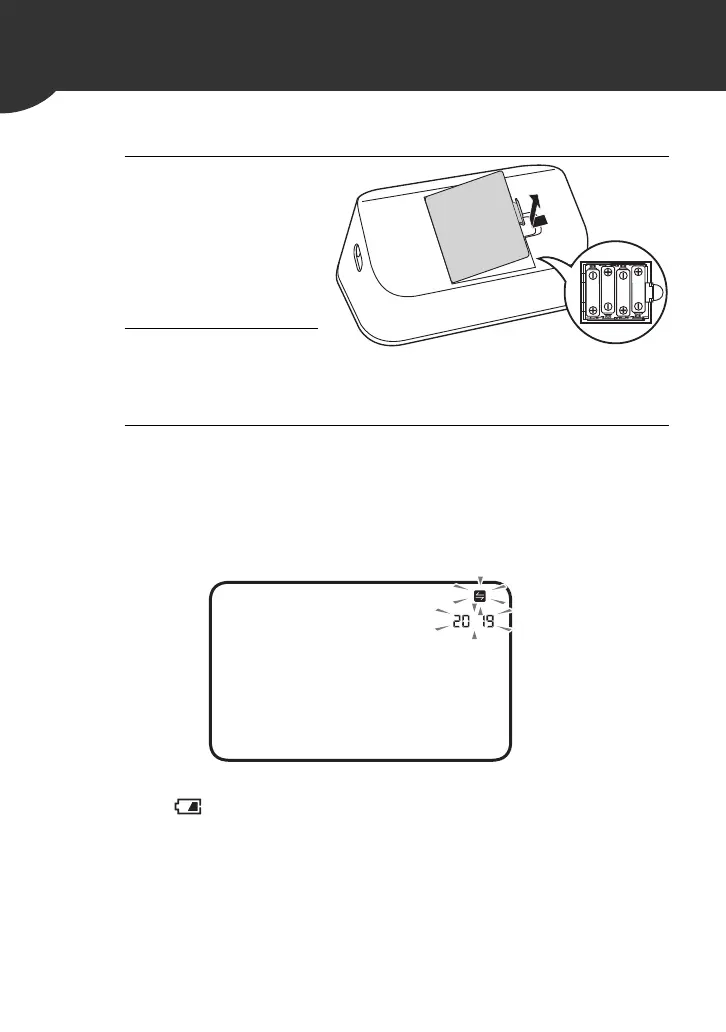
1. Push down the
hook of the
battery cover
and pull
downward.
2. Insert 4 “AA”
batteries as
indicated in the battery compartment.
3. Close the battery cover.
As soon as batteries are correctly installed, the year flashes
on the display.
Refer to sub-section 2.3 to set the date and time manually, or
refer to sub-section 4.1 to pair your monitor to set the date
and time automatically.
•When the “ ” symbol flashes on the display, it is recommended
you replace batteries.
•To replace batteries, turn your monitor off and remove all batteries.
Then replace with 4 new batteries at the same time.
•Replacing batteries will not delete previous readings.
•The supplied batteries may have a shorter life span than new
batteries.
•Disposal of used batteries should be carried out in accordance with
local regulations.

 Loading...