3-2
NJ/NX-series CPU Unit Settings
Configure the devices for connection to the network.
3-2-1
Creating a New Project
1
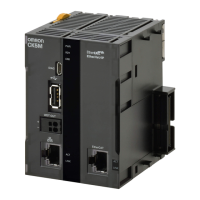
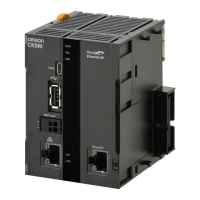
Connect the CPU Unit and a computer
with a USB cable.
2
Turn ON the power supply to the CPU
Unit.
3
Start up the Sysmac Studio.
• If a dialog box for checking access
rights is displayed at the time of start-
up, select the option for starting up.
4
In the Sysmac Studio, create a new
project.
• Project Properties
Enter the Project name and other in-
formation.
• Select Device
Select Controller as the Category.
Set the Device and Version
accord-
ing to the device to connect. Here,
select NJ501-1500 and 1.21.
Click the Create button.
3-2-2
Setting the Network
Change the IP address of the NJ/NX-series CPU Unit to one that enables connection to the PMAC.
1
In the Multiview Explorer, double-click
Built-in EtherNet/IP Port Settings un-
der
Configurations and Setup –
Controller Setup.
3 EtherNet/IP Connection Procedures
3-3
CK3E/CK3M/CK5M Series EtherNet/IP Connection Guide (O903)
3-2 NJ/NX-series CPU Unit Settings
3
3-2-1 Creating a New Project
 Loading...