32
5.3.3 2nd Mirror Alignment
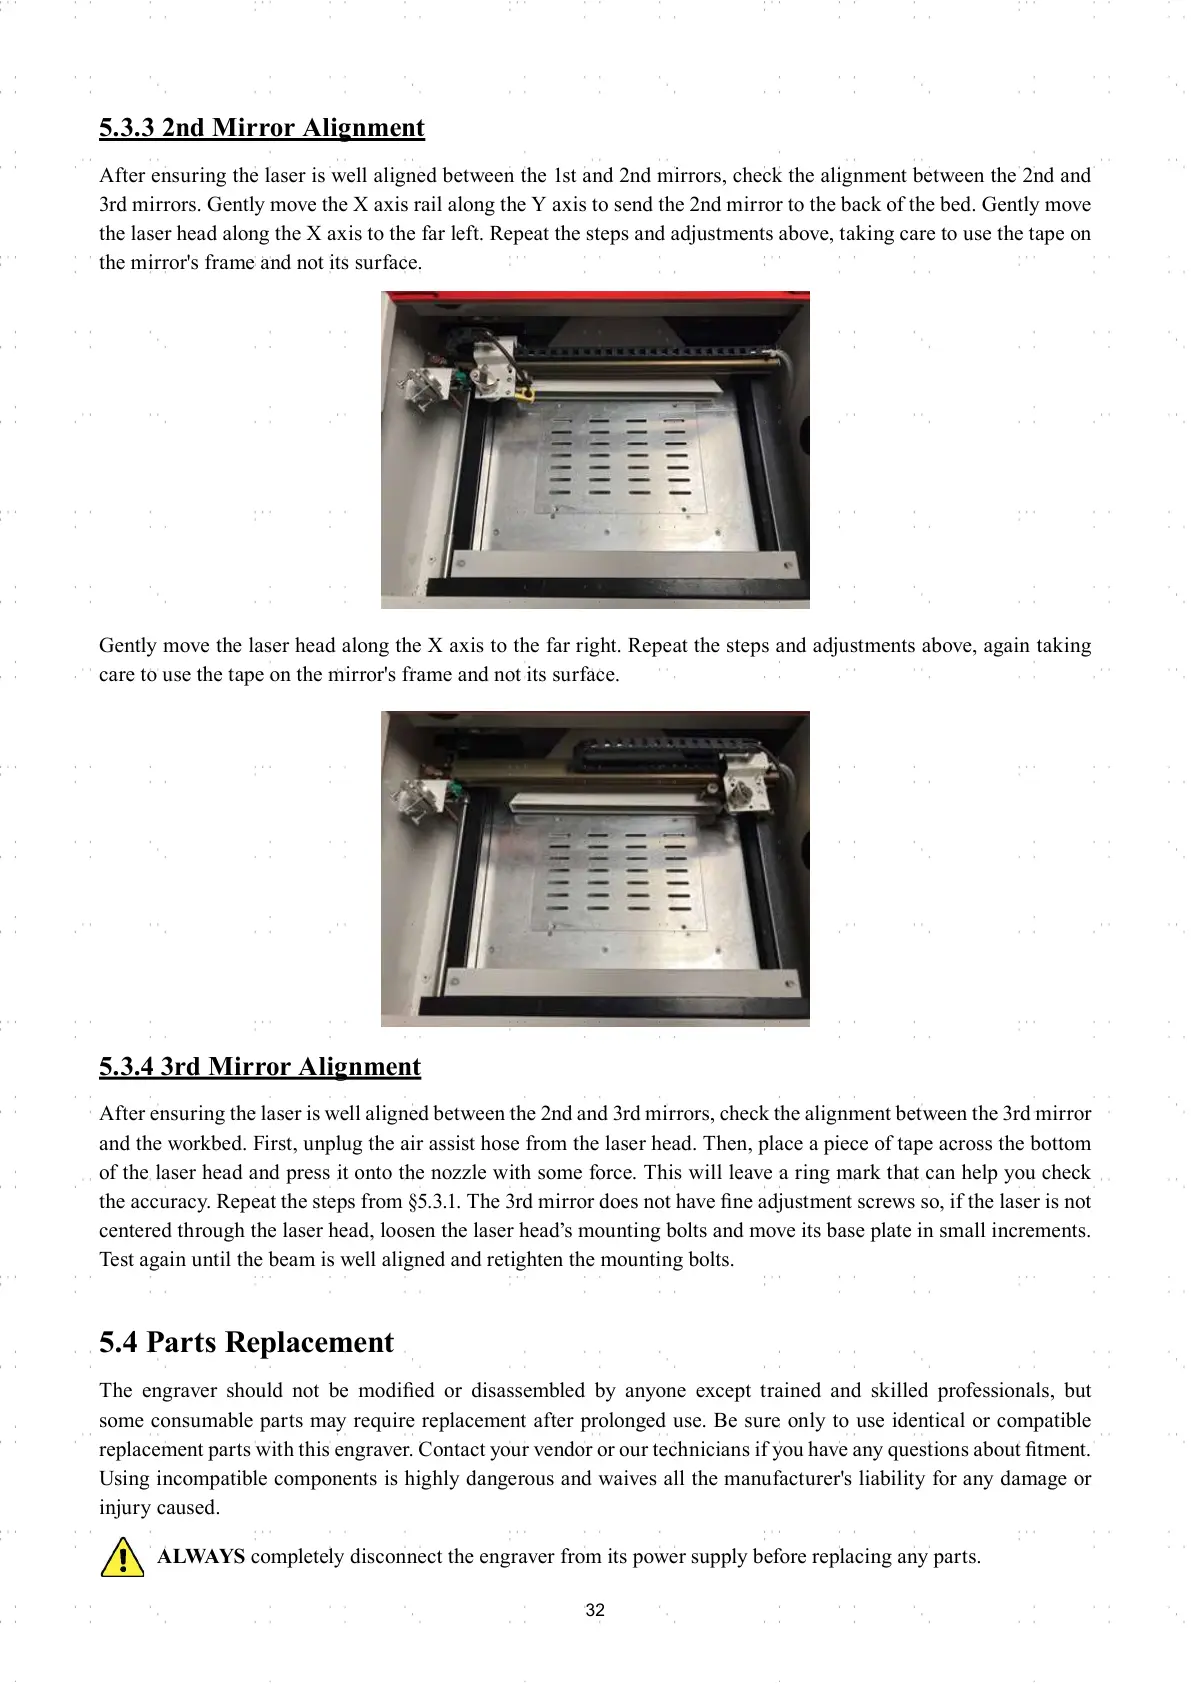
After ensuring the laser is well aligned between the 1st and 2nd mirrors, check the alignment between the 2nd and
3rd mirrors. Gently move the X axis rail along the Y axis to send the 2nd mirror to the back of the bed. Gently move
the laser head along the X axis to the far left. Repeat the steps and adjustments above, taking care to use the tape on
the mirror's frame and not its surface.
Gently move the laser head along the X axis to the far right. Repeat the steps and adjustments above, again taking
care to use the tape on the mirror's frame and not its surface.
5.3.4 3rd Mirror Alignment
After ensuring the laser is well aligned between the 2nd and 3rd mirrors, check the alignment between the 3rd mirror
and the workbed. First, unplug the air assist hose from the laser head. Then, place a piece of tape across the bottom
of the laser head and press it onto the nozzle with some force. This will leave a ring mark that can help you check
the accuracy. Repeat the steps from §5.3.1. The 3rd mirror does not have fi ne adjustment screws so, if the laser is not
centered through the laser head, loosen the laser head’s mounting bolts and move its base plate in small increments.
Test again until the beam is well aligned and retighten the mounting bolts.
5.4 Parts Replacement
The engraver should not be modifi ed or disassembled by anyone except trained and skilled professionals, but
some consumable parts may require replacement after prolonged use. Be sure only to use identical or compatible
replacement parts with this engraver. Contact your vendor or our technicians if you have any questions about fi tment.
Using incompatible components is highly dangerous and waives all the manufacturer's liability for any damage or
injury caused.
ALWAYS completely disconnect the engraver from its power supply before replacing any parts.