15
3.7 Main Power Connection
Confi rm that the labeling beside the connection socket on the machine matches your power supply. Connect one end
of the main cable to the connection socket and the other end to a grounded outlet. Under NO circumstances should
you switch on the device if the voltages do not correspond.
Fluctuation along the line should be less than 5%. If this is exceeded, the fuses will blow. They are located in the
connection socket and are accessible from the exterior. Similarly, do not connect this device to standard extension
cords or power strips. Connect it directly to a grounded outlet or use a surge protector rated over 2000J.
3.8 Air Assist Inspection
Your air assist should arrive preinstalled and correctly wired. Confi rm that pressurized air begins to blow from the
laser head when the engraver is connected to power, its emergency stop released, and its laser key turned on.
If any tubing or wiring needs to be adjusted or reconnected, turn off the machine and disconnect it from
power before making any such adjustment.
3.9 Control Computer Setup
The control computer should be connected using the provided USB cable via the port marked “USB Cable to PC”. If
you choose to use a longer cable, do not use one longer than 15 feet (4.5 m) to avoid possible interference on the line.
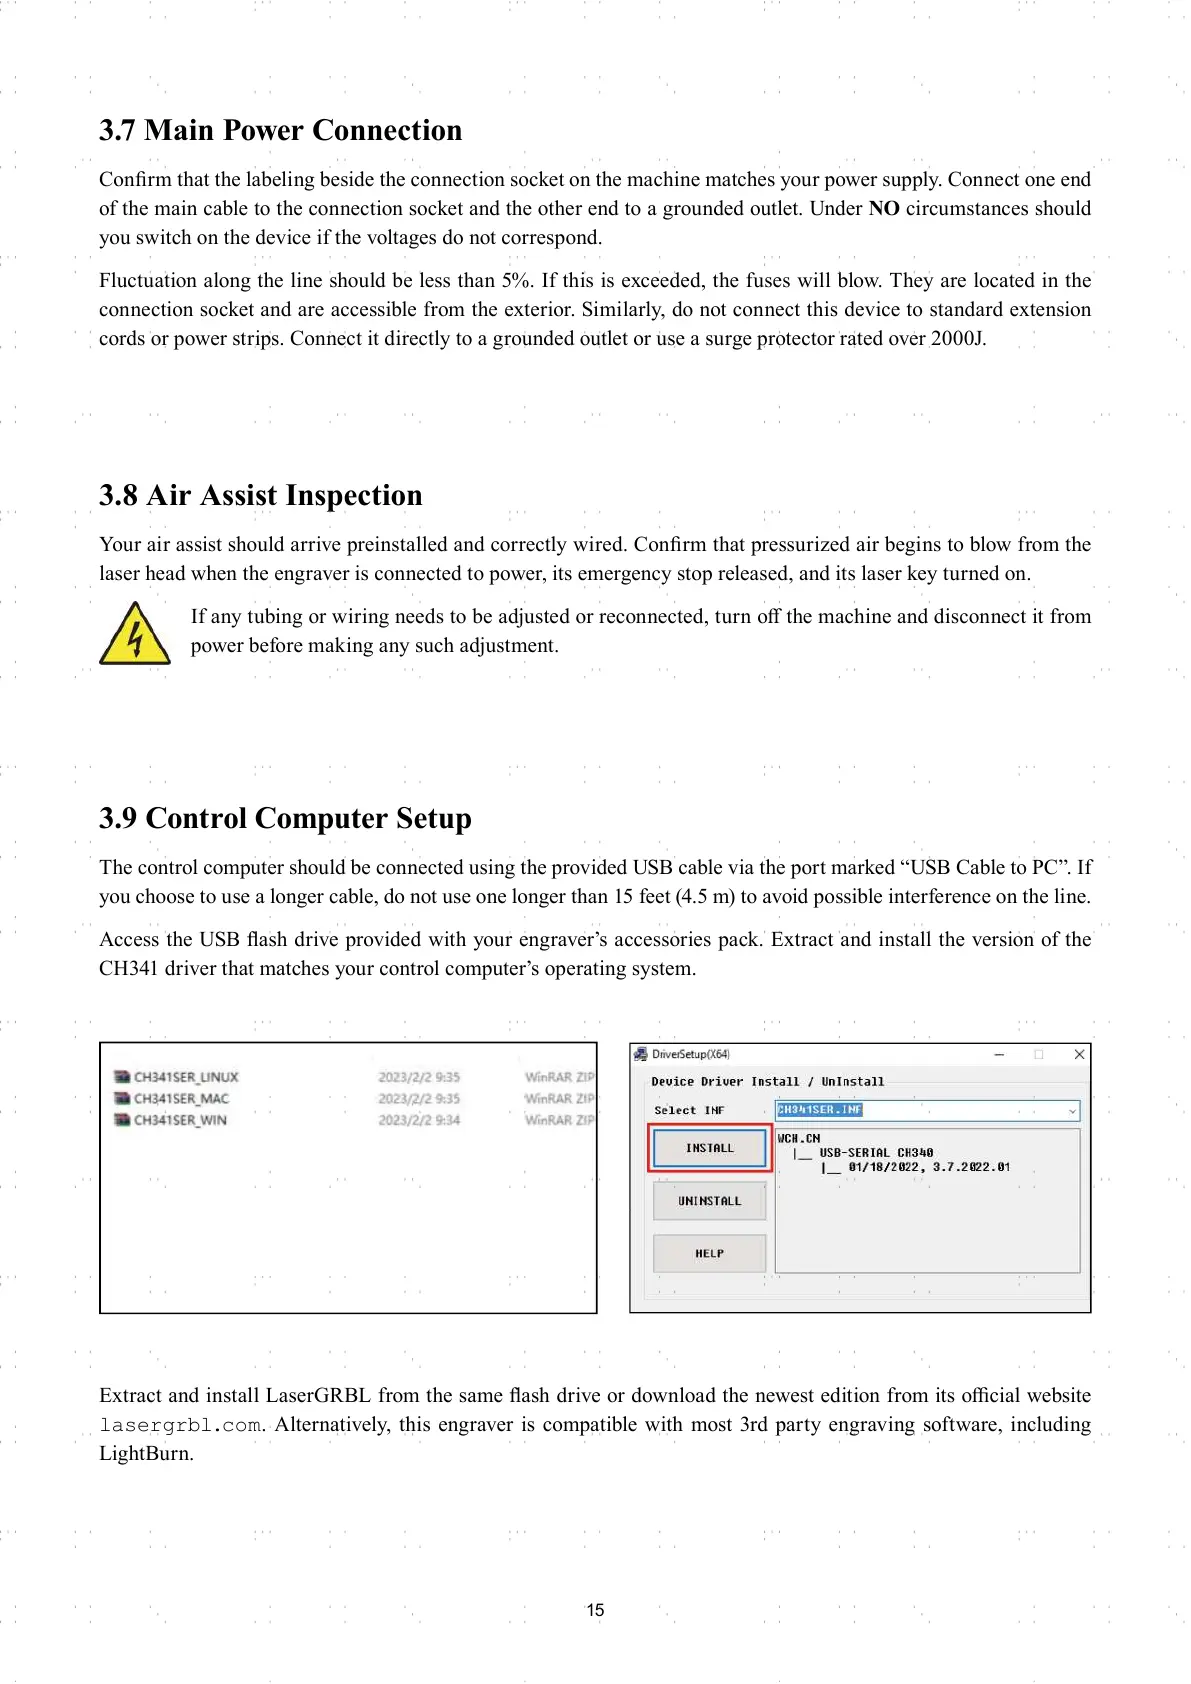
Access the USB fl ash drive provided with your engraverʼs accessories pack. Extract and install the version of the
CH341 driver that matches your control computerʼs operating system.
Extract and install LaserGRBL from the same fl ash drive or download the newest edition from its offi cial website
lasergrbl.com. Alternatively, this engraver is compatible with most 3rd party engraving software, including
LightBurn.