Do you have a question about the Onkyo K-611 and is the answer not in the manual?
Optimized motors for high performance and reliability, reducing reel motion irregularities.
Separate heads for recording/playback and PC-OCC windings for wide frequency response and high purity.
4-digit counter showing elapsed or remaining time in minutes and seconds for easy dubbing.
Switchable filter for proper Dolby operation during FM stereo recording and optimal sound.
Enhances headroom during recording by compensating for bias fluctuations.
Smooth tape loading mechanism controllable via remote or front panel.
Automatically detects and sets bias and equalization for different tape types.
Function to automatically insert blank spaces or mute during recording.
Allows skipping to the next or previous track based on blank tape sections.
Synchronizes recording start with a compatible CD player.
Important warnings regarding electric shock, rain, moisture, and servicing.
Read and retain instructions, heed warnings, follow all operating guidelines, and refer servicing to qualified personnel.
Avoid water, moisture, direct sunlight, heat, and ensure proper ventilation.
Properly connect polarized plugs and protect power cords from damage.
Clean only as recommended and take care to prevent objects/liquids from entering the unit.
Record serial number on warranty card and note copyright laws for recording.
Avoid heat, humidity, dust, vibrations, and strong magnetic fields; handle heads carefully.
Avoid C-120 tapes and endless tapes; use good quality cassettes with pressure pads.
Ensure correct voltage setting for your region and use appropriate power sources.
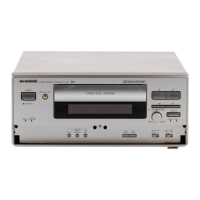
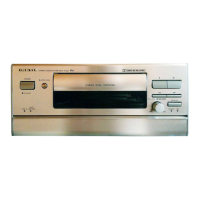
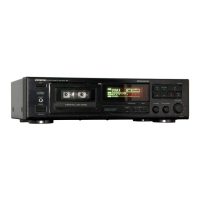
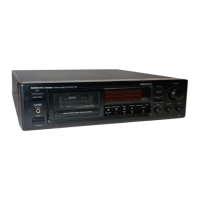
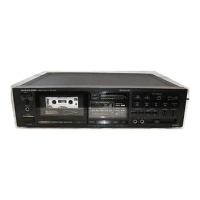
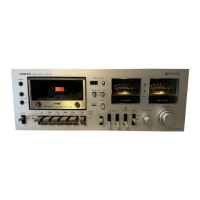
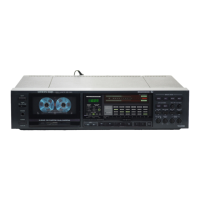
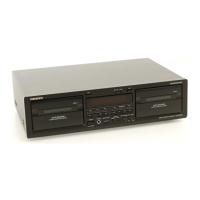
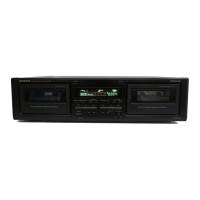
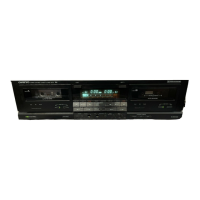
Identification and function of buttons, knobs, and indicators on the front panel.
Explanation of the symbols and readouts on the deck's display panel.
Details on input/output jacks, voltage selector, remote control jacks, and power outlets.
Instructions for connecting the tape deck's LINE IN/OUT jacks to an amplifier.
Information on using the deck's unswitched AC outlets for other components.
Steps for plugging in the unit and turning the power on via the POWER button.
Procedure for inserting a cassette and starting playback, including Auto Play function.
How the deck automatically detects and sets bias for different tape types.
Instructions on how to stop the tape transport.
How to skip ahead to the next recorded track using the skip button.
How to skip back to the start of the current or previous track.
Steps to set tape size, mode, reset, and start playback/recording for elapsed time.
How to check or correct the tape size setting after playback or recording has begun.
Tips for getting the most accurate remaining time by checking near the end of the tape.
Steps for preparing and initiating a recording, including cassette insertion and source selection.
Note regarding the MPX FILTER switch for FM broadcast recording, referencing page 11.
Explanation of Dolby B and C NR systems for reducing tape hiss and improving quality.
How Dolby HX Pro compensates for bias fluctuations during recording for better performance.
Details on using the MPX FILTER switch to prevent Dolby malfunction with FM signals.
Guidance on adjusting recording level and balance for optimal sound quality.
Automated recording from a compatible CD player using the Ri mark connection.
Using AUTO SPACE to insert approximately five-second blank sections during recording.
Inserting short or long blank sections using REC/PAUSE or AUTO SPACE buttons.
Monitoring the input signal from the source component via the MONITOR button.
Monitoring the recorded signal from the tape using the MONITOR button.
Connecting to other Onkyo components with RI mark for remote control integration.
Enabling CD synchro recording by connecting compatible CD players.
Setting the unit to play at a specific time once.
Setting the unit to play at the same specific time each day.
Automatically recording radio broadcasts at preset times.
Setting the system to automatically shut off after a specified period.
How to break off tabs to protect recordings from accidental erasure.
Instructions on how to remove tape slack to prevent jamming.
Advice against using C-120 tapes and endless tapes due to risk of damage.
Guidelines for storing cassette tapes to prevent damage and data loss.
Procedure for cleaning heads, pinch rollers, and capstans to maintain sound quality.
How to demagnetize heads and metal parts to reduce noise and improve response.
Resolving problems related to power, sound, and general deck operation.
Troubleshooting tape movement, recording engagement, and audible tape issues.
Addressing problems like hoarse sound, tape hiss, distortion, and balance instability.
Resolving high frequency problems, skip function errors, and hum during playback.