56
En
If you’ve connected your Zone 2 speakers to the AV
receiver, as explained in “Connecting Your Zone 2 Speak-
ers Directly to the AV receiver” (➔ 55), you must set the
“Front High/Front Wide/Zone2” setting to “Zone2”.
Menu Speaker Setup
Note
• When “Zone2” is selected and Zone 2 turned on, the Zone 2
speakers connected to the FRONT HIGH OR FRONT WIDE
OR ZONE 2 SPEAKERS L/R terminals output sound, but the
surround back, front high or front wide speakers connected to the
SURR BACK OR FRONT HIGH OR FRONT WIDE
SPEAKERS L/R terminals do not. When “Zone2” is selected
and Zone 2 turned off, the surround back, front high or front
wide speakers output sound as normal.
• When the “Front High/Front Wide/Zone2” setting is set to
“Zone2” and the input selector of Zone 2 is selected, power con-
sumption on standby mode slightly increases.
• Powered Zone 2 cannot be used if “Speakers Type” is set to
“Bi-Amp” (➔ 41).
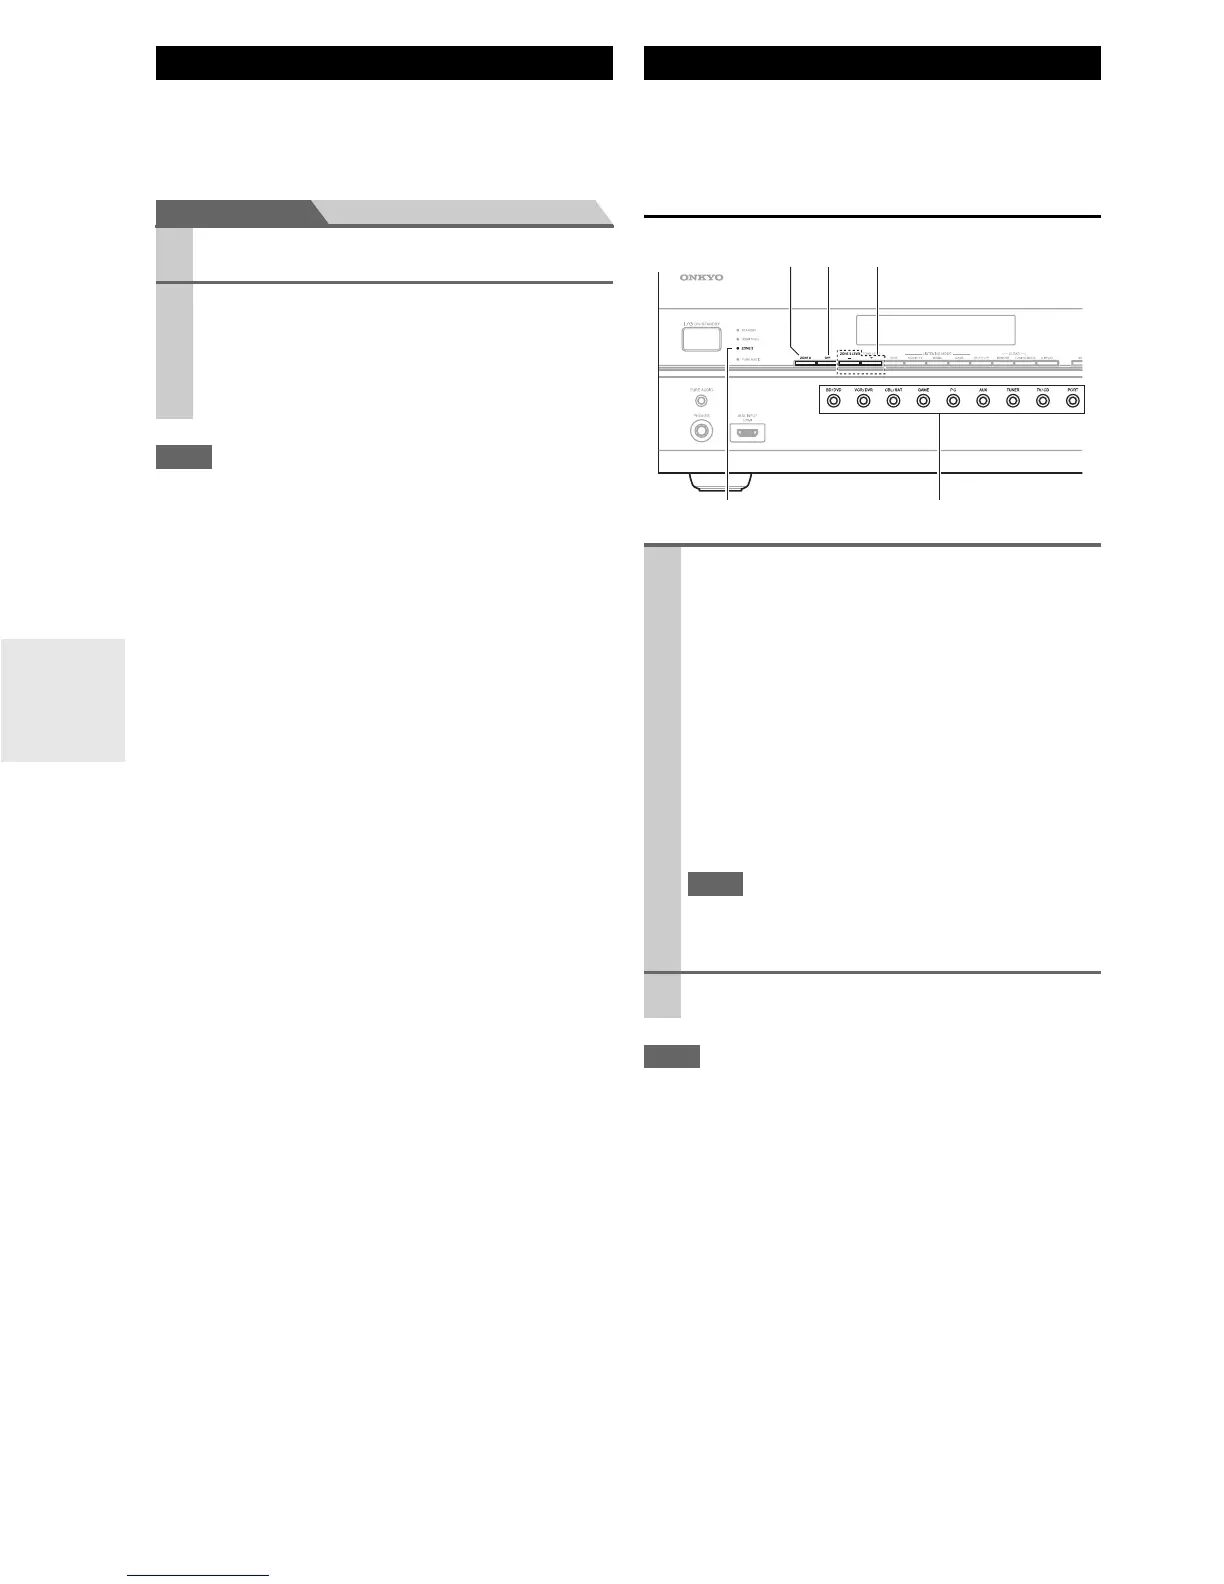
This section explains how to turn Zone 2 on and off, how
to select an input source for Zone 2, and how to adjust the
volume for Zone 2.
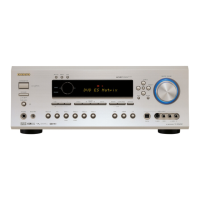
Controlling Zone 2 from the AV receiver
Note
• While Powered Zone 2 is being used, listening modes that
require surround back speakers or front high speakers or front
wide speakers (6.1/7.1), such as Dolby Digital EX, DTS-ES,
THX Select2 Cinema, Dolby Pro Logic IIz height, and
Audyssey DSX™ are unavailable.
•When the “Front High/Front Wide/Zone2” setting is set to
“Zone2” and the input selector of Zone 2 is selected, power con-
sumption on standby mode slightly increases.
Setting the Powered Zone 2
1
In the “Speaker Setup” menu, select “Speaker
Settings”, and then press ENTER.
2
Use q/w to select “Front High/Front Wide/Zone2”
and e/r to select “Zone2”.
` Zone2:
Zone 2 speakers can be used (Powered Zone 2
enabled).
Using Zone 2
1
To turn on Zone 2 and select an input source, press
ZONE 2 followed by an input selector button
within 8 seconds.
Zone 2 turns on, the ZONE 2 indicator lights.
To select AM or FM, press the TUNER input selec-
tor button repeatedly.
(North American models) You can also select SIR-
IUS.
To select the same source as that of the main room,
press ZONE 2 repeatedly until “Z2 Selector:
Source” appears on the display.
Note
• You cannot select different AM or FM radio stations for
your main room and Zone 2. The same FM/AM radio sta-
tion will be heard in each room.
2
To turn off Zone 2, press OFF.
OFF
ZONE 2
– /+
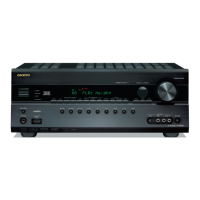
ZONE 2 indicator Input selector buttons


 To Next Page