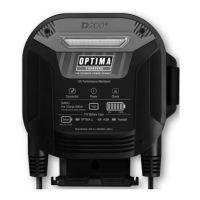
21
Quick Set Charging by Battery Type
From the battery type selector choose the BATTERY TYPE that matches the battery type descriptions
as outlined on page 15 titled: “Charging Battery Types & Approximate Charge Times.”
22
Trouble ShootingQuick Set Operations
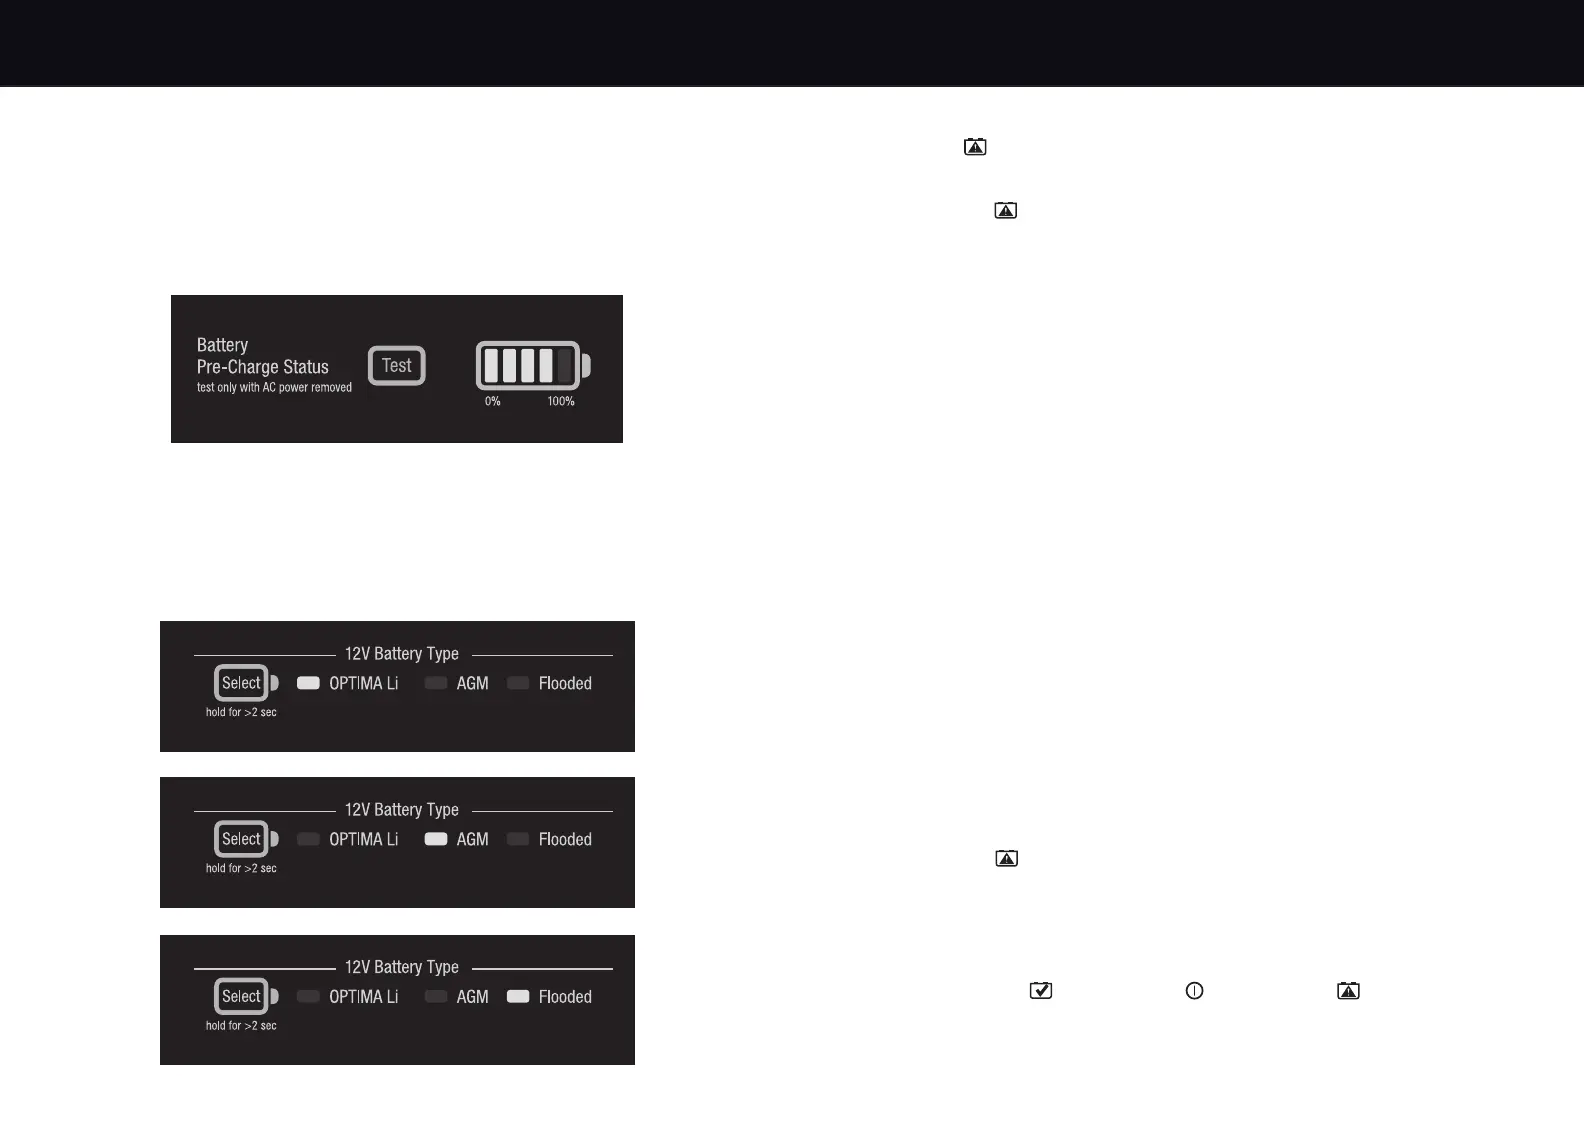
Pre-Charge Battery Status
Note: Vehicle engine and all charging systems must be off and not connected to AC.
This quick and easy feature allows you to understand your battery’s state of charge before
charging it. To use this feature, press the Pre-Charge Status button without AC present.
The Fill Gauge will provide the current state of battery in % of charge with the corresponding
battery type LED illuminated. User can change battery type in Analyze Mode following the
instructions shown in page 14.
Note: If the user did not set a battery type, this Pre-Charge Battery Status function will be disabled.
If at any time a fault is identified by the charger, the following will appear:
“Check” icon will illuminate red.
OPTIMA
®
D200+ charger will stop outputting.
If “Check” icon is illuminated solid.
1. Reverse Polarity - Wiring Fault
Check connection polarity. Verify RED POSITIVE (POS, P, +) cable clamp or ring terminal
is connected to RED POSITIVE (POS, P, +) post.
2. Check Connection or Battery < 2.5V
Verify both leads from the charger are connected to the battery.
Verify Trailer Pin Style Connector is securely and tightly plugged in.
Battery voltage may be too low to accept a charge. Return battery to dealer for testing.
If battery is under 2.5VDC, another battery may be used in parallel to start the charging
process, then be removed. Verify auxiliary ring terminal connector is securely plugged into
the charger.
3. Out of Range - Battery > 15.5V
Battery voltage is high. Verify there is only one 12V battery connected to the charger.
Verify there is not another charger or maintainer source that is connected or on.
Remove if either is present.
Ensure engine is off. Have a dealer check your battery and/or charging system.
4. Charger Temperature Out-of-Range
Ambient temperature and/or unit temperature are too high/low for the charger to operate
at this time. Operating temperature is -20°C to 50°C
Charger will automatically resume charging when appropriate.
If recharging a deeply discharged battery, it is not uncommon for the charger to enter the
hi-temp fault condition in order to protect the charger and battery. Charger will automatically
resume charging in 3 to 15 minutes depending on the ambient temperature and condition
of the battery.
Do not cover or enclose unit - Use either by hanging with the wall organizer bracket or
on a flat surface with the kickstand.
If “Check” icon is pulsing.
1. Unable to Charge - Check Battery
Restart charger once. Do not repeat more than once. If fails again, return battery to
dealer for testing.
Re-verify battery is a 12 Volt battery versus a 6 Volt battery or other unsupported voltage.
If “Connected” icon + “Power” icon + “Check” icon are all blinking.
1. Internal failure - Contact Customer Service
Contact Customer Service Support immediately. No further trouble shooting is expected
from end users. There are no serviceable or replaceable items inside the charger.