17
Step 3:
Initialize the robot by pressing the “F4” button on the pendant. You will
notice the text right above the “F4” key indicating “INIT” on the screen.
e text above each of the “F” keys will always display their function.
Step 4:
Make sure the pendant is set in the ‘Teaching Mode. e
light under the “F2” button should be illuminated. If it is not
illuminated, press the “MODE” button, then use the cursor
arrows to highlight “Teaching Mode”. Once highlighted, press
the “ENTR” button.
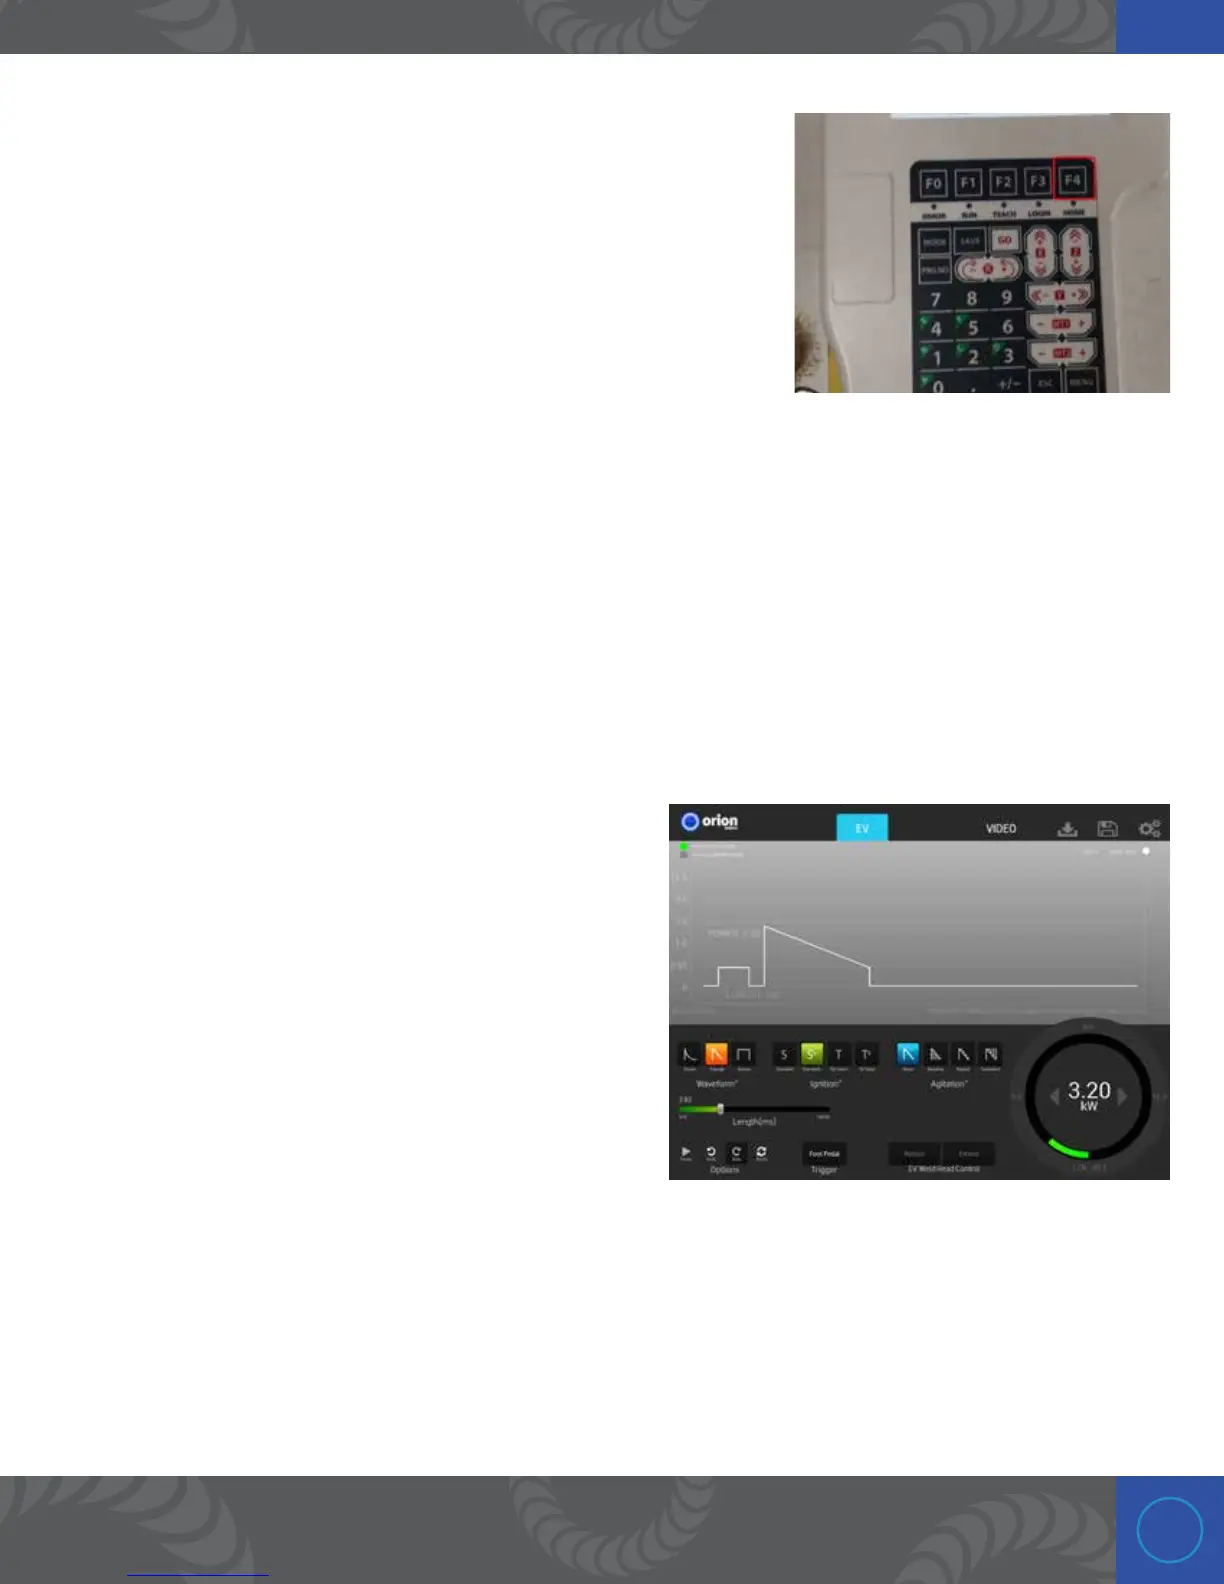
Step 5:
2. e next few steps will focus on setting up the welding
parameters. First, choose the Triangle waveform.
3. Set the ignition to Standard+.
4. Set the agitation to None.
5. Set the power between 2-4kW. (is is only for setup
and training purposes. Normal power settings are
between 8-12kW).
6. Set the length between 30-40ms.
7. Press Play button to put welder in play. e Weld Ready
indicator dot will turn green.

 Loading...


