20
Step 13:
e screen should now show a “P2” in the top right corner. e robot is still at the “P1” coordinates. To
move to the next weld spot, make sure the “JOG” state is selected by pressing “F2.”
Step 14:
To move the robot to the next point:
1. e first movement needs to be to raise the weld head by pressing the Z
(-) button. is will raise the weld head away from the fixture and allow the
weld head to move in the X and Y without causing any damage. After the weld
head is raised, move the XYZ coordinates to
the next weld location. Remember that after the X and Y are set, the Z should
be lowered until the force indicator is set between the 3rd-4th large tick
marks.
2. Remember that you can use the “SHIFT” button to increase the movement speed of the axes
movements.
Step 15:
Once the nozzle cone is in place on the second position, press the “ENTR” button to submit position.
Step 16:
Chose “Weld Point” as your point type and press “ENTR.”
Step 17:
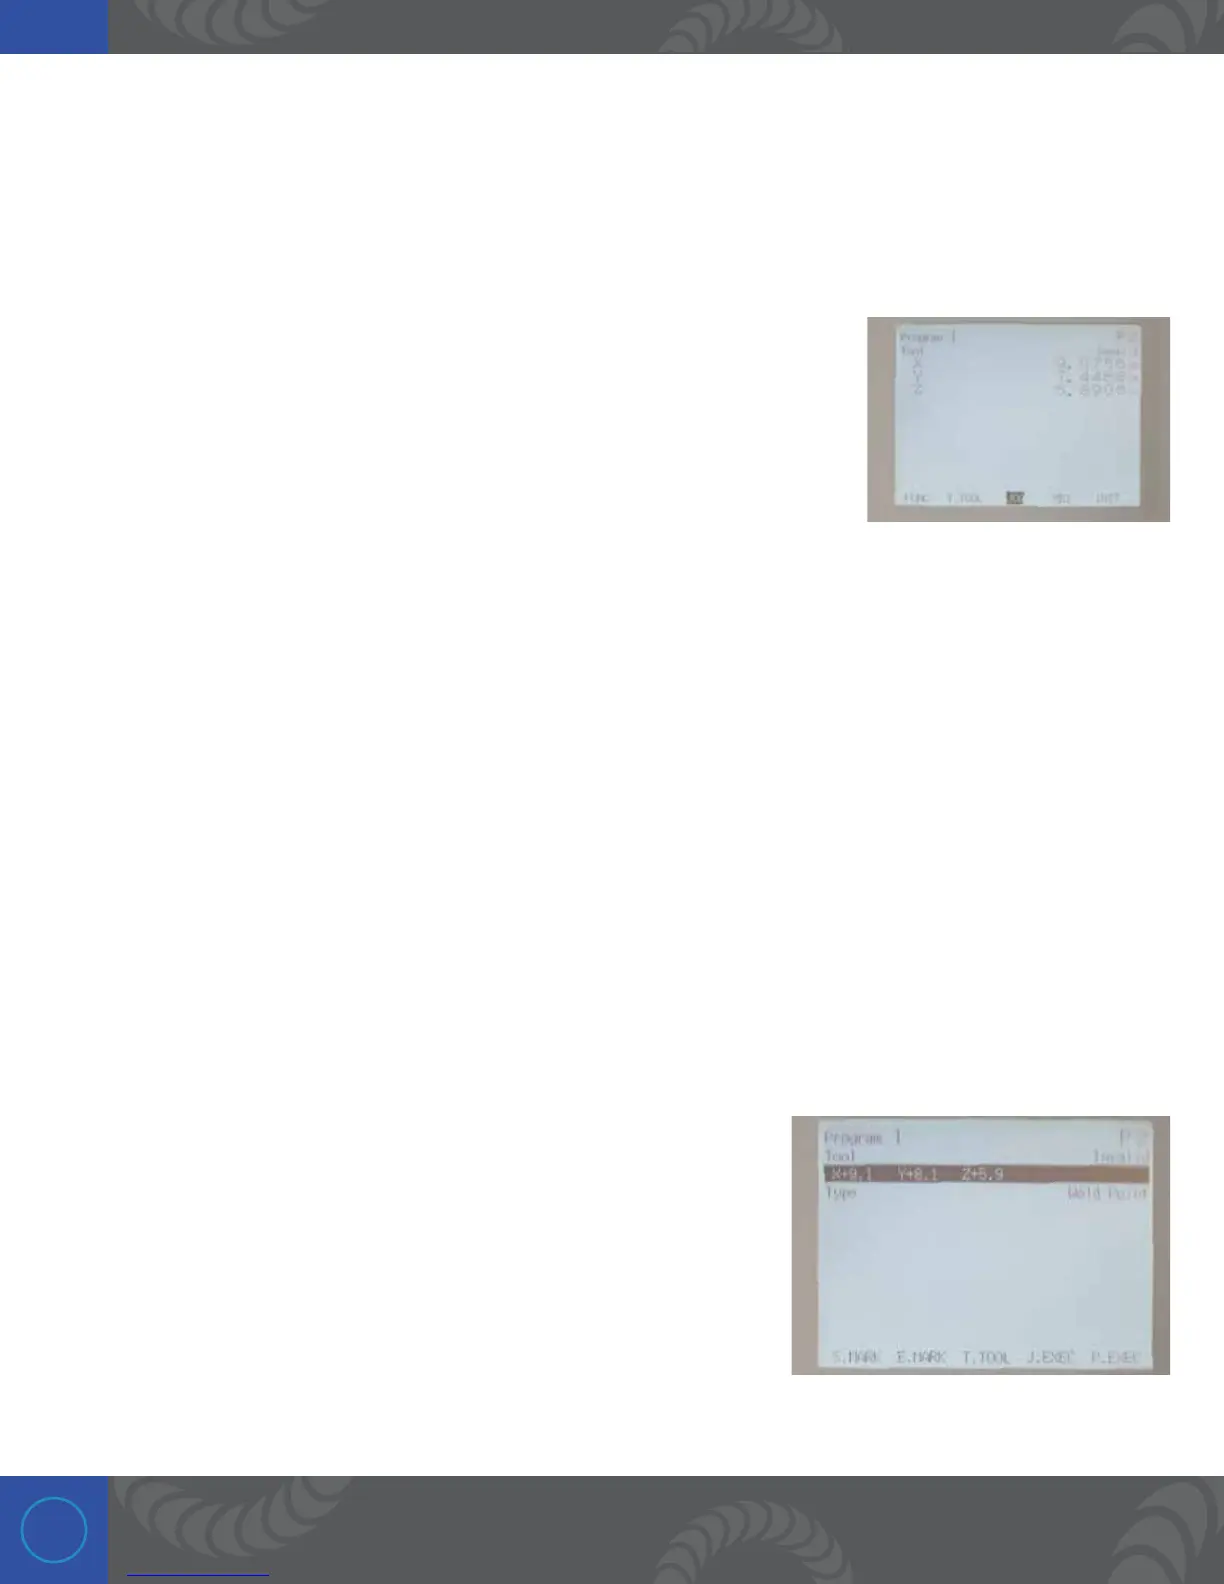
e screen should now display “P3” in the top right corner. Continue
setting the XYZ coordinates of any additional welds you wish to make
by using the same steps as above. For this training purpose we will
stop at 2 weld points.

 Loading...


