21
Step 18:
e next step is to press the “MENU” button to make additional
changes.
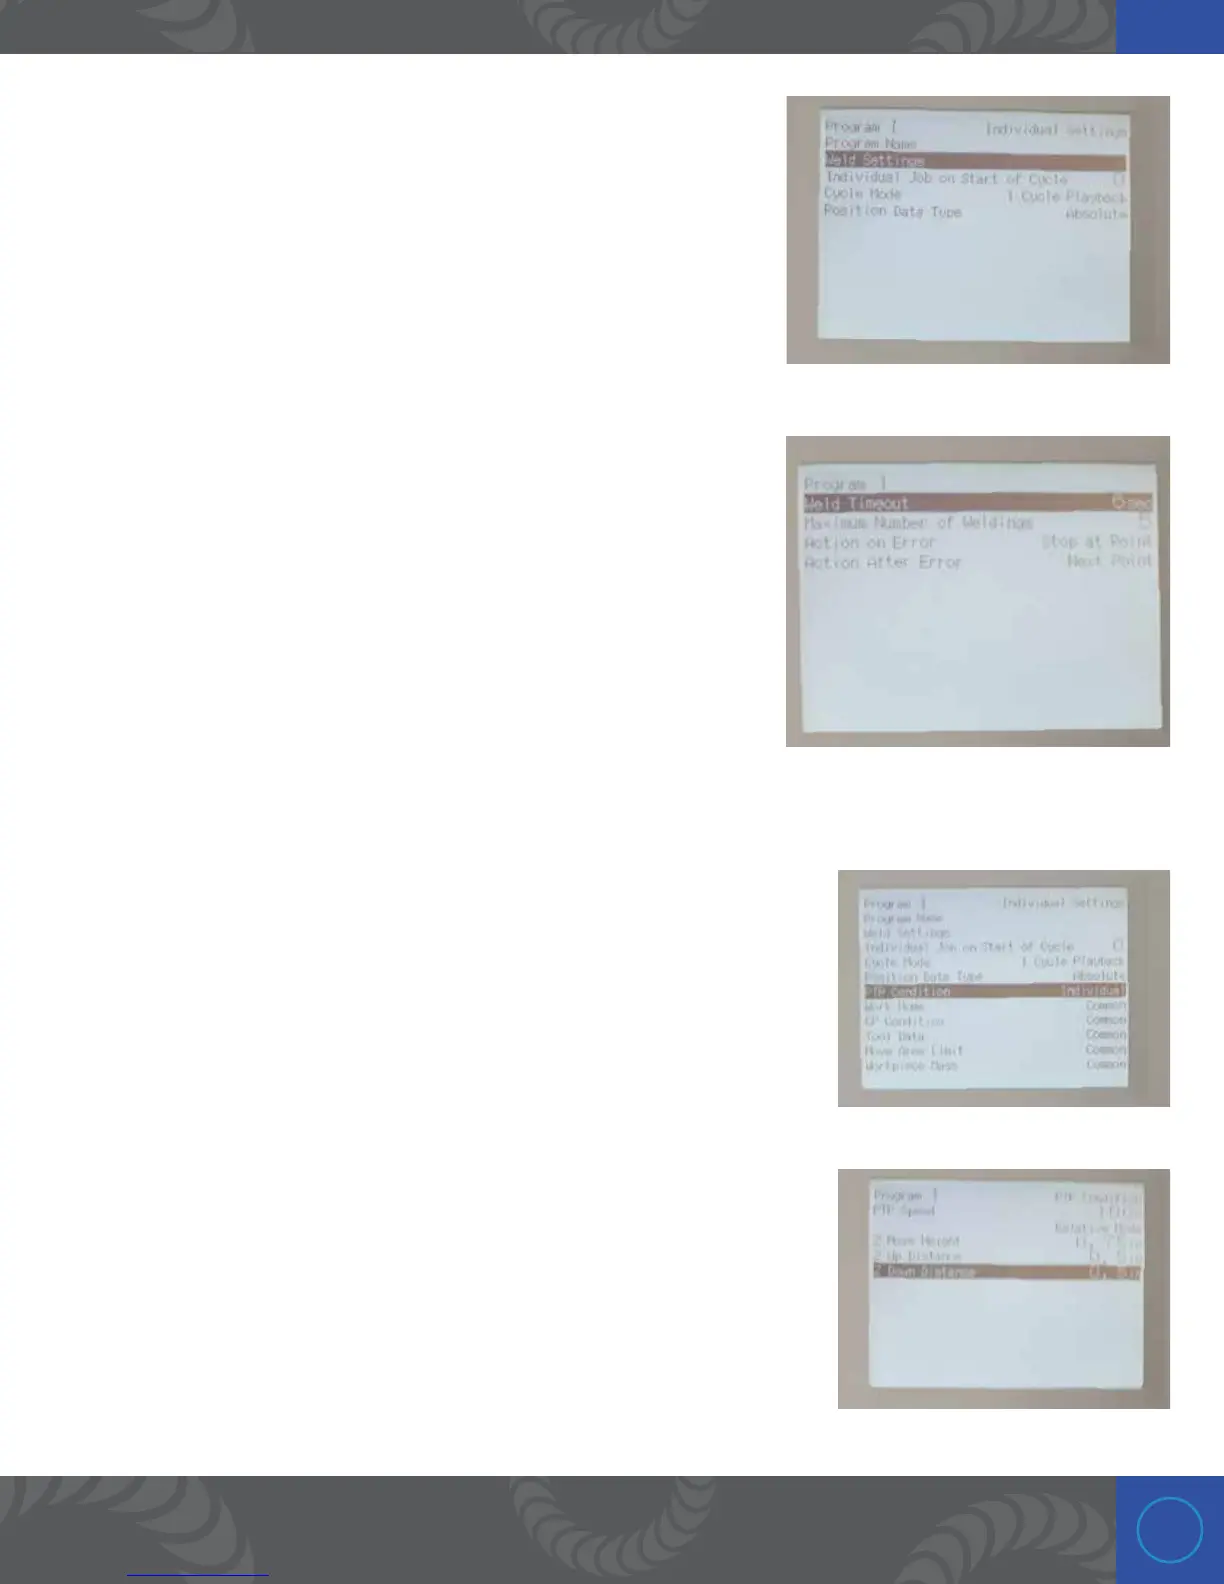
Choose “Individual Program Settings” and press “ENTR.”
Choose “Weld Settings” and press “ENTR” button. (Use the up/down
cursor buttons to navigate).
Step 19:
ese next settings will apply to each weld point coordinate in the
program.
1. Highlight “Weld Timeout,” press “ENTR,” press “6,” and press
“ENTR.”
2. Highlight Maximum Number of Weldings, press “ENTR,” press “5,”
and press “ENTR.”
3. Highlight “Action on Error, press “ENTR”, highlight “Stop at Point”,
press “ENTR .”
4. Highlight “Action After Error,” press “ENTR,” highlight “Next Point,” press “ENTR.”
Step 20:
Press the “ESC” button to exit the Weld Settings menu. Press “ESC” again
to exit the Individual Program Settings menu. Scroll down to “All Program
Common Settings” and press “ENTR.” Next scroll down to “PTP Condition”
and press “ENTR.”
Step 21:
Set the parameters as follows: PTP Speed = 100%. Line 2 = Relative Mode.
Z Move Height = 0.75in. Z Up Distance = 0.5in. Z Down Distance = 0.5in.
Once completed, press the “ESC” button three times until the words
“Program 1” can be seen in the top left corner of the pendant.

 Loading...


