22
Step 22:
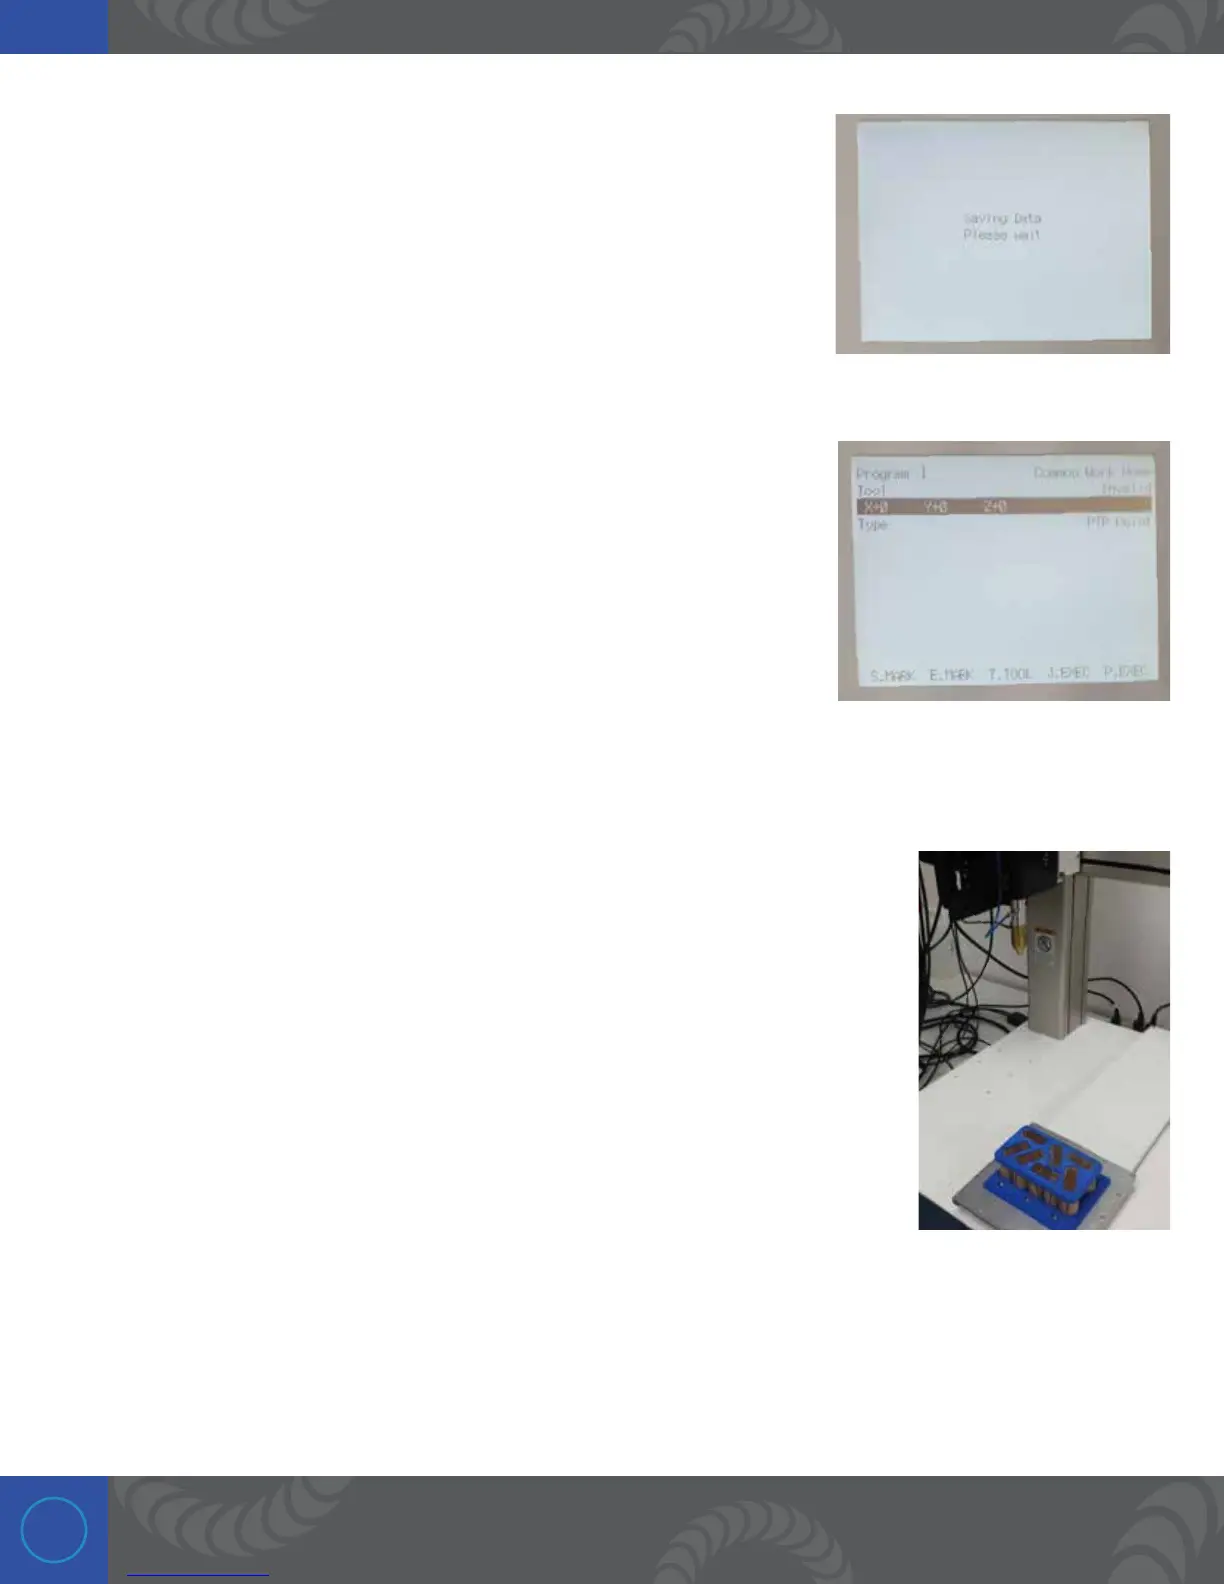
Nothing that has been done so far has been saved to memory, so press
the “SAVE” button at this point. You will see the screen display “Saving
Data.” Wait a moment and it will return to your previous screen.
Step 23:
At this point we have two weld points saved. (Possibly more if you added
additional points).
1. Press the left cursor button until the words “Common Work Home” can
be seen in the top right corner of the screen.
2. Next press the “GO” button. CAUTION: is will move the robot back to
the home position, so don’t be in the way of the robot arm.
Step 24:
e robot should look something like this, back at home position. It is now
possible to scroll through home position and each of the weld points we
previously created. To do so, use the left/right cursor buttons to select a weld
point (P1 or P2 in the top right corner). Pressing “GO” on the pendant will move the
robot to the coordinates of that weld point. Scroll right to P1 and press “GO.” is
will move the robot to the first weld point. Scroll right to P2 and press “GO.” e
robot will now move to the second weld point.

 Loading...


