5
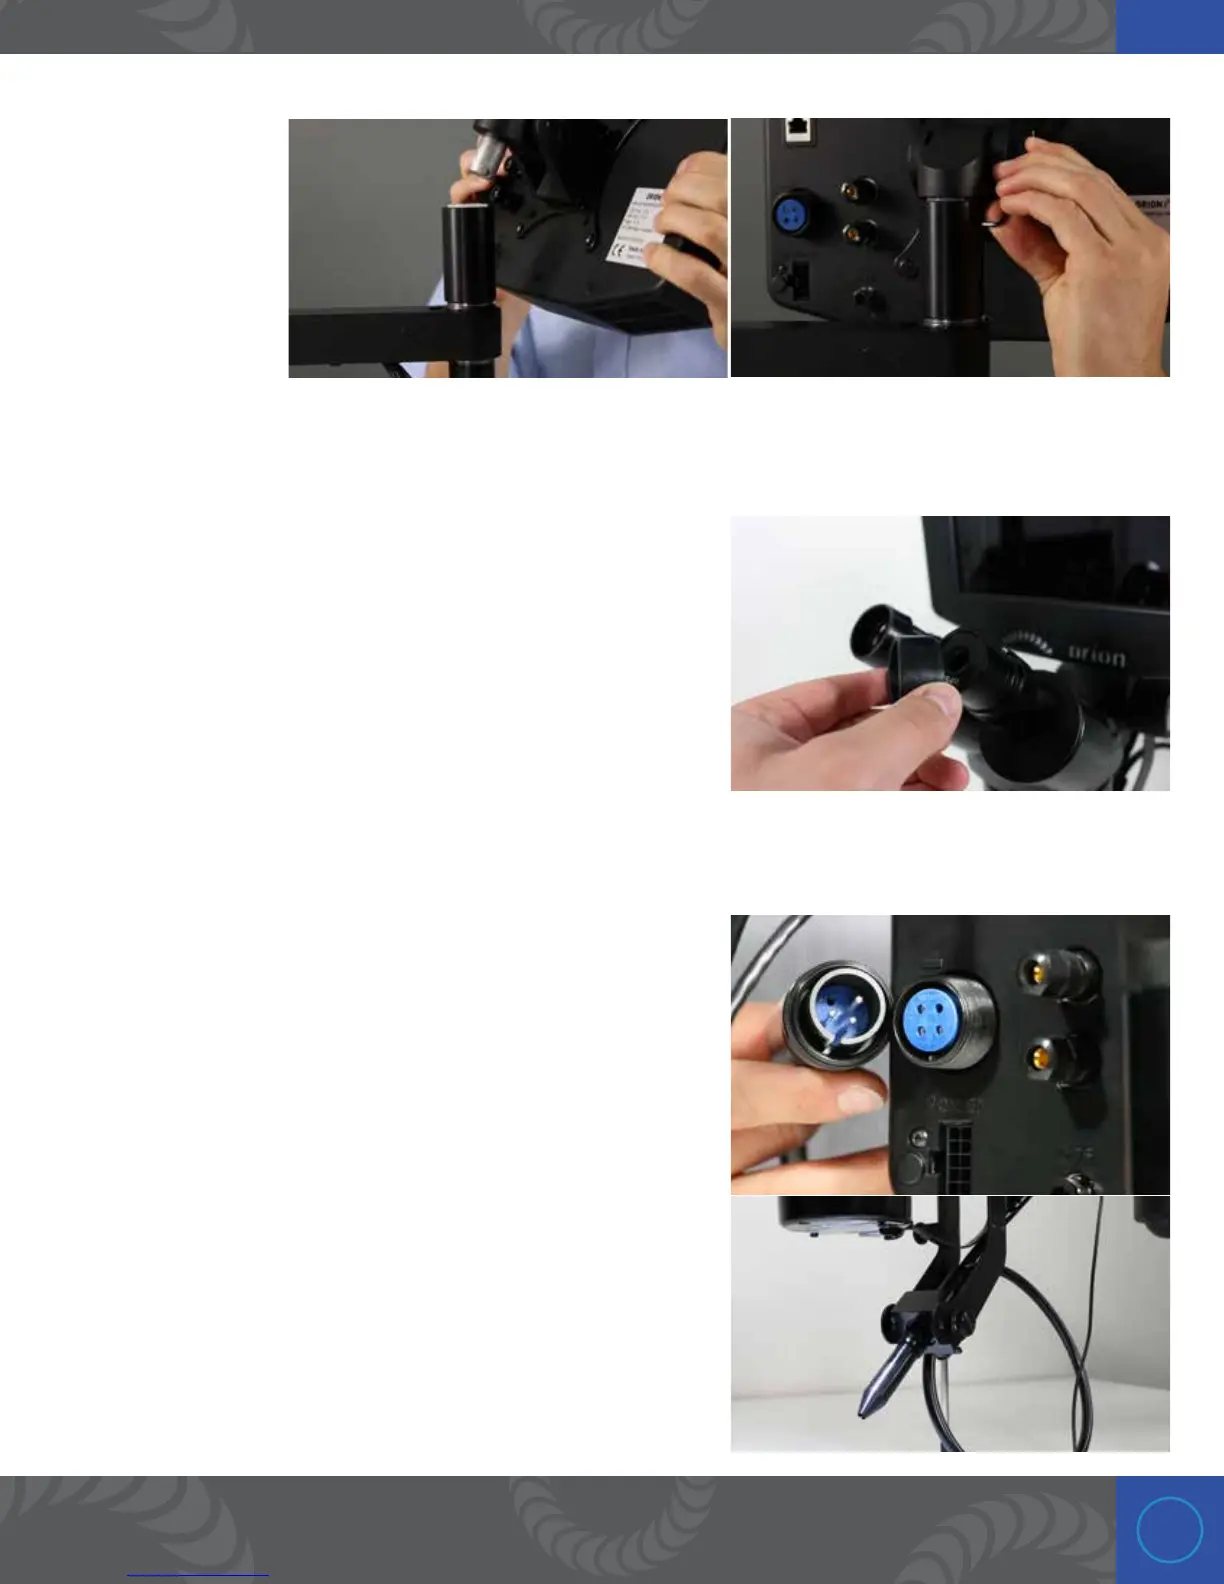
STEP 3: CONNECT THE WELDER TO THE ARM
Insert the welder into
the top of the arm.
en use an Allen
wrench to secure the
welder in place on the
arm.
*If you purchased the microscope version follow steps 4 - 5
STEP 4: INSERT RUBBER EYEPIECE SHIELDS
Place the rubber eyepiece shields over the microscope
eyepieces.
STEP 5: CONNECT STYLUS
When connecting the stylus to the welder, line up the slit on
the stylus to the groove on the stylus port. en, push the
stylus into the port and twist the nut on the stylus until it stops.
Push in the stylus again and twist (repeat this until stylus is
secure). Now, insert the stylus into the stylus holder below the
microscope as seen above. Twist the knob below the stylus
holder to secure the stylus in place.

 Loading...


