EN
45
EN
REV. 01 - Cod.: 1500288 Operation and maintenance manual / Ed. 11 - 2008
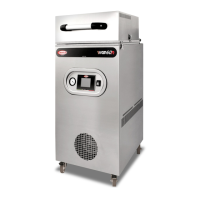
CUISSON SV-31 • SV-41
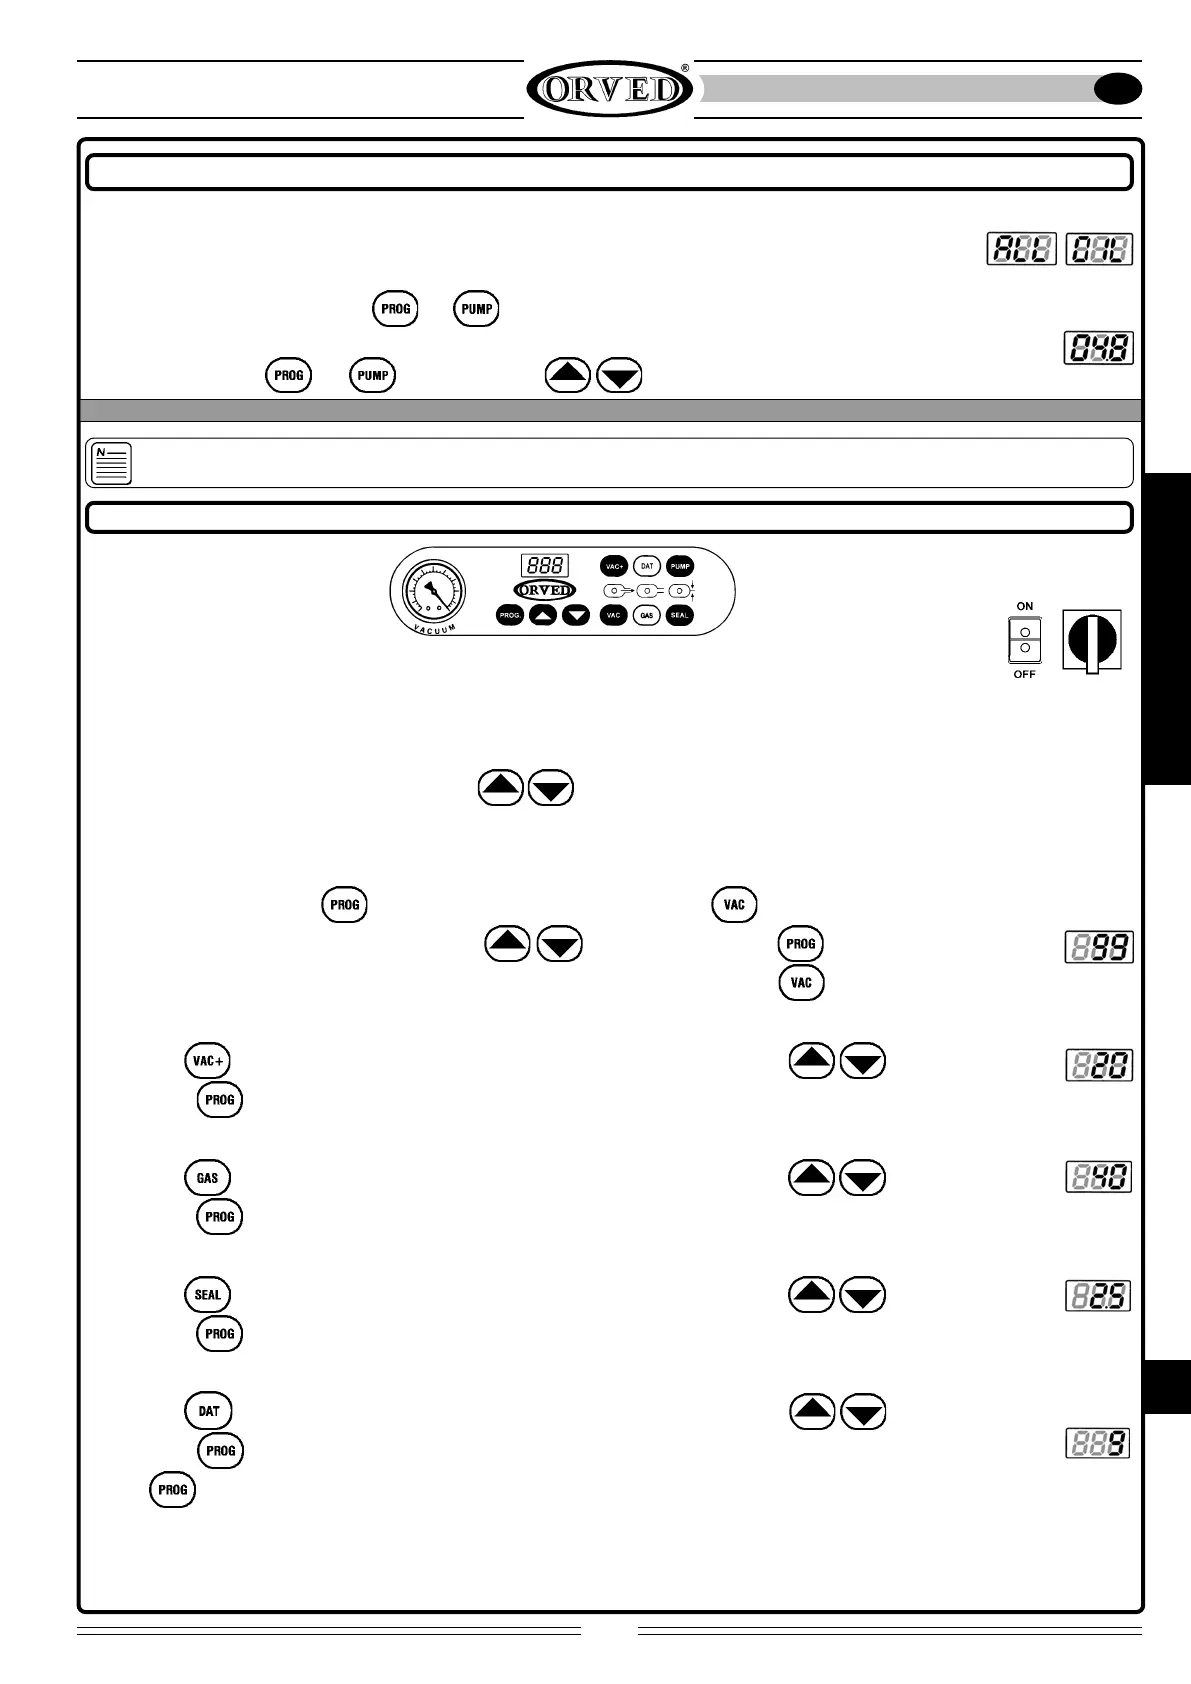
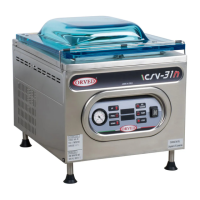
OIL CHANGE ALARM AND WORK CYCLES DISPLAY
400V
110V
Caution: the appliance is supplied with 3 basic programmes set by the manufacturer. The user must set the remaining
programmes to meet his own personal operating requirements, depending on the type and quantity of product to be packed.
230V
USING THE APPLIANCE
FUNCTIONING
Once the appliance has completed the maximum limit of 20,000 cycles, on start-up and at the end of every work cycle, the
words “ALL and OIL” flash alternately on the display to indicate that it is time to change the pump oil. Proceed with the oil
change as indicated in the section “CHANGING THE PUMP OIL” . The number of cycles already completed can be called up on
the display by pressing in sequence the and keys. The figure which appears must be multiplied by one hundred,
e.g. the figure “048” indicates that 48×100 = 4800 work cycles have been completed. To reset the value, once you have
pressed in sequence the
and keys, press the two keys simultaneously.
6.2 OPERATION AND PROGRAMMING
PROGRAMMING THE VAC, GAS, SEAL AND DATE FUNCTIONS
1 SWITCHING ON
Turn the ON/OFF main switch on the front of the machine to ON; the display shows the initials of the available options
for three seconds; then the programme number is displayed by the first digit to the left.
2 PROGRAM SELECTION
Select the programme (from 0 to 9) using the arrows
. Scrolling through the programmes, the LEDs indicating
the functions light up.
3 SELECTING THE VAC FUNCTION (See pag.41)
Enter the program by pressing
: the digits on the display start flashing. Select the function: the VAC function LED
starts flashing. Set the required value using arrows
and confirm by means of , or proceed with the
programming by pressing the key for the required function. To obtain maximum vacuum set the
value to “99”.
4 PROGRAMMING THE VAC+ FUNCTION (See pag.41)
Select the
function; the relative LED starts flashing. Set the required value using arrows and confirm
by pressing
, or proceed with the programming by pressing the required function key.
5 PROGRAMMING THE GAS FUNCTION (See pag.41)
Select the
function; the relative LED starts flashing. Set the required value using arrows and confirm
by pressing
, or proceed with the programming by pressing the required function key.
6 PROGRAMMING THE SEAL FUNCTION (See pag.41)
Select the
function; the relative LED starts flashing. Set the required value using arrows and confirm
by pressing
, or proceed with the programming by pressing the required function key.
7 PROGRAMMING THE DATE FUNCTION (DATER) (See pag.41)
Select the
function; the relative LED starts flashing. Set the required value using arrows and confirm
by pressing
. It is now possible to proceed with setting other programs or proceed with the packaging.
• press
or:
• wait for approx.10 seconds and the programme is automatically saved in the memory.