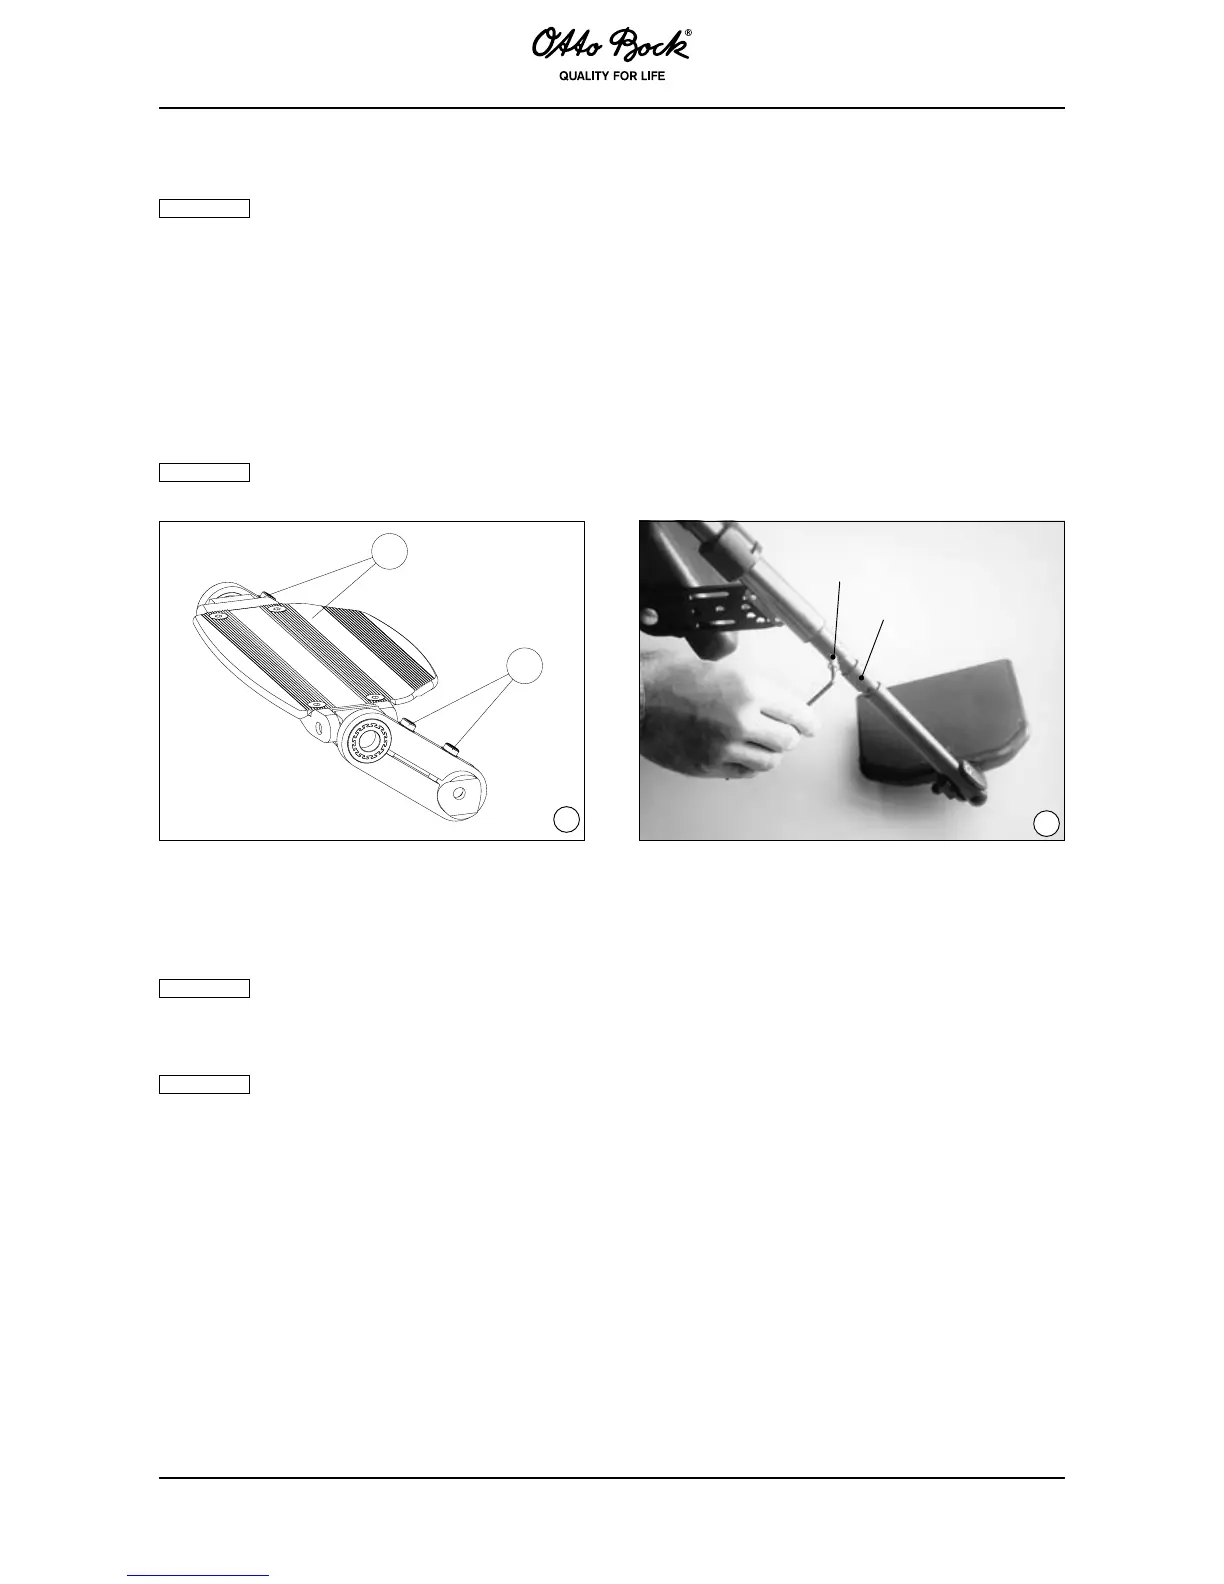
87
(Fig. 70)
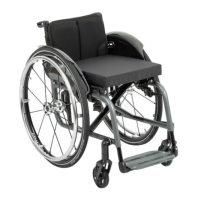
Loosen the screws (Fig. 70, item A). Move the footplate to the desired position.
Make sure to rmly retighten all screws and nuts after making adjustments. The torque
for all screws is .
(Fig. 71)
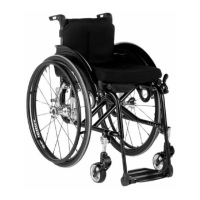
First completely remove the screw (Fig. 71, item A) in the footrest bar.
To change the lower leg length, you can now choose one of the upper or lower threaded holes in
the footrest bar and screw together the two components. Depending on the adjustment, it may
be necessary to remove one or several of the spacer sleeves (Fig. 71, item B).
Make sure to rmly retighten all screws and nuts after making adjustments.
70
A
A
71
A
B
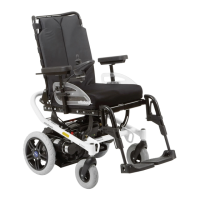
(Fig. 72)
By loosening the screw at the footrest bar (Fig. 72), the footplate can be adapted to your lower
leg length and to the thickness of your seat cushion.
Loosen the screw – do not completely remove the screw. There are ve threaded
holes in the footrest bar. Depending on the desired adjustment, however, it may be necessary
to completely remove the screw and use another hole.
Make sure to rmly retighten all screws and nuts after making adjustments.
(Fig. 73)
The legrest can be adjusted within the range from 15° to 90°.
Pull the footrest upward until it has reached the desired position. The legrest automatically locks
in place.
To reposition the legrest, relieve the load on the footrest and press the release lever (Fig. 73,
item A) downward to lower the legrest. Bring the legrest to the desired position.

 Loading...