6) Fasten the seat pad (see fig.40, item1) and the seat cushion.
44 45
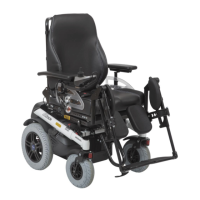
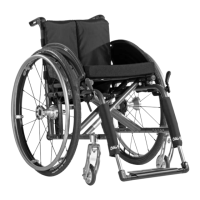
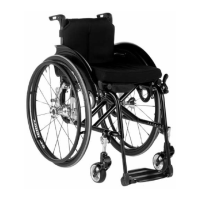
6.7 Adjusting the leg supports
The distance between the footplates and the sitting surface influences sitting stability. The height adjustment acts
on the pelvis and ischial bones.
6.7.1 Adjusting the lower leg length
The required leg support height depends on the lower leg length of the user and the thickness of the seat cushion.
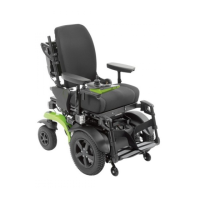
“Angle-adjustable” leg support and “fixed” foot support
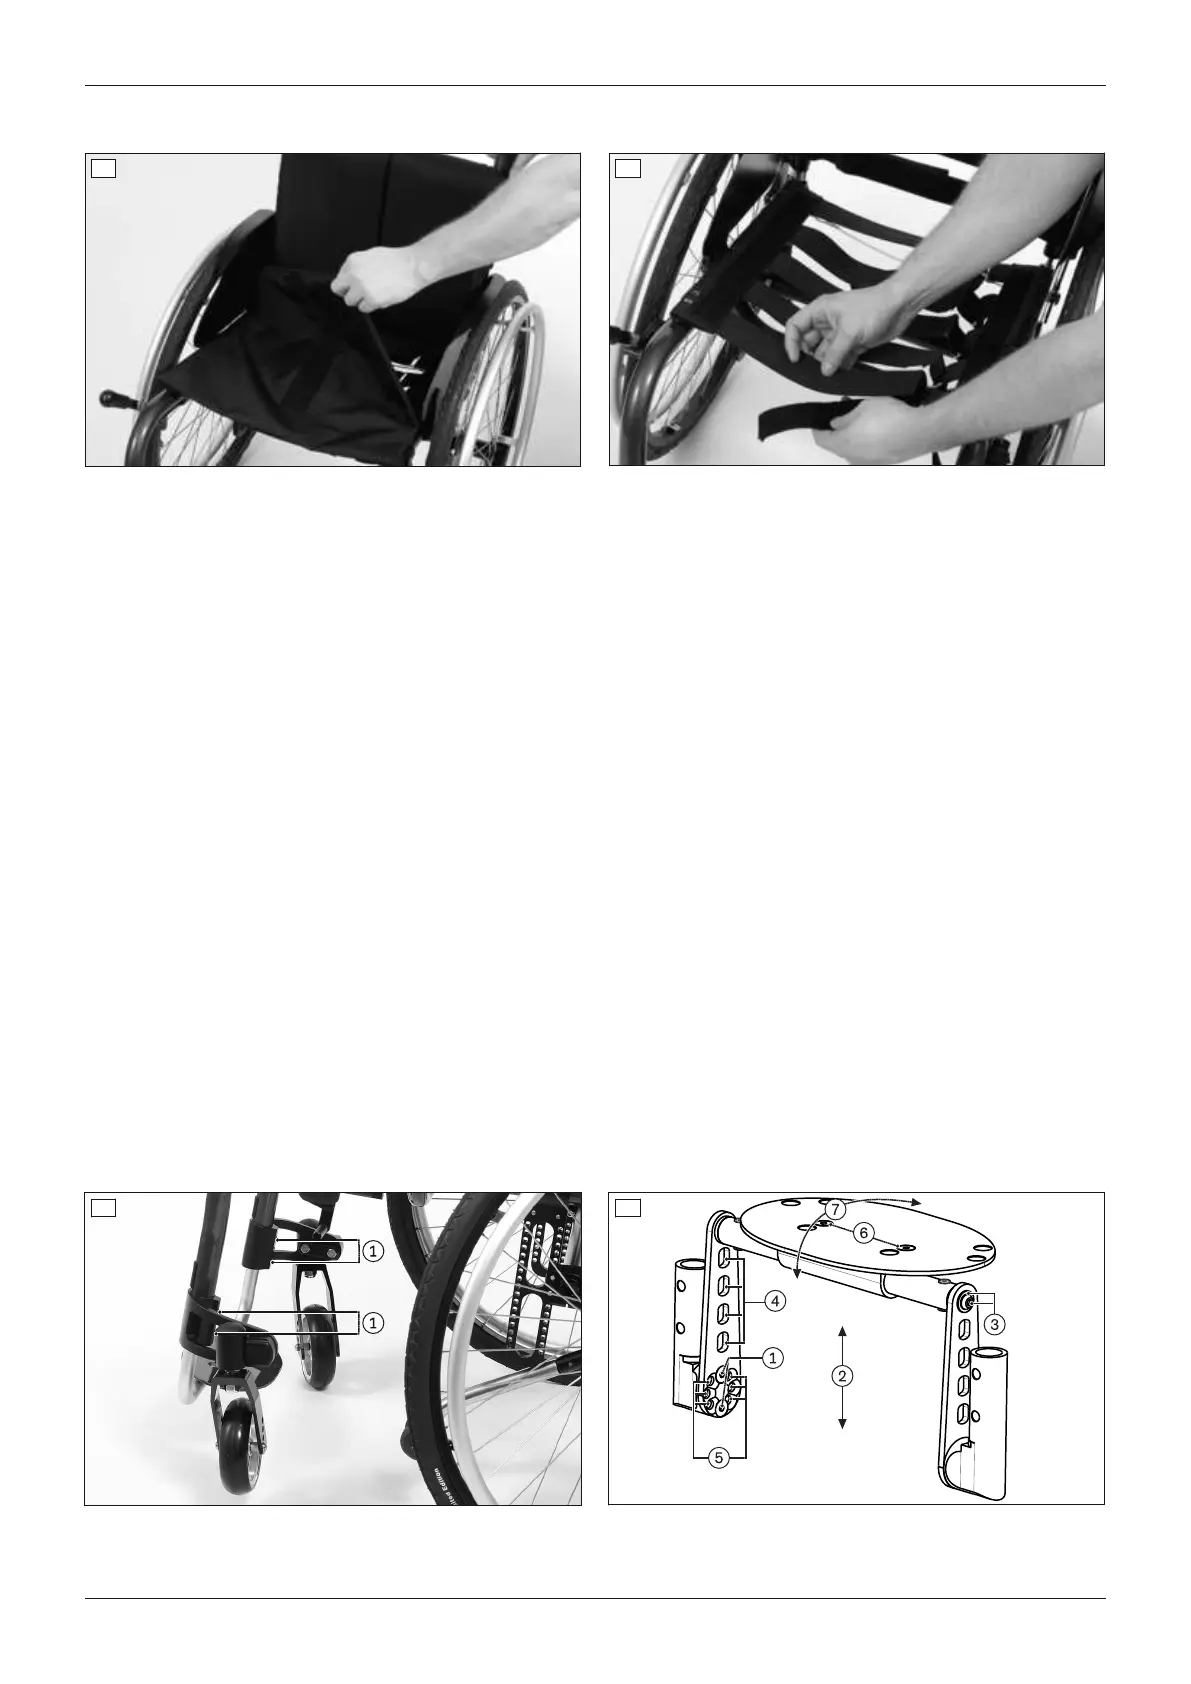
1) Slightly loosen the four clamping screws on the inside of the caster attachment device (see fig.46, item1).
2) Adjust the lower leg length (continuously adjustable). The tube foot support must be slid at least 60mm into
the frame tube.
3) Tighten the clamping screws to 7Nm.
Leg support for short lower leg lengths – adjusting the height
1) Loosen the lower mounting screws on both sides (see fig.47, item1).
2) Remove the foot support unit (see fig.47, item2).
3) Loosen the upper mounting screws on both sides (see fig.47, item3).
4) Move the foot support in the perforated plate to the desired height position (see fig.47, item4).
5) Tighten the upper mounting screws (with washers) to 7Nm (see fig.47, item3).
6) Insert the foot support unit.
7) Tighten the lower mounting screws to 5Nm (see fig.47, item1).
Leg support for short lower leg lengths – adjusting the depth
1) Loosen the lower mounting screws on both sides (see fig.47, item1).
2) Select the right holes on the adjustment circle for the desired positioning (see fig.47, item5).
3) Tighten the lower mounting screws to 5Nm (see fig.47, item1).
INFORMATION: After every adjustment to the depth position, the angle of the plate must be adapted.
46 47
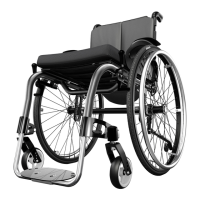
23Ventus
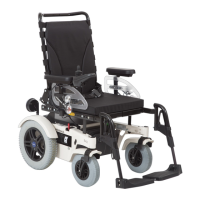
Settings