OWC Data Doubler Installation
37
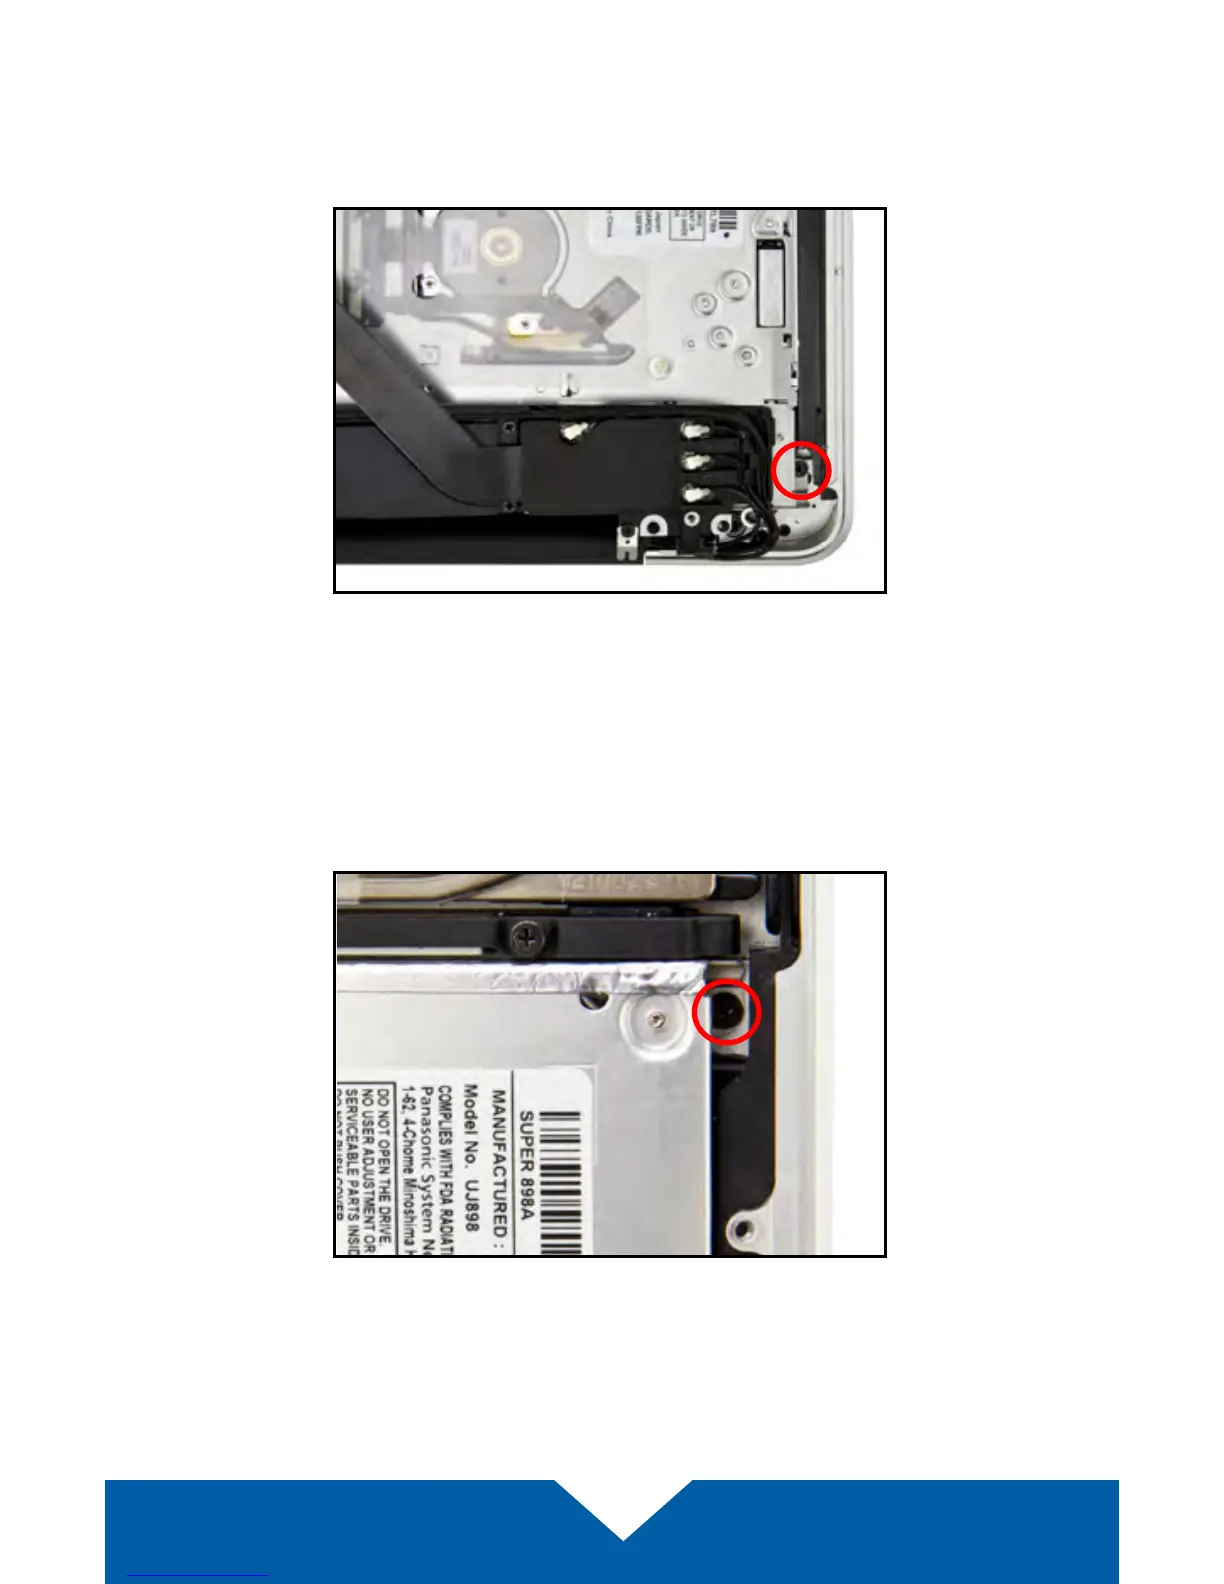
9. Gently lift the speaker housing up and away from the corner of the chassis.
This will expose a Phillips screw near the corner that secures the optical
drive to the chassis (shown below in red). Remove the screw and store it in
a safe location; it will not be used during the reassembly process.
10. There is a second Phillips screw that secures the optical drive to the
chassis (along the same edge of the drive and on the opposite end as
the screw removed in Step 9). Remove this screw and store it in a safe
location; it will not be used during the reassembly process.