OWC Data Doubler Installation
69
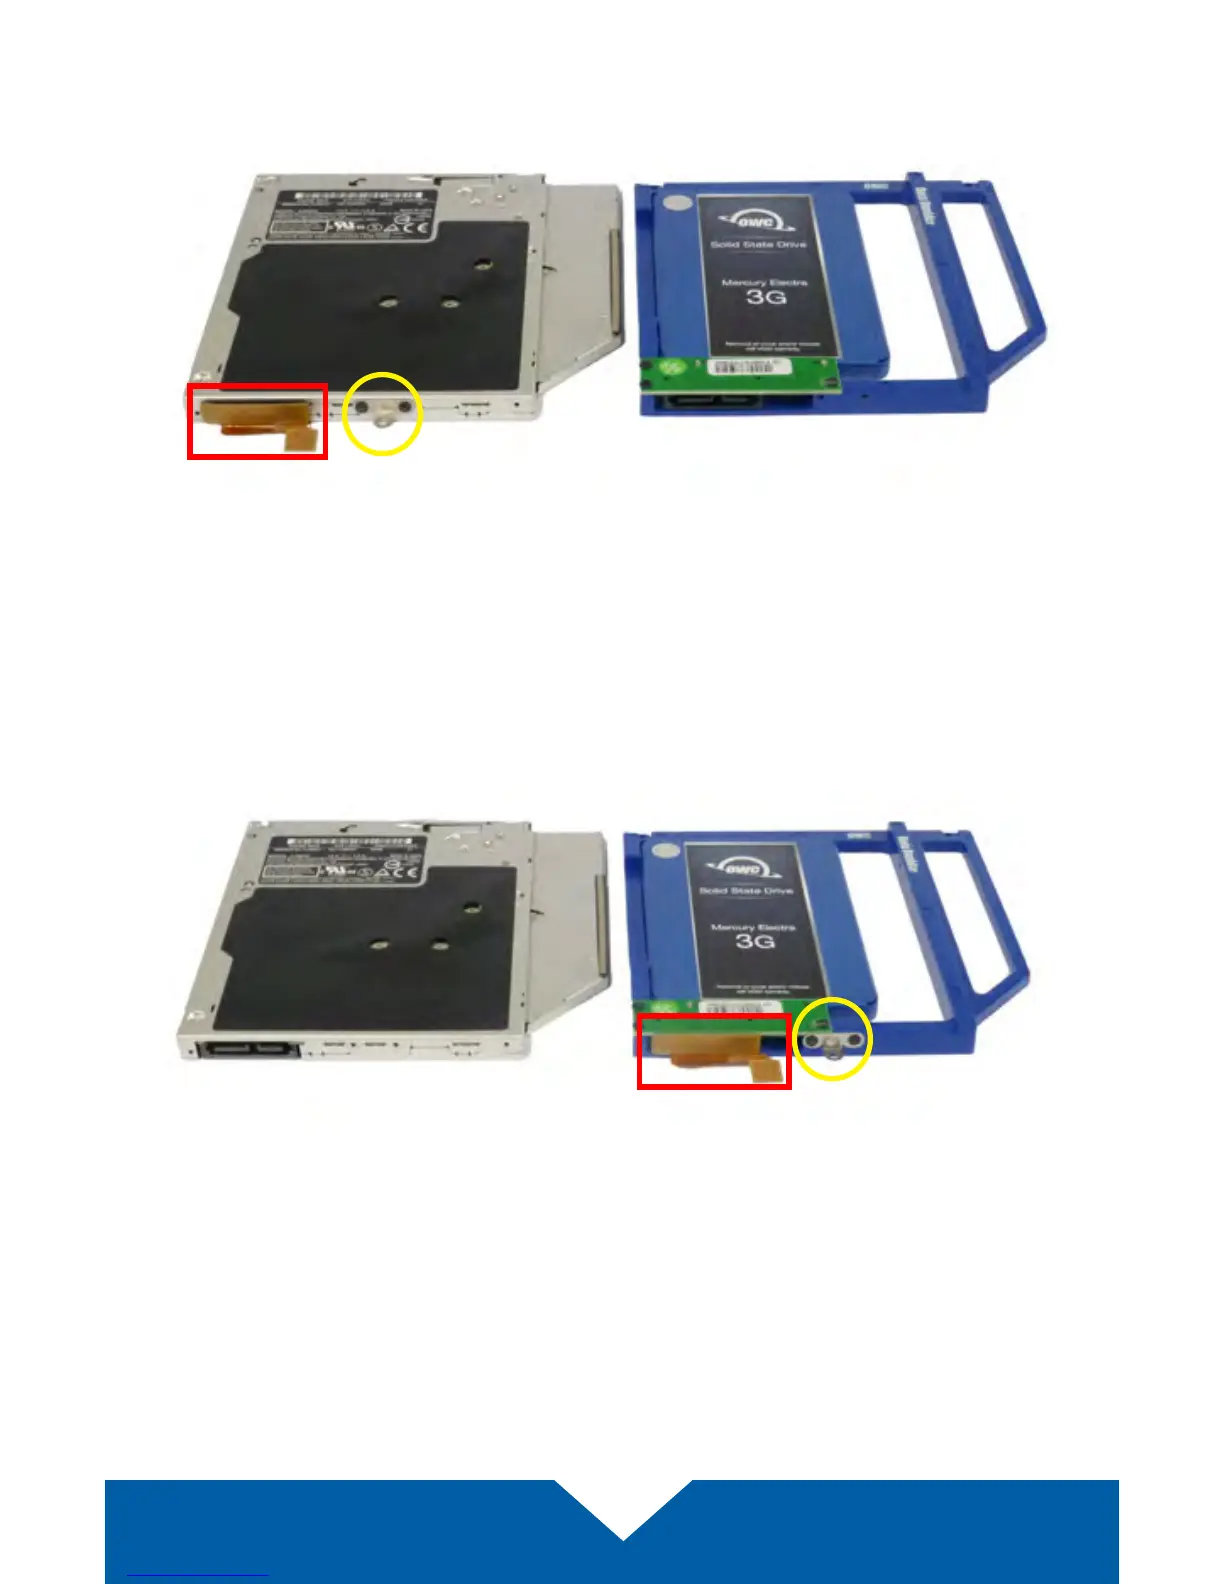
13. Place the optical drive and the assembled Data Doubler bracket in front of
you, as shown below. Note: the cable and optical drive bracket from your
laptop may look slightly dierent.
14. To transfer the optical drive cable (highlighted above in red) to the Data
Doubler, rst detach it from the drive by gently prying it loose with your
ngernail or the nylon pry tool. Then gently pull the cable out of the SATA
port. Caution: this cable is easily damaged.
15. Plug the cable into the Data Doubler’s green circuit board. The location of
the installed cable is highlighted in red below.
16. Remove the silver bracket that is attached to the back of the optical drive
(highlighted in yellow in Step 13) by removing the two Phillips screws. Using
the same two screws, ax the silver bracket to the OWC Data Doubler as
shown in the photo from Step 15 (highlighted in yellow). Important: make
sure the silver bracket is oriented the same way on the Data Doubler as it
was on the optical drive.