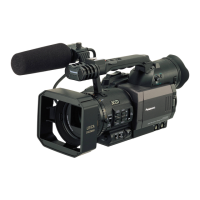
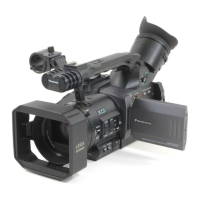
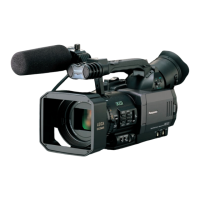
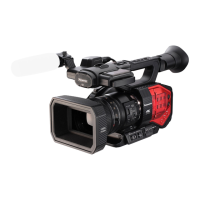
DIS-3
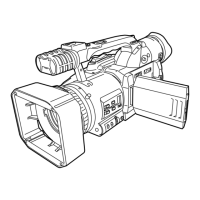
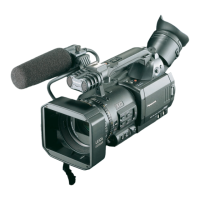
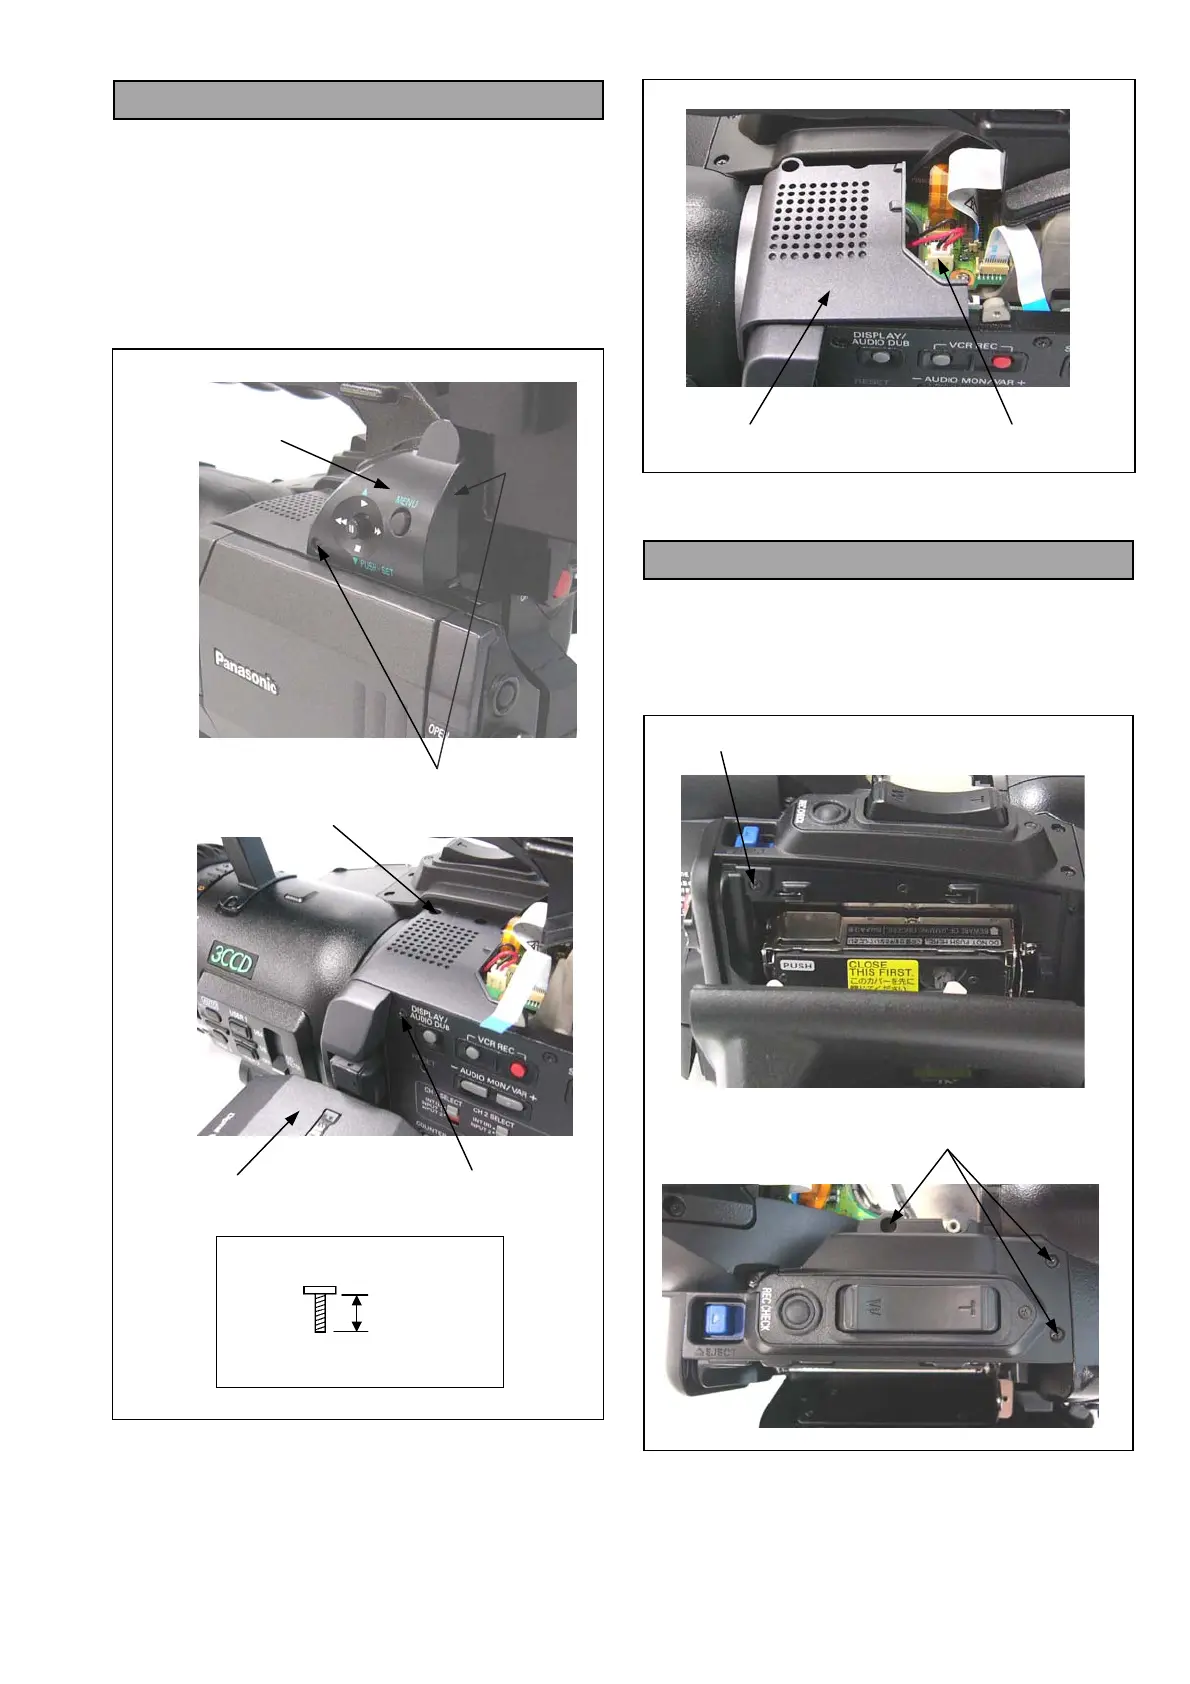
4. Removal of Top Panel Unit
1. Unscrew the 2 screws (A) and disconnect a
connector P610 on MENU C.B.A., then remove the
VF CASE R UNIT.
2. Unscrew the 2 screws (B) and (C).
NOTE: When unscrew the screw (C), set the LCD
Panel to downward to protect damage on
face of LCD.
3. Disconnect a connector P556 on TOP CONNECT
C.B.A. and remove the Top Panel Unit.
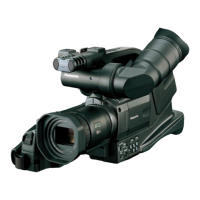
5. Removal of VF CASE L Unit
1. Remove the Top Panel Unit.
2. Open the Cassette Cover.
3. Unscrew the 5 screws (D).
4. Disconnect a connector P553 on TOP CONNECT
C.B.A. and remove the VF CASE L UNIT.
Set LCD Panel to downward
VF CASE R UNIT
SCREW (A)
BLACK
4mm
SCREW (A), (B) & (C)
SCREW (B)
SCREW (C)
TOP PANEL UNIT
P556
SCREW (D)
SCREW (D)