9
RQT9126
Before connection, turn off the mains for all connected equipment and read the appropriate operating
instructions.
Be sure to read the Caution for AC Mains Lead on page 3.
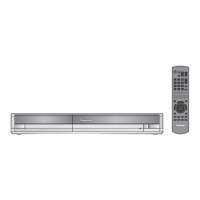
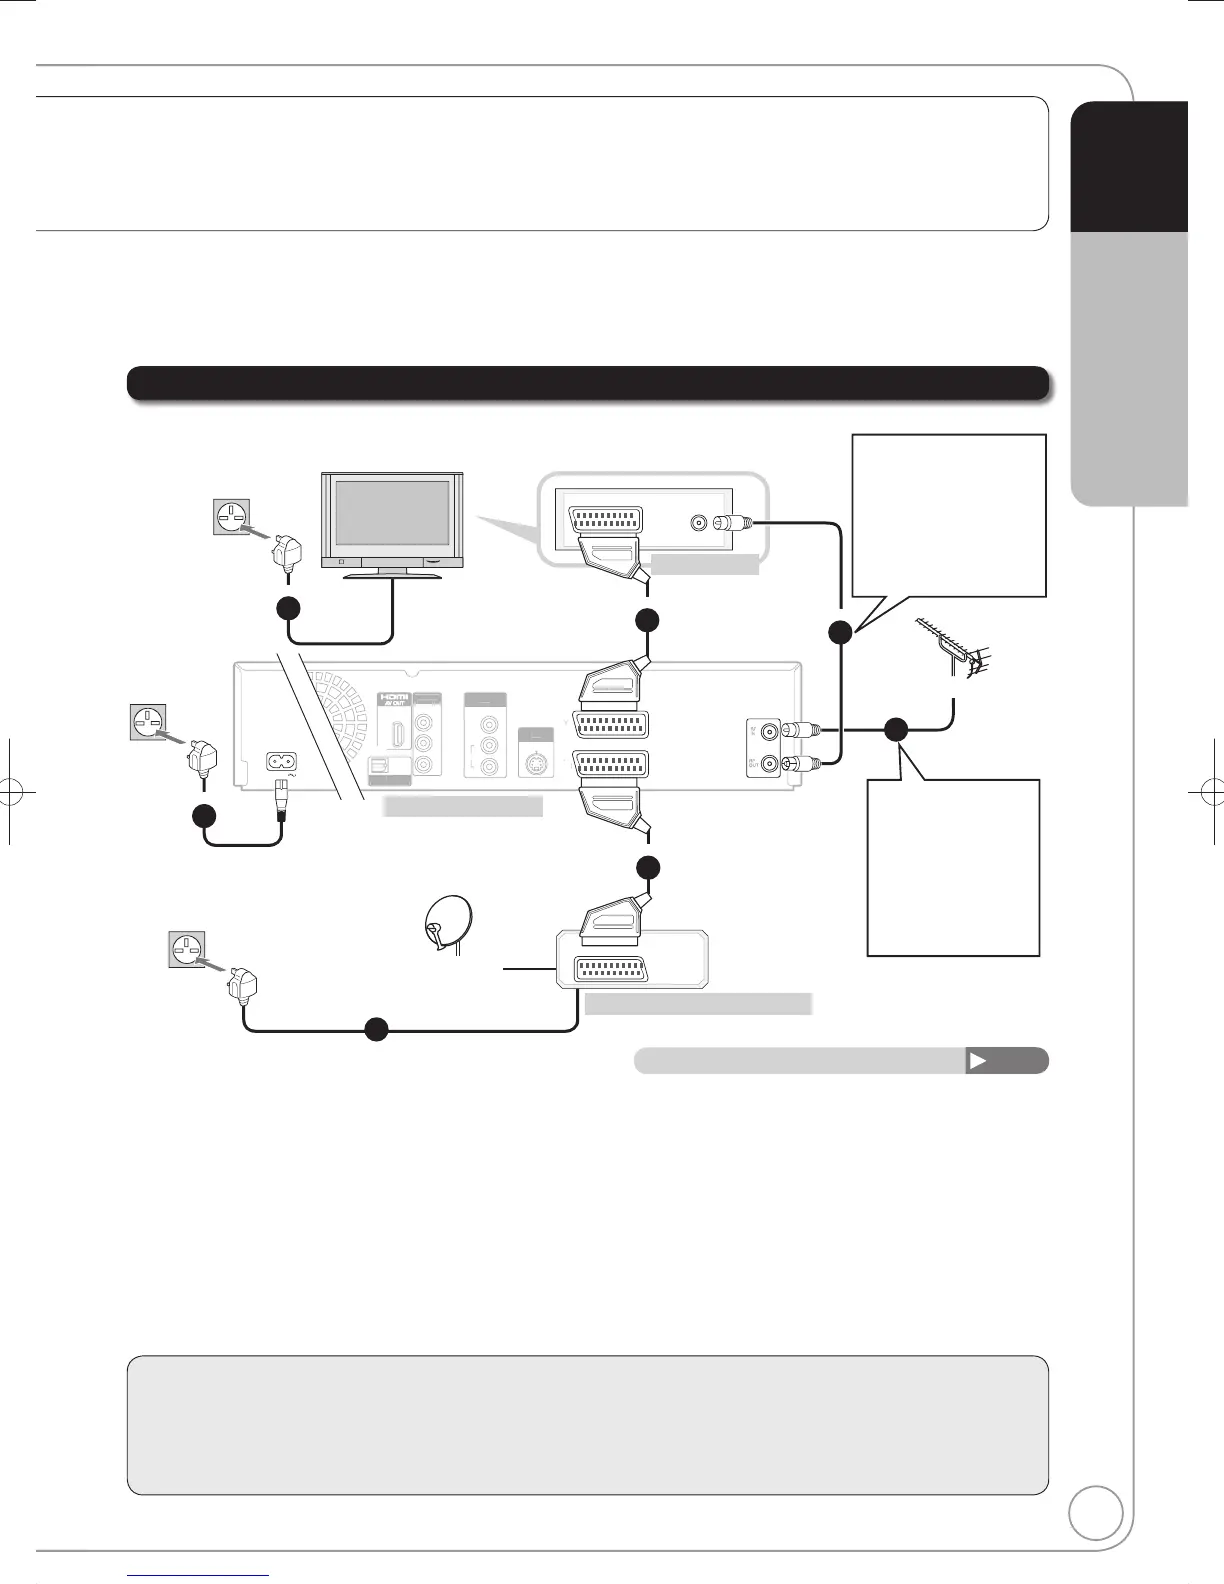
Adding a Satellite Receiver: Connecting to a Television and a Satellite Receiver
Connections other than the 21-pin Scart cable
71
RF coaxial cable (supplied) from the aerial socket or aerial cable to the “RF IN” on the unit.
RF coaxial cable (supplied, black) from the “RF OUT” on the unit to the “RF IN” on the TV.
21-pin Scart cable (not supplied) from the “AV1 (TV)” on the unit to the “AV” on the TV.
21-pin Scart cable (not supplied) from the “AV” on the satellite receiver to the “AV2 (EXT)” on the
unit.
AC mains lead (supplied) from the “AC IN~” on the unit, the TV and the satellite receiver to a
household mains socket.
After completing the above connections, proceed to the TV Tuning (¼ 11).
To view satellite programmes
Refer to “Watching Satellite Programmes” (¼ 16)
To record satellite programmes
Refer to “Recording from a Satellite Receiver” (¼ 27)
The RF coaxial cable
cannot be used for showing
pictures from the unit. The
unit must be connected
using another method, e.g.
21-pin Scart cable to show
pictures from the unit on
the television set.
To the aerial
To household
mains socket
To household
mains socket
To household
mains socket
satellite antenna
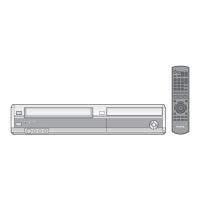
Quick Start Guide STEP 2
Using a fully wired 21-pin Scart cable
– You can use a variety of Q Link functions by connecting the unit to a Q Link compatible television (¼ 46).
– You can enjoy high-quality viewing by connecting the unit to an RGB compatible television.
“AV1 Output” in the Setup Menu is set to “RGB 1 (without component)” or “RGB 2 (without component)” (¼ 67)
– “AV2 Input” settings in the Setup Menu (¼ 67)
Use one of the RF
coaxial cable (black or
grey) to connect this
unit’s RF IN terminal
to your aerial socket or
aerial cable.
(¼ 8)
 Loading...