Preparation
17
VQT1G06
3 Press [MENU/SET] to set.
• Turn the camera off after setting the
clock. Then set the mode dial to a
recording mode to turn the camera on
and check whether or not the clock
setting is correct.
Press [MENU/SET].
Press / to select [CLOCK SET].
Press and then perform steps
2 and
3 to set the clock.
Press [MENU/SET] to close the menu.
• You can also set the clock in the
[SETUP] menu. (P20)
• When a fully charged battery has been
inserted for more than 24 hours, charging
of the built-in battery for the clock is
completed so the clock setting will be
stored (in the camera) for at least
3 months even if the battery is removed.
(If you insert a battery that is not
sufficiently charged, the length of time that
the clock setting is stored may become
less.) However the clock setting is
cancelled after this time. In this case, set
the clock again.
• You can set the year from 2000 to 2099.
The 24-hour system is used.
• If the clock is not set, the correct date
cannot be printed when you stamp the
date on the pictures with [TEXT STAMP]
(P102) or order a photo studio to print the
pictures.
• If the clock is set, the correct date can be
printed even if the date is not displayed on
the screen of the camera.
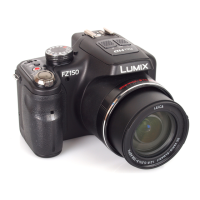
About the Mode Dial
If you turn on this unit and then rotate
the mode dial, you can not only switch
between recording and playback but
also switch to a scene mode that
matches your recording purpose.
w Switching the mode by rotating the
mode dial
Align a desired mode with part .
Rotate the mode dial slowly and surely to
adjust to each mode. (The mode dial
rotates 360 Q)
• The above screen appears on the LCD
monitor/Viewfinder if the mode dial is
rotated. (P23)
The mode currently selected appears on
the LCD monitor/Viewfinder when the
camera is turned on.
w Basic
Changing the clock setting
Programme AE mode (P25)
The exposure is automatically adjusted by
the camera.
Intelligent auto mode (P28)
Use this mode to have the camera
automatically handle all settings for taking
pictures.
CUSTOM
 Loading...