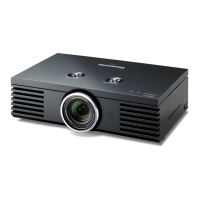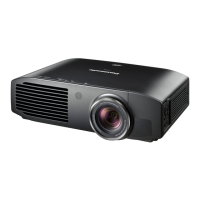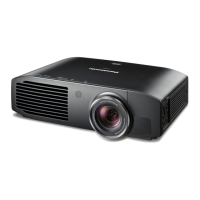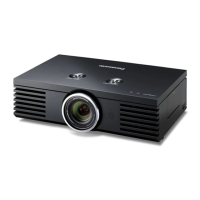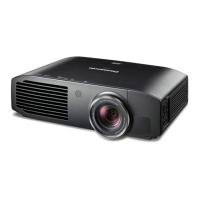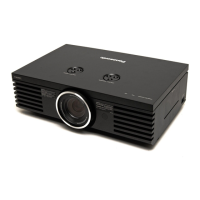
Do you have a question about the Panasonic PT-AE2000U and is the answer not in the manual?
General advice and warnings for service technicians regarding safe operation and maintenance procedures.
Procedure to measure and verify leakage current safety to prevent electric shock.
Safety measures related to UV radiation exposure and handling of the UHM lamp unit.
Steps to access the extended options menu for service functions.
Description of available extended options like Self Check and Flicker Adjust.
How to exit the extended options menu and return to normal operation.
Steps to initiate the projector's self-diagnostic mode for troubleshooting.
Explanation of the self-check results and indicators displayed on screen.
Steps to exit the self-check mode and return to normal operation.
Steps to access the flicker adjustment feature for minimizing display flicker.
Details on the flicker adjustment screen, patterns, and controls.
How to exit the flicker adjustment mode, saving current settings.
Instructions for connecting the projector to a PC via the serial port.
Details of the serial port pin configuration and signal names.
Required communication settings for serial control (baud rate, parity, etc.).
Data format for projector control commands sent via serial communication.
List of commands for controlling and querying the projector's status and functions.
Technical specifications for serial communication cables.
Cable specifications for connecting a signal selector to the projector.
Important safety advice and precautions before disassembling the projector.
Diagram showing the location of PCBs and major components within the projector.
Step-by-step instructions for removing the projector's upper case.
Instructions for removing the A-P.C.Board assembly.
Instructions for removing the K1-P.C.Board.
Instructions for removing the R-P.C.Board.
Instructions for removing the S-P.C.Board.
Instructions for removing the V-P.C.Board.
Instructions for removing the B/Q-Module.
Instructions for removing the P-Module.
Instructions for removing the projector's lamp unit.
Instructions for removing the analysis block assembly.
Steps to remove the LCD block and projection lens assembly.
Procedure for replacing the phase difference board.
Procedure for replacing the incidence polarizer.
Procedure for replacing the PBS array within the analysis block.
Instructions for removing the iris unit.
Overview of the adjustment process steps.
Safety guidelines and precautions for performing adjustments.
Preparatory steps before making adjustments, including setup and zoom.
Procedure for adjusting the projected lighting area, including tools and preparation steps.
Adjusting the G reflector for optimal color balance.
Adjusting the R reflector for optimal color balance.
Adjusting the B reflector for optimal color balance.
Overview of computer-aided adjustments and necessary connections.
Steps for using the adjustment software on a PC.
How to select the communication port for the adjustment software.
Interface for data transfer and explanation of software buttons.
Main menu for accessing different adjustment options within the software.
Interface for flicker adjustment and related procedures.
Description of the controls and buttons within the flicker adjustment interface.
Required equipment for performing flicker adjustment procedures.
Step-by-step guide for performing flicker adjustment.
Interface for adjusting the input level for RGB signals.
Information on identifying boards and initial checks for projector issues.
Diagnosing problems with the projector not exiting standby mode.
Procedures for checking resistance values on specific modules.
Diagnosing problems related to the lamp and fan operation.
Diagnosing abnormal lamp behavior and projector shutdowns.
Diagnosing problems with abnormal or no picture display.
Diagnosing issues with video input signal processing.
Diagnosing issues with RGB and HDMI input signal processing.
Diagnosing and resolving remote control issues.
Diagram showing system interconnections (part 1).
Diagram showing system interconnections (part 2).
Block diagram illustrating the power supply system.
Block diagram of signal processing (part 1).
Block diagram of signal processing (part 2).
Block diagram of signal processing (part 3).
Important notes on symbols, measurements, and safety for schematics.
Schematic diagram of the A-P.C.Board, section 1 of 8.
Schematic diagram of the A-P.C.Board, section 2 of 8.
Schematic diagram of the A-P.C.Board, section 3 of 8.
Schematic diagram of the A-P.C.Board, section 4 of 8.
Schematic diagram of the A-P.C.Board, section 5 of 8.
Schematic diagram of the A-P.C.Board, section 6 of 8.
Schematic diagram of the A-P.C.Board, section 7 of 8.
Schematic diagram of the A-P.C.Board, section 8 of 8.
Schematics for the K1 and K2 Printed Circuit Boards.
Schematics for the S and R Printed Circuit Boards.
Schematics for V, H, M1, and M2 Printed Circuit Boards.
Schematic diagram of the B-Module, part 1 of 2.
Schematic diagram of the B-Module, part 2 of 2.
Diagram showing the foil side of the A-P.C.Board.
Diagram showing the component side of the A-P.C.Board.
Diagrams showing both sides of the V-P.C.Board.
Reference for IC and transistor pin configurations and package types.
Diagram illustrating the location of external and internal parts, part 1.
Diagram illustrating the location of external and internal parts, part 2.
Diagram illustrating the location of external and internal parts, part 3.
Illustration showing how the projector and accessories are packed.
Important safety notes and abbreviations used in the parts list.