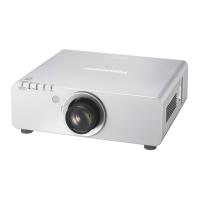
Powering ON/OFF
ENGLISH -
33
Basic Operation
Powering up the projector
Connect the supplied power cable.1 )
(AC100-120 V 50-60 Hz)
Press the [ | ] marked side of the 2 )
MAIN POWER switch to turn on the
power.
The POWER indicator lamp on the projector will
ash in red. After a short period, the indicator will
illuminate and the projector will enter standby
mode.
Press POWER ON.3 )
[Power indicator] lamp illuminates in green and
soon the image is projected on the screen.
Note
If the projector is powered up at about 0 °C, a warm-up
z
period of approximately 5 minutes may be necessary to
start projection. <TEMP> indicator lamp lights up during
the warm-up period. When the warm-up is completed,
<TEMP> indicator lamp turns off and the image is
projected on the screen.
If the temperature of the operating environment is low
z
and warm-up takes more than 5 minutes, the projector
will judge that a problem has occurred and the power
will be turned off automatically. If this happens, increase
the temperature around the projector so that it is 0 °C or
higher, and then turn on the MAIN POWER switch and
the POWER ON ( | ) switch once more.
With [ECO] setting in [Standby mode] (
z
Æ
page 65), When
switch on the projector, projection will start about 10
seconds late.
If projection was stopped last time by using the DIRECT
z
POWER OFF function, it can be started by setting the
MAIN POWER switch to the “ I ” (ON) position.
When you power up the projector or switch the signal
z
input, a high-frequency driving noise may be heard. This
is not a failure.
Making adjustment and
selection
It is recommended that the images are projected
continuously for at least 30 minutes before the focus
is adjusted.
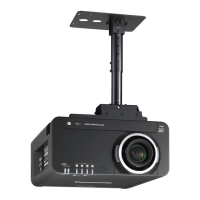
Select and set the projection scheme 4 )
of [INSTALLATION] and [COOLING
CONDITION] settings in [PROJECTOR
SETUP] menu.
Select the input signal by pressing 5 )
<INPUT SELECT> button (<RGB1>,
<RGB2>, <HDMI>, <VIDEO>,
<S-VIDEO>).
Adjust the tilt of the main unit in front 6 )
and rear or right and left.
Press <AUTO SETUP> button if the 7 )
input signal is RGB signal.
2)1) 6) 5) 7)
4)3)
7)3)
4)
5)