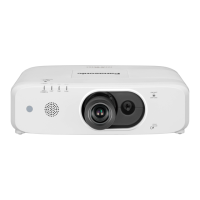
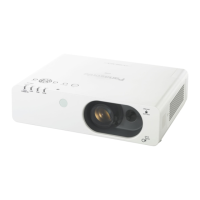
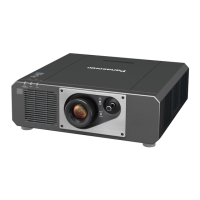
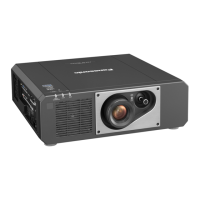
Chapter 1
Preparation — About your projector
ENGLISH - 27
13 <AC IN> terminal
Connect the supplied power cord.
14 <MAIN POWER> switch
Turns off/on the main power.
15 Connecting terminals (x page 28)
16 Security slot
This security slot is compatible with the Kensington security
cables.
17 Control panel (x page 27)
18 Air lter cover
The air lter units are inside.
19 Air intake port
2220
21
19
20 Burglar hook port
Attaches a burglar prevention cable, etc.
21 Luminance sensor
Measures the brightness of the installation environment. When
the daylight view function is set to [AUTO], the vividness of the
image is automatically corrected. (x page 64)
22 Lamp cover
The lamp unit is inside.
Attention
f
Do not block the ventilation ports (intake and exhaust) of the projector.
r Control panel
6
3
5
1
2
3
4
1 Power <v/b> button (v standby/b power on)
Sets the projector to the state where the projector is switched
off (standby mode) when the <MAIN POWER> switch on the
projector is set to <ON> and in the projection mode. Also starts
projection when the power is switched off (standby mode).
2 <MENU> button/<ENTER> button/asqw buttons
Used to navigate through the menu screen. (x page 57)
Returns to the previous menu when a sub-menu is displayed.
Also used to enter a password in [SECURITY] or enter
characters.
3 <VOL
-
> button/<VOL+> button
Adjusts the volume of audio output. (x page 50)
4 <AV MUTE> button
Used when temporarily turning off the image and audio.
(x page 50)
5 <INPUT SELECT> button
Switches the input signal to project. (x page 47)
6 <AUTO SETUP> button
Automatically adjusts the screen display position when
projecting the image. (x page 51)
Bottom Top
Projection direction
 Loading...
