Chapter 2 Getting Started — Setting up
ENGLISH - 35
Setting up
Installation mode
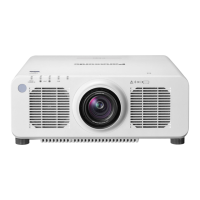
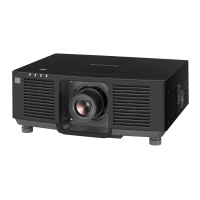
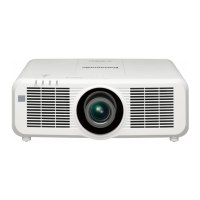
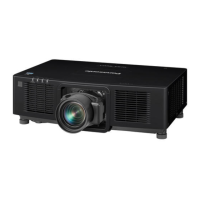
The installation modes of the projector are as follows. Set [FRONT/REAR]/[FLOOR/CEILING] in the
[PROJECTOR SETUP] menu → [PROJECTION METHOD] (x page 112) depending on the installation mode.
Setting on a desk/oor and projecting forward Setting on a desk/oor and projecting from rear
(Using the translucent screen)
Menu item Setting value Menu item Setting value
[FRONT/REAR] [FRONT] [FRONT/REAR] [REAR]
[FLOOR/CEILING] [AUTO] or [FLOOR] [FLOOR/CEILING] [AUTO] or [FLOOR]
Mounting on the ceiling and projecting forward Mounting on the ceiling and projecting from rear
(Using the translucent screen)
Menu item Setting value Menu item Setting value
[FRONT/REAR] [FRONT] [FRONT/REAR] [REAR]
[FLOOR/CEILING] [AUTO] or [CEILING] [FLOOR/CEILING] [AUTO] or [CEILING]
Portrait setting and projecting forward Portrait setting and projecting from rear
(Using the translucent screen)
Menu item Setting value Menu item Setting value
[FRONT/REAR] [FRONT] [FRONT/REAR] [REAR]
[FLOOR/CEILING]
Set in accordance with the image
to project.
[FLOOR/CEILING]
Set in accordance with the image
to project.
Note
f In the portrait setting, the on-screen menu is displayed sideways.
To display the on-screen menu vertically, go to the [DISPLAY OPTION] menu → [ON-SCREEN DISPLAY] (x page 104) and change the
[OSD ROTATION] setting.
f The projector has a built-in angle sensor. The attitude of the projector is automatically detected by setting [FLOOR/CEILING] to [AUTO] in
the [PROJECTOR SETUP] menu → [PROJECTION METHOD].
 Loading...
