Replacement
ENGLISH -
79
Maintenance
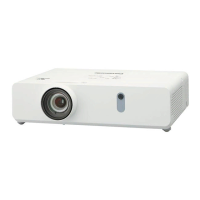
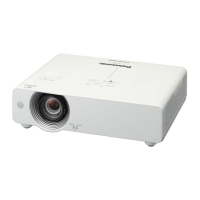
The air lter units are provided in side and back of the projector.
Replacement of the air lter unit (side)
J
Remove the air lter cover.1 )
Open the air lter cover in the direction of the
z
arrow in the gure and remove it.
Remove the air lter unit.2 )
i) Hold the knob of the air lter unit and pull out in
the direction of the arrow, the top of the air lter
unit will pop up.
ii) Take out the air lter unit upwards.
After removing the air lter unit, remove large
z
foreign objects and dust from the air lter
compartment and the projector’s air intake port
if there are any.
Insert the new air lter unit.3 )
Hold the air lter unit that the knob is outside of
z
the projector, perform Step 2) in the reverse order.
Do not press the lter part when push into the
z
projector at last.
Install the air lter cover.4 )
Make sure that the air lter cover is closed tightly.
z
Air filter cover (back)
Air filter unit (back)
Knob
Air filter cover (side)
Knob
Air filter unit (side)
Resetting the Filter Counter
J
Be sure to reset the Filter counter after replacing the lter. (
Æ
page 57 "
Filter counter reset
")
Attention
Turn off the power before you replace the air lter units.
z
When attaching the air lter unit, make sure that the projector is stable, and work in an environment that is
z
safe, even in the event of the air lter unit dropping.
Do not operate the projector with the air lter units removed. Dust may accumulate on the optical elements
z
degrading picture quality.
Do not put anything into the air vents. Doing so may result in malfunction of the projector.
z
The air lter unit to be replaced should be an unused product.
z
After replacing the air lter, reset the lter counter. Otherwise, the power of the projector may be turned off for
z
safety.
Replacement of the air lter unit (back)
J
Remove the air lter cover.1 )
Open the air lter cover in the direction of the
z
arrow in the gure and remove it.
Remove the air lter unit.2 )
Hold the knob of the air lter unit and pull out
z
in the direction of the arrow.
After removing the air lter unit, remove large
z
foreign objects and dust from the air lter
compartment and the projector’s air intake port
if there are any.
Insert the new air lter unit.3 )
Hold the air lter unit that the knob is outside of
z
the projector, perform Step 2) in the reverse order.
Do not press the lter part when push into the
z
projector at last.
Install the air lter cover.4 )
Make sure that the air lter cover is closed tightly.
z
 Loading...