Maintenance/replacement
Before performing maintenance/replacement
f When you perform maintenance or replacement of the parts, make sure to turn off the power and disconnect the
power plug from the wall outlet. (Æ pages 38)
f Be sure to observe the procedure “Powering off the projector” (x page 42) when performing power supply
operation.
Maintenance
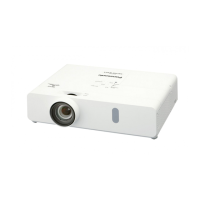
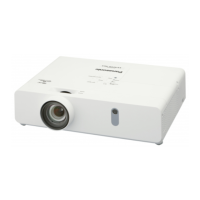
Outer Case
Wipe off dirt and dust using a soft dry cloth.
f If the dirt is persistent, soak the cloth with water and wring it thoroughly before wiping. Dry off the projector with
a dry cloth.
f Do not use benzene, thinner or rubbing alcohol, other solvents or household cleaners. Using them may cause
deterioration of the outer case.
f When using chemical treated dusters, follow its instruction.
Front glass surface of the lens
Wipe off the dirt and dust off the front surface of the lens with soft clean cloth.
f Do not use a cloth that has an abrasive surface or a cloth that is moist, oily or covered with dust.
f Do not use excessive force when wiping the lens as it is easily scratched.
f Do not use benzene, thinner or rubbing alcohol, other solvents or household cleaners. Using them may cause
deterioration of the lens.
Attention
f The lens may be damaged if you hit with a hard object or wipe with excessive force. Please handle with care.
Replacing the unit
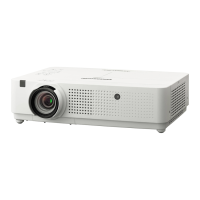
Air lter unit
The air lter prevents dust from accumulating on the optical elements inside the projector. Should the air lter
become clogged with dust particles, it will reduce cooling fans’ effectiveness and may result in internal heat
buildup and adversely affect the life of the projector.
Also, if the internal temperature of the unit becomes high, the power of the projector may be turned off to protect
internal components.
If a warning message appears on the screen, replace the air lter immediately.
Consult your dealer to purchase a replacement air lter unit (ET-RFV300).
Removing the air lter unit
Fig.1
Fig.2
Air lter cover
Air lter unit
Tab
1) Remove the air filter cover. (Fig.1)
f Open the air lter cover in the direction of the arrow and remove it.
2) Remove the air filter unit.
f Hold the tab of the air lter unit and pull out in the direction of the arrow. (Fig.2)
f After removing the air lter unit, remove foreign objects and dust from the air lter compartment and the
projector’s air intake port if there are any.
116 - ENGLISH
Chapter 6 Maintenance - Maintenance/replacement