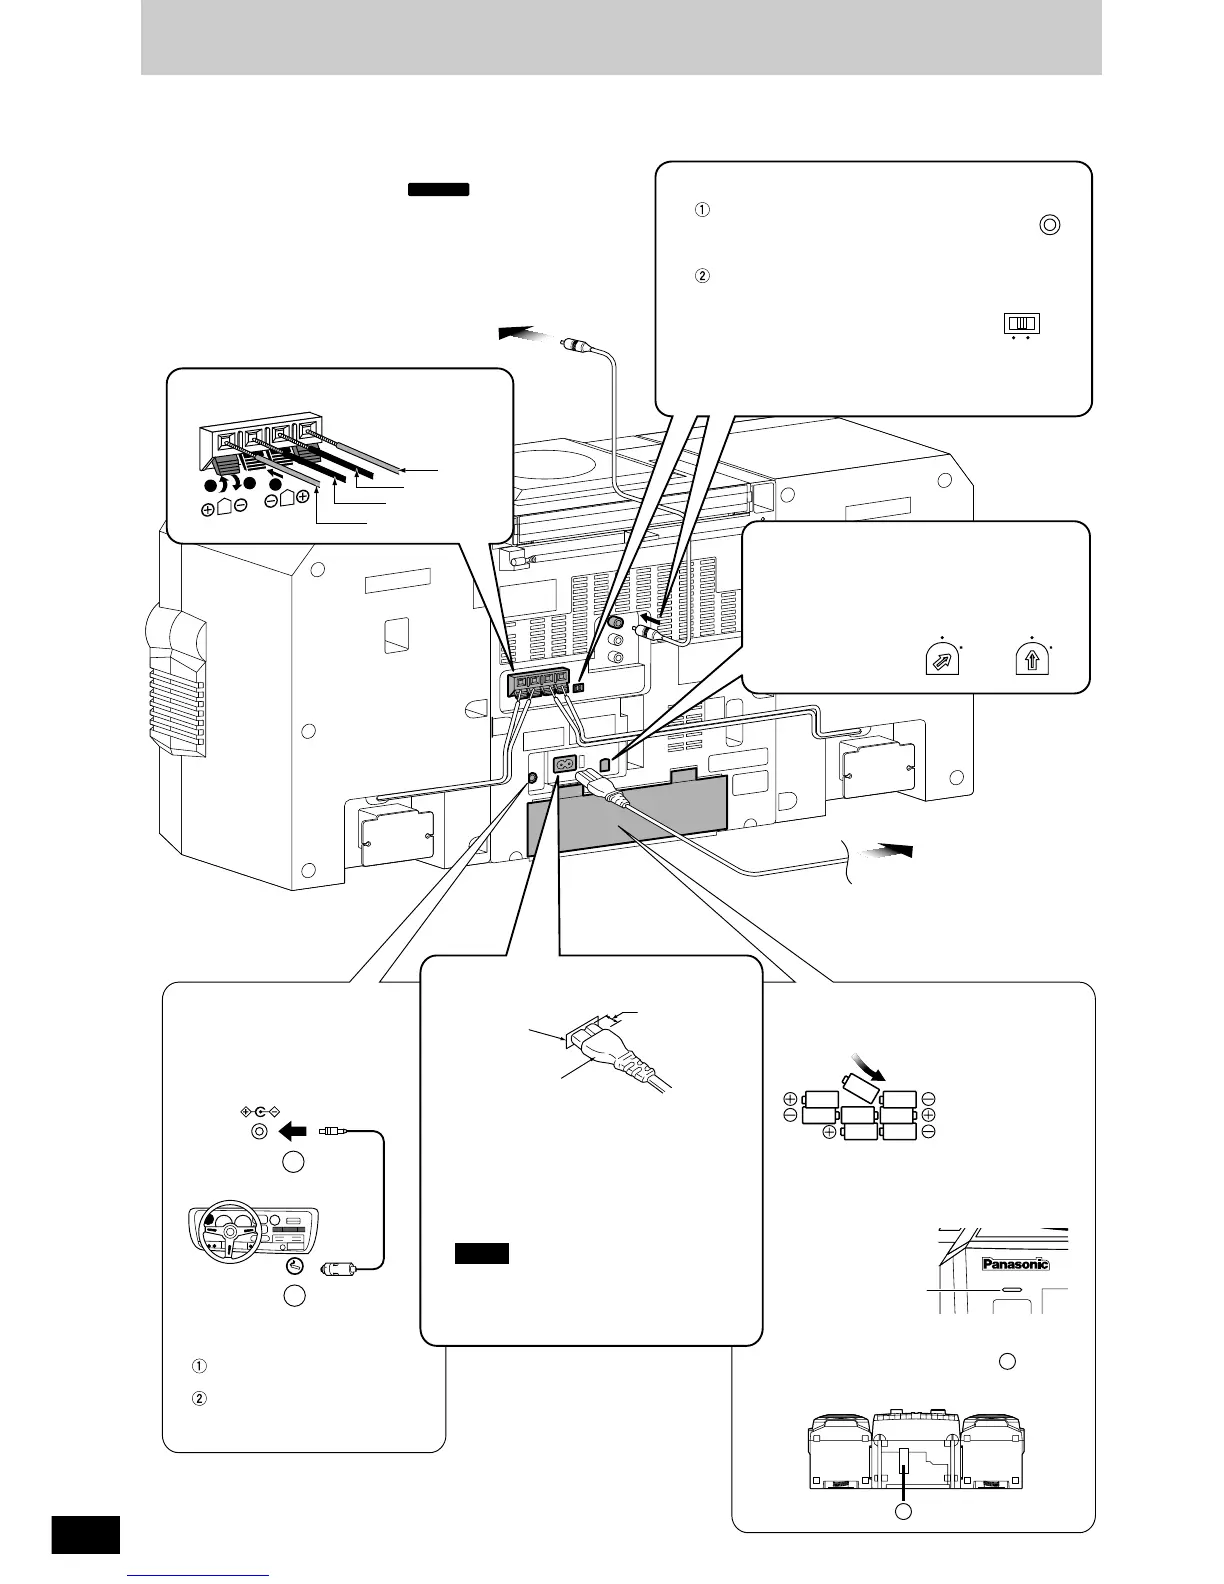
Insert the plug into the DC IN
Jack.
Plug the other end into the
cigarette lighter socket in
your car.
Use a flat-head screwdriver to turn the
voltage selector on the rear panel to the
appropriate position for the area in which
this system is to be
used.
To household
AC outlet
3 Set the voltage
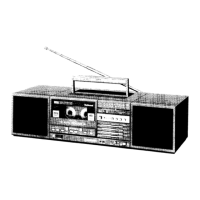
1 Speaker cords
110-127V
220-
240V
220-240V
220-
240V
110-
127V
110-
127V
R20/LR20, UM-1
a
a
SPEAKERS (IMP 4
Ω)
R
L
2
1
3
Red (+)
Red (+)
Black (–)
Black (–)
Disconnect the AC power supply cord.
Replace the batteries when
OPERATION/BATT goes dim during play.
Insert batteries in numbered order.
Disconnect the AC power
supply cord.
Removal
Insert your finger into the slot ( ) at the
bottom of the unit and push out the
batteries.
When using batteries
(not included)
When connecting the
car battery cord
(not included)
1
2
DC IN
(12-13.2V)
To TV
2 Video connection cable
(included)
Connect the video connection cable
from the VIDEO OUT terminal of the
rear panel of this unit to the VIDEO
IN terminal of the TV.
Set the VIDEO SWITCH to match
the television set to be connected.
PAL : When connecting to a PAL
system TV.
NTSC : When connecting to a NTSC
system TV.
For details, refer to the TV operating
instructions.
VIDEO
OUT
NTSCPAL
VIDEO
SWITCH
OPERATION/BATT
2 1
3 5 4
6
8
7
Insertion of connector
Even when the connector is perfectly
inserted, depending on the type of inlet
used, the front part of the connector may
jut out as shown in the drawing.
There is however no problem using the
unit.
The included AC power supply cord is for
use with this unit only.
Do not use it with other equipment.
Approx.
6 mm
Connector
Appliance
inlet
4 AC power supply cord
(included)
Note