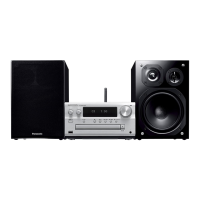
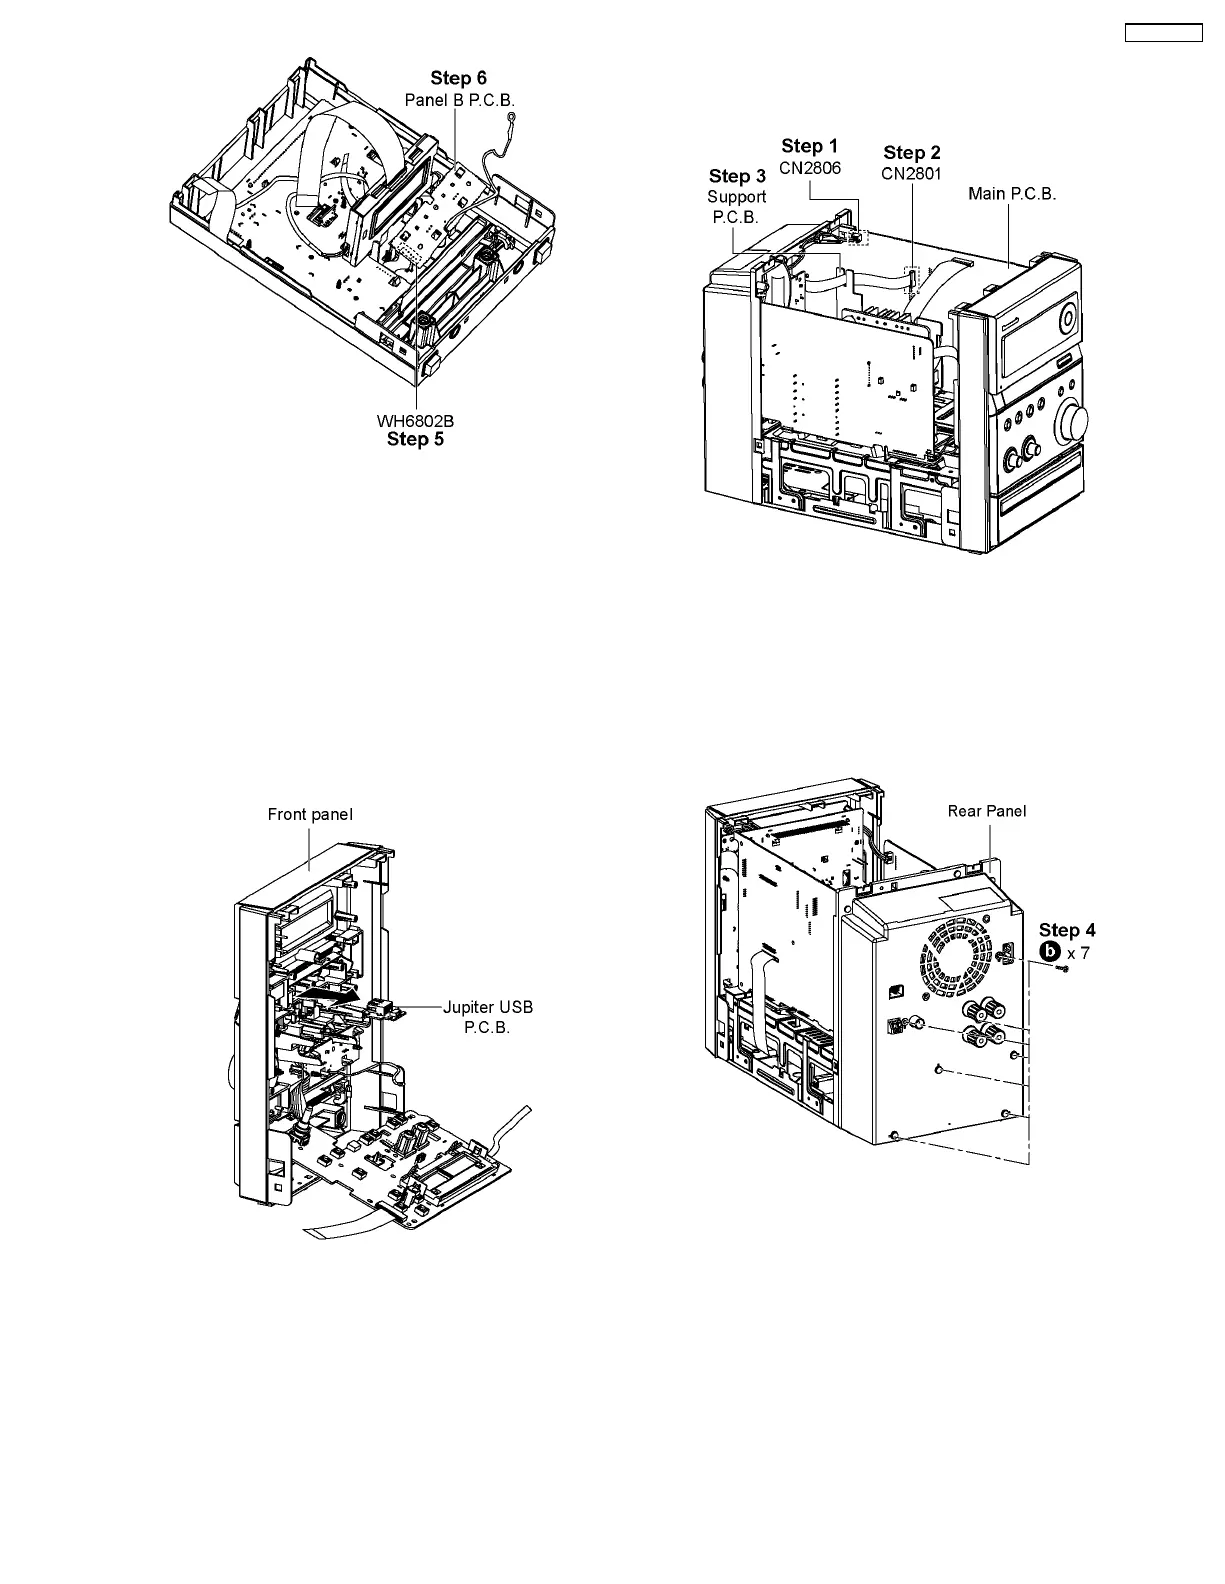
Step 5 : Desolder 6P cable (WH6881) at Panel B P.C.B..
Step 6 : Remove Panel B P.C.B..
Note: During reassembling procedures, ensure 6P cable
(WH6881) are soldered on Panel B P.C.B..
8.8. Disassembly of Jupiter USB
P.C.B.
• Follow the (Step 1) - (Step 5) of Item 8.3
• Follow the (Step 1) - (Step 8) of Item 8.4
• Follow the (Step 1) - (Step 4) of Item 8.5
• Follow the (Step 1) - (Step 4) of Item 8.6
Step 1 : Remove Jupiter USB P.C.B. from Front Panel in the
direction of arrow.
8.9. Disassembly of Rear Panel
• Follow the (Step 1) - (Step 5) of Item 8.3
Step 1 : Detach 2P cable at the connector (CN2806) on Main
P.C.B..
Step 2 : Detach 14P FFC cable at the connector (CN2801) on
Main P.C.B..
Step 3 : Remove cable from Support P.C.B..
Step 4 : Remove 7 screws from the Rear Panel.
25
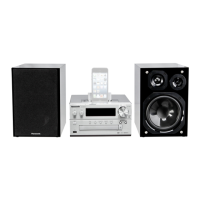
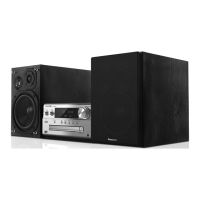
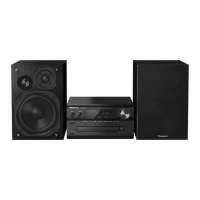
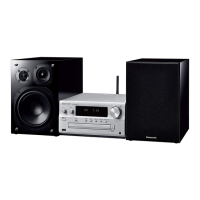
SA-PMX3GN