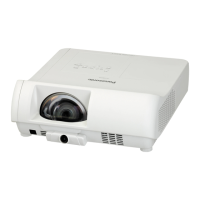
Before switching on the projector, make sure all the other devices are correctly connected and remove the Lens
cover. (
page 18)
1
Connect the power cord. (
page 20)
After a while the “power indicator” lights or
ashesinred.
2
Press the POWER button.
POWER• indicatorashesgreenseveraltimes
before it lights up and the STARTUP LOGO is
displayed. See STARTUP LOGO in DISPLAY
OPTION menu. (
page 36)
NOTE:
Conrmthat• CONTROL PANEL (when operating with
the projector body) or REMOTE CONTROLLER (when
operating with the remote control) under CONTROL
DEVICE SETUP in the SECURITY menu is set to ENABLE.
(
page 44)
When setting the SECURITY menu, you will be asked to
input the password. (
page 42)
When starting up the projector, some small rattling or •
tinkling sound may be heard. These are normal and will not
affect the performance of the projector.
When the internal cooling fan is operating, some operational •
sound may be heard. The loudness of the operational
sound depends on the external temperature.
If • INITIAL START UP (PROJECTOR SETUP menu) is set
to ON, the projector starts projecting when the power cord is
connected to a wall outlet. (
page 39)
If the projector is turned on again while the internal cooling •
fan is still operating by the internal power supply, the display
mayickerduetothespecicationsofthelamp.Theseare
normal and will not affect the performance of the projector.
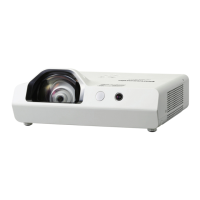
POWER indicator
 Loading...