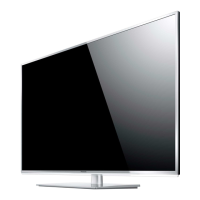
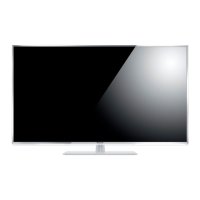
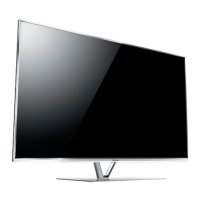
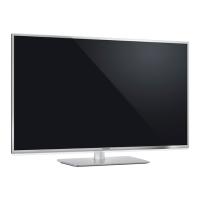
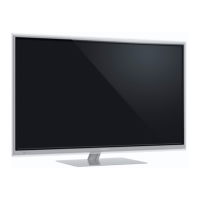
Do you have a question about the Panasonic TX-L42ET61 and is the answer not in the manual?
Gateway to TV, applications, and more. Easy access to features.
Basic connection, Selecting channel, Information banner, Option Menu, etc.
External connection, Watching external input, HDMI features, etc.
Viewing Mode, Ambient Sensor, Auto power standby, Aspect, etc.
Sound mode.
Electronic Programme Guide (EPG). View programmes, change layout, watch programmes.
Switch to teletext, select pages, adjust contrast, reveal hidden data.
Select TOP (FLOF) / List mode for teletext display.
Enjoy 3D images with 3D Eyewear. Safety precautions.
Change viewing mode between 2D and 3D. Change 3D format manually.
Settings for 3D Detection, 3D Signal Message, 2D->3D Depth, etc.
List favourite DVB channels. Edit DVB Favourites list. Name Favourites.
Automatically retunes receivable channels. For DVB-S channels.
Manually search for channels. For DVB-S.
Lists selectable satellites for DVB-S tuning.
Record digital TV programmes to USB HDD. Prepare USB HDD.
Format and set up USB HDD for recording.
Set timer details for programmes (channel, date, time).
Capacity, connection, formatting, performance notes.
Supported Photo formats: JPEG.
Supported Video formats: AVCHD, SD-Video, AVI.
Enjoy photo, video, music from SD Card/USB, and TV recorded content.
Select device (SD Card, USB HDD) and mode (Photo, Video, Music, Recorded TV).
Create 3D photo from a pair of photos on SD Card. Requires 3D Eyewear.
Select title in thumbnail view. Start playback. Supported file formats.
Settings for video operations: Video Preview, Multi Audio, Subtitle, etc.
List of recorded contents on USB HDD. All or Not Viewed. Icons.
Playback recorded TV content. Operations: Rewind, Fast forward, Stop, Pause.
Group or release contents. Create Group, Release Group.
Ensure media server, network connections, and settings are complete.
Playback operations: Rewind, Fast forward, Stop, Pause.
Access applications like internet, network, Media Player from APPS List.
Customise APPS List. VIERA Link “HDAVI Control™” Summary.
Max compatible equipment for VIERA Link Control (Recorder, Player, Audio, Tuner). Preparations for VIERA Link.
Lock channels/inputs. Enter PIN number. Child Lock List.
Change PIN number. Notes on PIN.
Enjoy Hybrid Broadcast Broadband TV. Select mode, Auto Start On.
Store/Delete technical information for data service applications.
Caution for CI module insertion/removal.
Access software in Common Interface (CI) Modules.
Resets TV to original condition. Auto Setup.
Update new software automatically. Standby or Now install.
Update new software manually. Download.
Use numeric buttons to enter characters.
Keyboard usage and settings.
Check compatible gamepads. Gamepad key correspondence to remote control.
Navigating menus, selecting items, entering data. Resetting settings.
Select Viewing Mode, Basic settings, Colour Temperature, Vivid Colour, etc.
Mode selection, Basic settings, Volume settings, Equaliser, Surround, etc.
Network Connection, Status, VIERA remote Settings, Link Settings, Software Update, New Software Message.
Eco Navigation, USB Device Setup, Recording Setup, Child Lock, Tuning Menu.
Troubleshooting common issues.
Troubleshooting common picture issues. Auto aspect, Black and white picture.
Troubleshooting digital TV issues: block noise, frozen image, tuning problems.
Troubleshooting network issues: connection, DLNA, internet operation.
How to clean display panel, cabinet, pedestal. Mains plug care.
Access Help menu, TV Self Test, System Information, Device Information.
3D Eyewear.
Trademarks and copyright information.
| Screen Size | 42 inches |
|---|---|
| Resolution | 1920 x 1080 pixels |
| Display Type | LCD |
| Backlight Type | LED |
| Smart TV | Yes |
| HDMI Ports | 4 |
| USB Ports | 2 |
| Wi-Fi | Yes |
| Ethernet | Yes |
| Audio Output | 20W |
| 3D | Yes |

