-13-
DIP SWITCH SETTINGS
In a configuration, the camera's RS485 data port is used for camera control by the system controller, the camera's
DIP switches must be configured to specify the unit number and communication parameters.
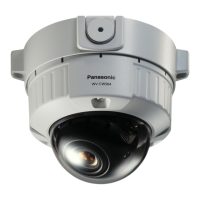
You need to set the DIP switches before installing the camera in the ceiling or on a wall.
■ Communication Parameters (DIP Switch 2)
The factory default settings are all OFF.
Switch 1: Terminator (Internal Termination Resistance)
Set to ON in the following situations.
• When only one camera is connected.
• When only one camera is connected via a daisy chain over a long
distance.
Switches 2 to 4: Communication Parameters
This setting toggles between 2-line and 4-line communication. Use
these switches to select the communication protocol being used.
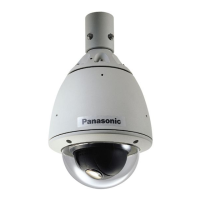
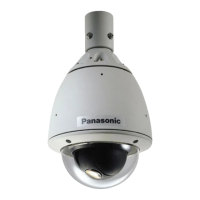
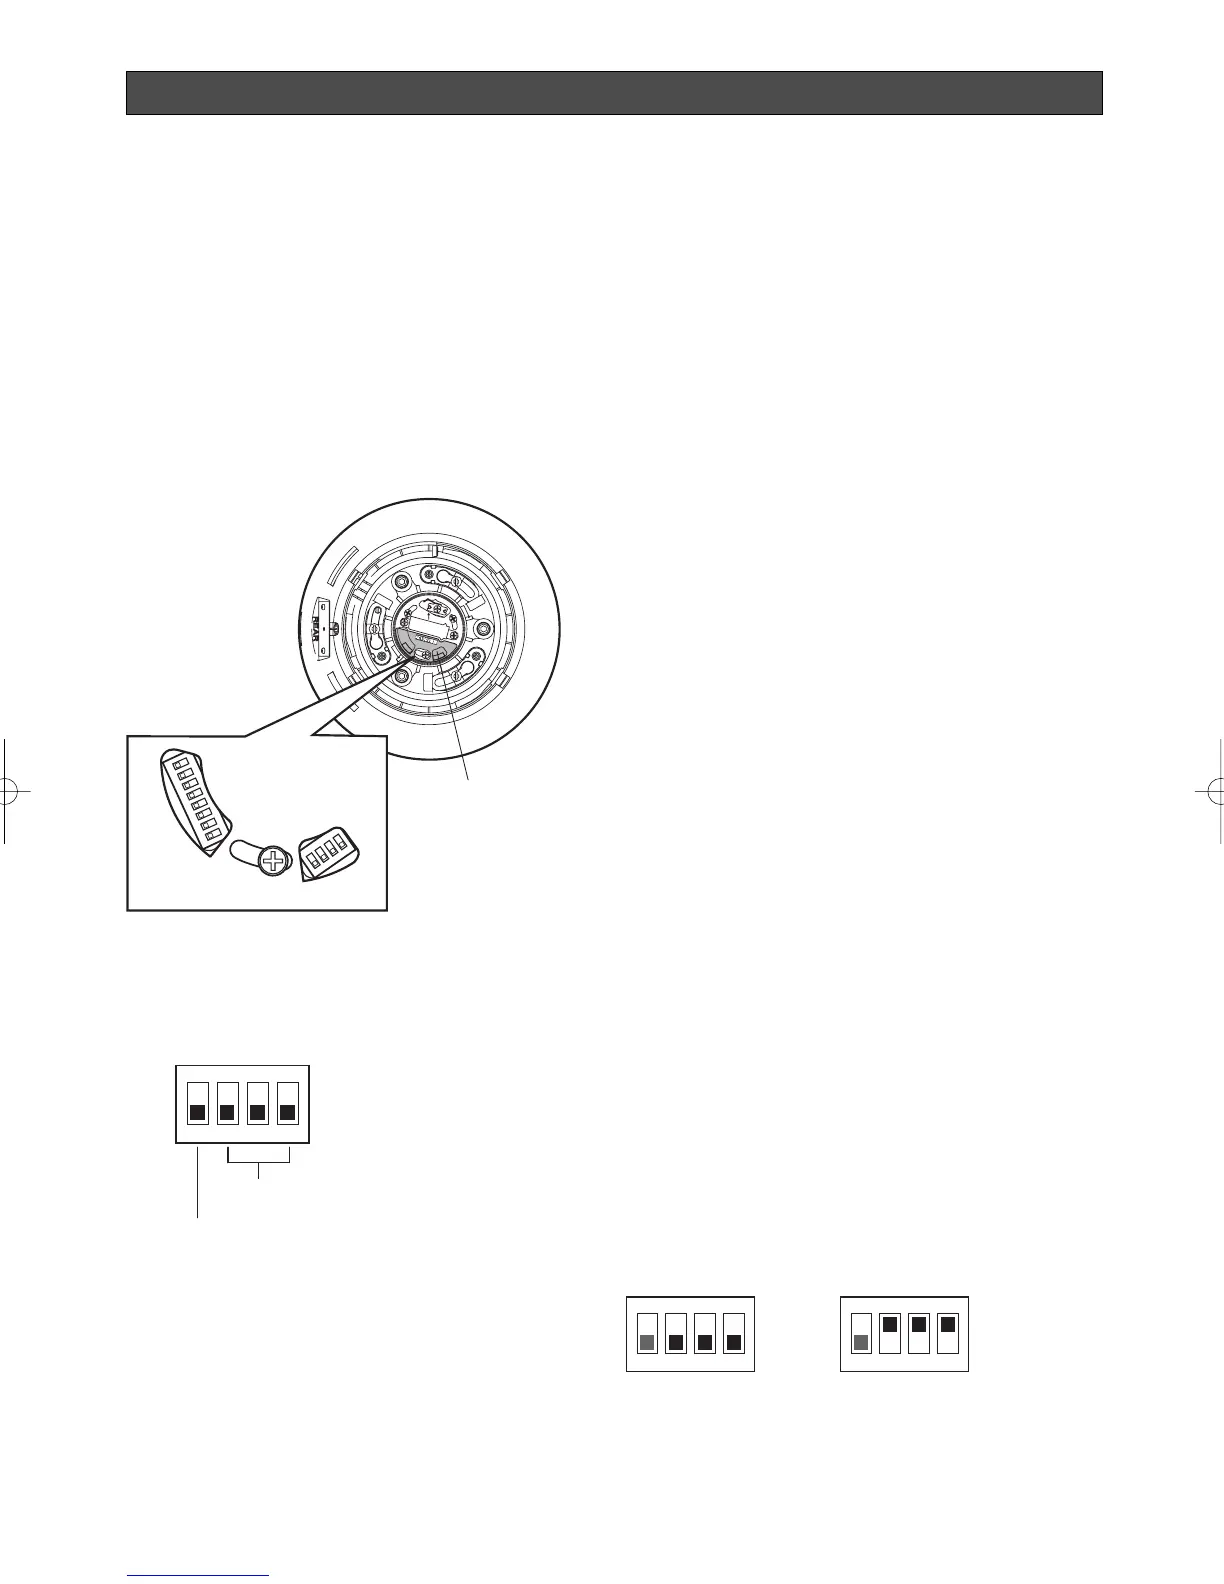
1. Attaching and removing the Upper Base
Refer to the installation manual of the mounting
brackets sold separately for removing the Upper
Base.
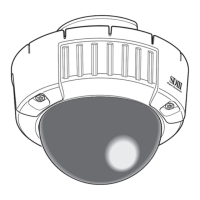
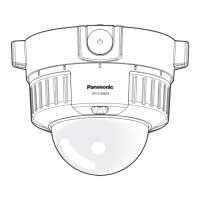
2. Remove the protective sticker from the top of the
sun shield. (Keep the protective sticker for in step
4.)
The DIP switches can be set now.
3. Set the DIP switches as the following:
Communication parameters: Set with switch 2
Unit number: Set with switch 1
4. Put the protective sticker back over the DIP
switches.

 Loading...