16
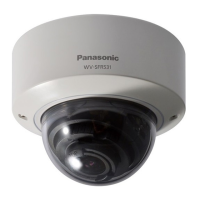
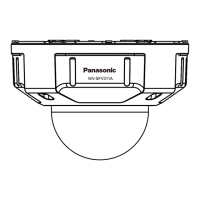
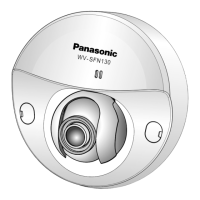
When installing the camera on a ceiling or a wall, there are three methods as specified below.
• Directly mounting to a ceiling or a wall
• Use the supplied
mount bracket
• Use the one-gang junction box
IMPORTANT:
• Procure 3 screws (M4) to secure the camera or the mount bracket (accessory) to a ceiling or a
wall according to the material of the installation area. Do not use wood screws and nails.
For mounting a camera on a concrete ceiling, use an anchor bolt (for M4) or an AY plug bolt
(M4) for securing.
(Recommended tightening torque: 1.6 N·m {1.18 lbf·ft})
•
Mount the mount bracket in consideration of the camera angle in accordance with the instruc-
tions (
☞ page 24).
• Required pull-out capacity of a single screw/bolt is 196 N {44 lbf} or more.
• If a ceiling board such as plaster board is too weak to support the total weight, the area shall
be sufficiently reinforced.
The mounting conditions of the camera are described as follows:
Installation
place
Installation method Recommended
screw
Number of
screw
Minimum pull-out
strength (per 1 pc.)
Ceiling/wall (direct mounting) M4 3 pcs.
196 N {44 lbf}
Ceiling/wall*
Mount bracket
(accessory)
M4 3 pcs.
196 N {44 lbf}
Ceiling/wall One-gang junction box M4 2 pcs.
196 N {44 lbf}
* The conditions for mounting the camera onto the ceiling or wall with a mount bracket.
Preparations
 Loading...