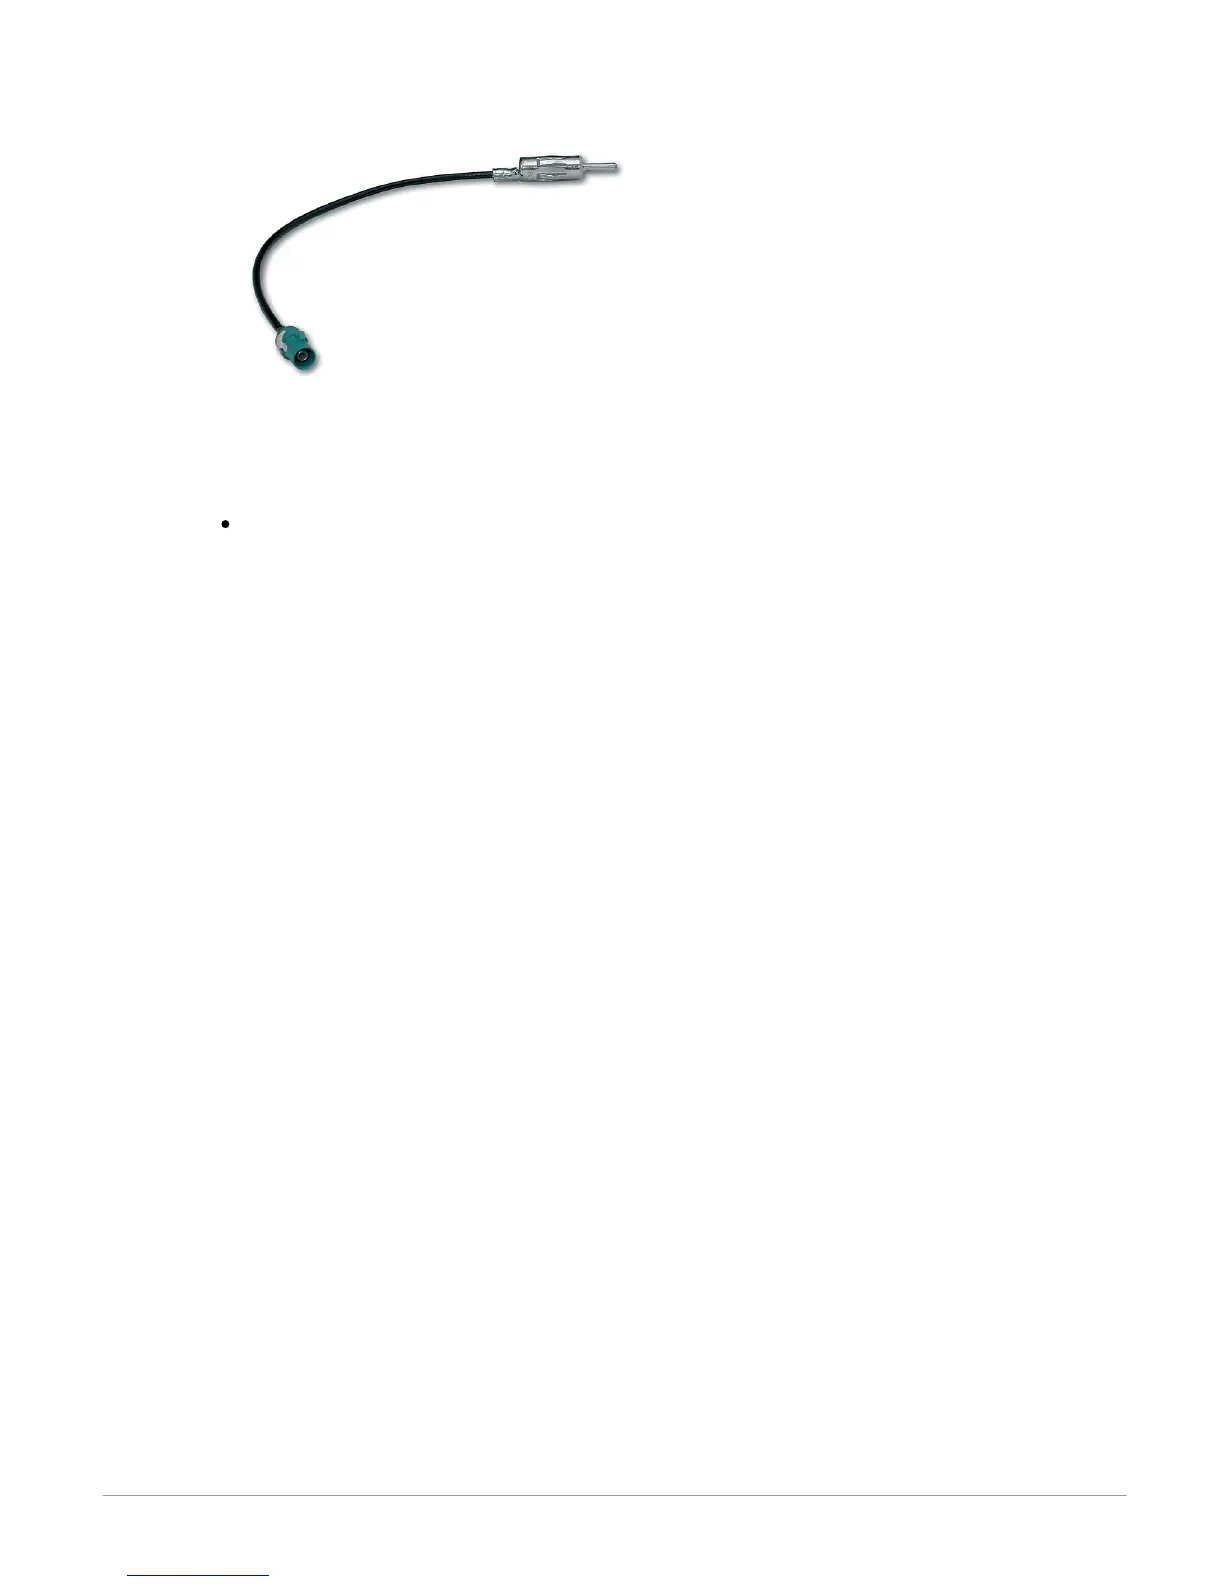
Compare the Parrot ASTEROID antenna connector to the antenna connector of
your vehicle. If an adapter is necessary, contact your local car audio specialist.
Make sure you also supply power to your antenna if it is amplified. Power to the
antenna can be supplied using the Parrot ASTEROID ISO cable.
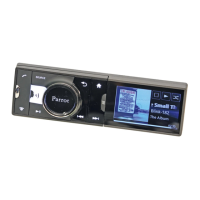
Installing the car stereo
1.
Insert the cage and fix it into the dashboard using the bracket mounting tab.
2.
Pull audio and power cables of the vehicle to the outside of the dashboard,
through the mounting bracket.
3.
Connect the audio and power connectors of the Parrot ASTEROID to the ones of
your vehicle.
4.
Check the wiring (as explained in the Final check section).
5.
Install the audio cables (as explained in the Installing the cables section).
6.
Install the double microphone (as explained in the Installing the microphone
section)
7.
Slide the car stereo into the Parrot ASTEROID cage and install the faceplate.