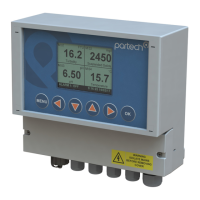
7300w² Monitor Instruction Manual
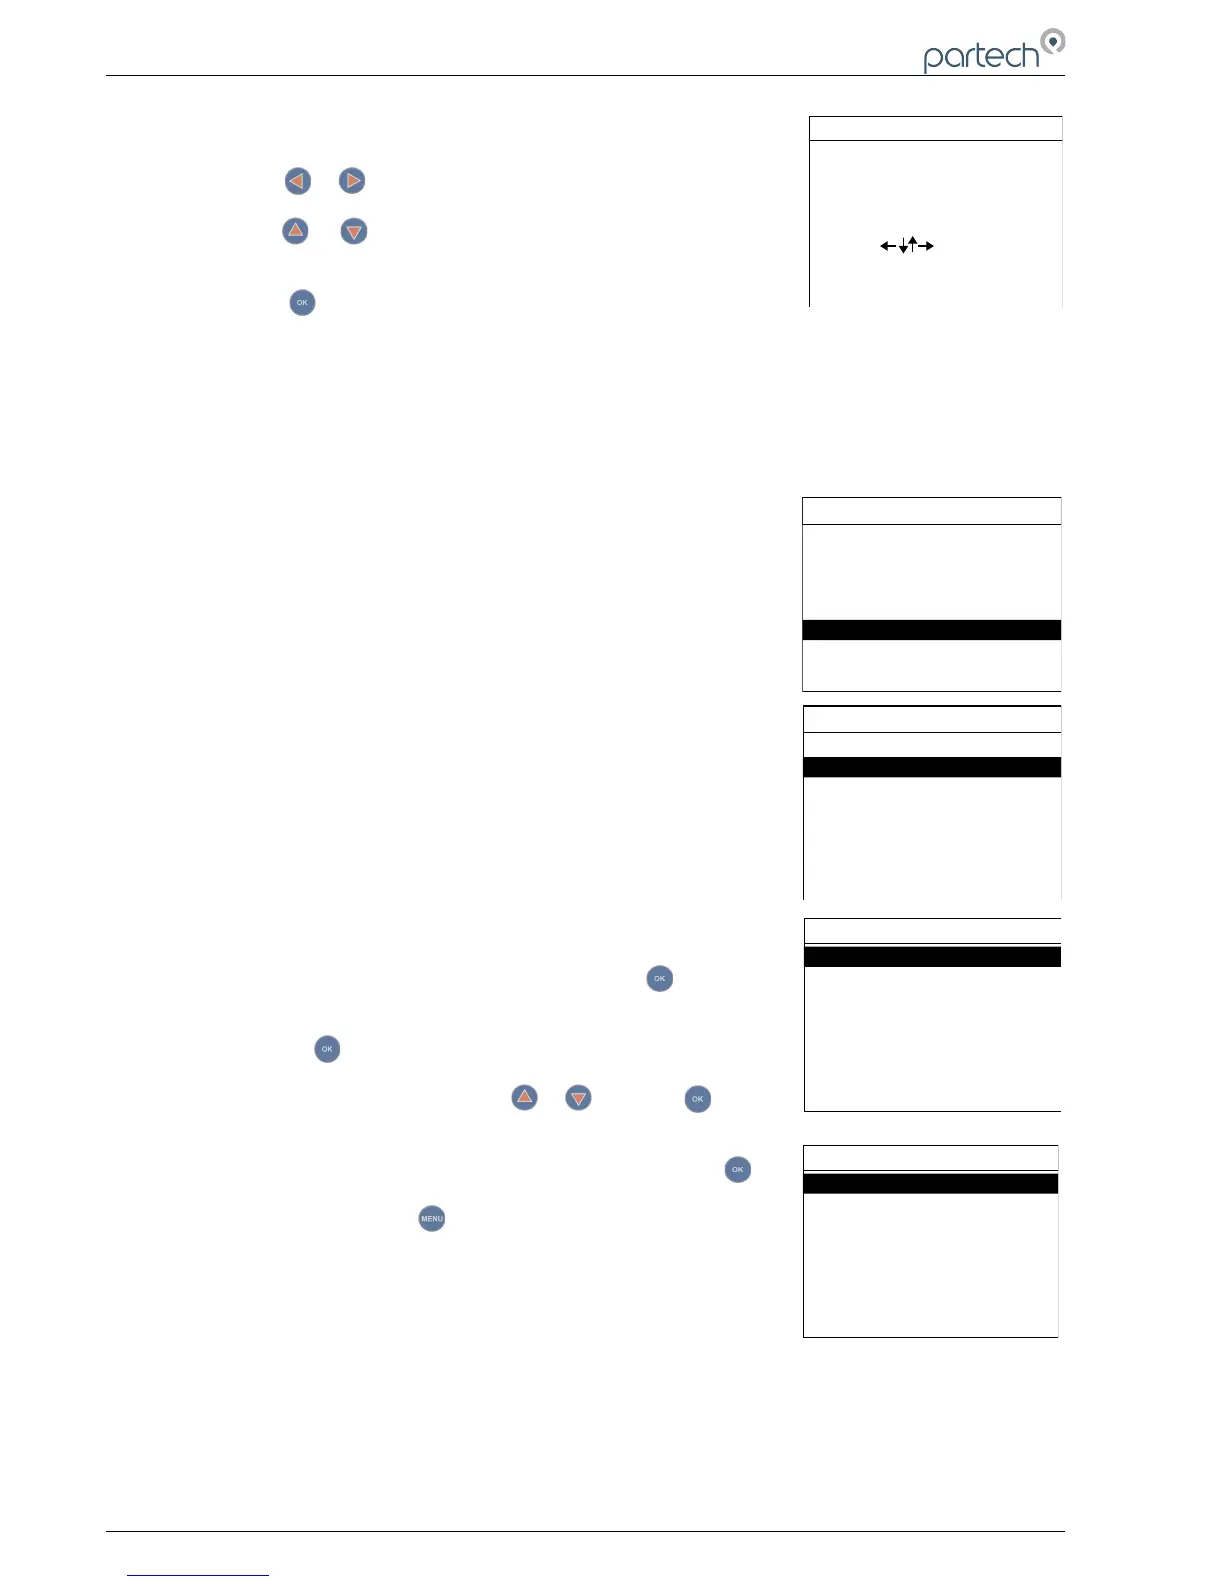
3. The current display position will be shown, e.g. 1 for M:01
Turbidity.
4. Press or to move the cursor below the digit to be changed.
5. Press or to increase or decrease the digit to the desired
new position (e.g. 3)
6. Press to accept. Measurement M:01 will now become
Measurement M:03, and the measurement registered as M:03 will now become measurement M:01.
7. Note, any alarms or analogue outputs registered to a specific measurement will also be updated to
the new display position (it is not necessary to re-configure alarms or outputs).
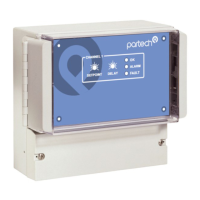
6.5 Alarm Config (Relay outputs)
The 7300w² monitor leaves the factory without any alarms configured. Alarms can only be configured
after installing the relevant sensor(s) and measurement(s). The default
condition is OFF.
Skip this section if you have no requirements for alarm outputs.
The ALARM CONFIG menu defines the functions of the 3 relay outputs
within the 7300w² monitor and any additional relay outputs added using
optional Expansion Boxes. Alarm outputs can only be assigned to
configured measurements (M:01 to M:16).
Alarm relays within the monitor will be shown as “ALARM # (M)”, whereas
# denotes relays 1 to 3 and (M) denotes the monitor.
Alarm relays associated with Expansion Boxes will be shown as “ALARM
# (E:1)”, whereas # denotes relays 1- 8 and (E:1) denotes Expansion Box
1.
Important: Without a measurement allocated to an alarm a limited
selection of options will be displayed in Alarm Config. Once a
measurement has been allocated, then a more complete selection will be
available. (See screenshots left)
From the MAIN MENU, select ALARM CONFIG and press .
1. Highlight the Alarm output to be configured (e.g ALARM 5 (E:1))
and press .
2. Highlight MEASUREMENT using or and press .
3. A list of your previously configured measurements will be
displayed. Highlight the required measurement and press . A
tick will be displayed next to the measurement showing it has
been selected. Press to return back to ALARM 1 CONFIG
MENU.
4. ALARM 5 CONFIG menu will now display all the options available
to configure the alarm.
5. Listed below are the descriptions of each option. Configure as
required.
• Info: List configuration details for the measurement.
• Measurement: The selected measurement as configured above.
Page 28 of 46 224081IM Issue 22 Issue Date 27/03/2018
 Loading...