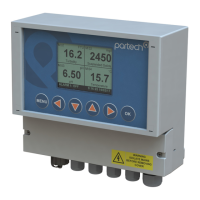
7300w² Monitor Instruction Manual
• Type: Offers the following options:
OFF: No relay output.
LOW: Alarm active on a low reading (below the set point).
HIGH: Alarm active on a high reading (above the
setpoint).
FAULT: Pre-defined System faults.
• Value: The alarm set point, for example, if TYPE has been set to LOW, the alarm will activate at
a measurement equal to or lower than the VALUE, likewise if HIGH is set, the alarm will activate
at a measurement equal to or higher than the VALUE.
• Hysteresis: The value entered for Hysteresis is the dead band where the Alarm will not reset on
a falling value. e.g. A HIGH alarm value of 50mg/l and a Hysteresis of 5mg/l would trigger an
alarm on a rising value of 50mg/l, but will not reset the alarm until the reading falls below 45mg/l.
The opposite is true for a LOW alarm type.
• Fault Setup: If FAULT was selected for TYPE, a list of fault conditions can be selected to
activate the alarm. Highlight the required fault conditions, and press to add or remove a tick.
More than one fault condition can be selected for a single alarm/relay. By default, all faults are
selected.
• Set Delay: The value entered for the Set Delay is used to filter spurious measurements and
spikes from giving a false alarm. e.g. for a HIGH alarm value of 50mg/l and a delay of 10
seconds, the alarm will not activate until the monitor has read a continuous measurement of
50mg/l or higher for more than 10 seconds. If the measurement falls below 50mg/l during the 10
seconds delay the timer will reset.
• Reset Delay: The reset delay is the opposite to the Set Delay, whereas the reading must remain
below the set point value for the duration of the delay before the alarm will reset.
• Test: This menu option is for diagnostics use and allows the operator to test the alarm/relay by
forcing the relay ON/OFF. Press or to switch the relay ON/OFF. Press or to exit.
• Test Cycle: This menu option is for diagnostic use and will cycle the alarm relay ON/OFF every
15 seconds. Press or to exit.
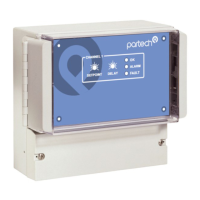
6.5.1 Alarm Addressing with Expansion Boxes
The standard 7300w² Monitor with no Expansion Boxes connected, will only display three alarms in the
“ALARM CONFIG” menu:
Alarm 1 (M) Config = Relay 1 within the monitor
Alarm 2 (M) Config = Relay 2 within the monitor
Alarm 3 (M) Config = Relay 3 within the monitor
When an Expansion Box is connected to the 7300w² Monitor, additional configurable alarms are added
to the list in the “Alarm Config Menu” as follows:
Alarm 1 (E:1) Config = Relay 1 within Expansion Box 1
Alarm 2 (E:1) Config = Relay 2 within Expansion Box 1
Alarm 3 (E:1) Config = Relay 3 within Expansion Box 1
Alarm 4 (E:1) Config = Relay 4 within Expansion Box 1
Alarm 5 (E:1) Config = Relay 5 within Expansion Box 1
Alarm 6 (E:1) Config = Relay 6 within Expansion Box 1
Alarm 7 (E:1) Config = Relay 7 within Expansion Box 1
Alarm 8 (E:1) Config = Relay 8 within Expansion Box 1
224081IM Issue 22 Issue Date 27/03/2018 ` Page 29 of 46
 Loading...