12 of 58
ISSUED: 10-30-09 SHEET #: 095-9297-7 07-11-11
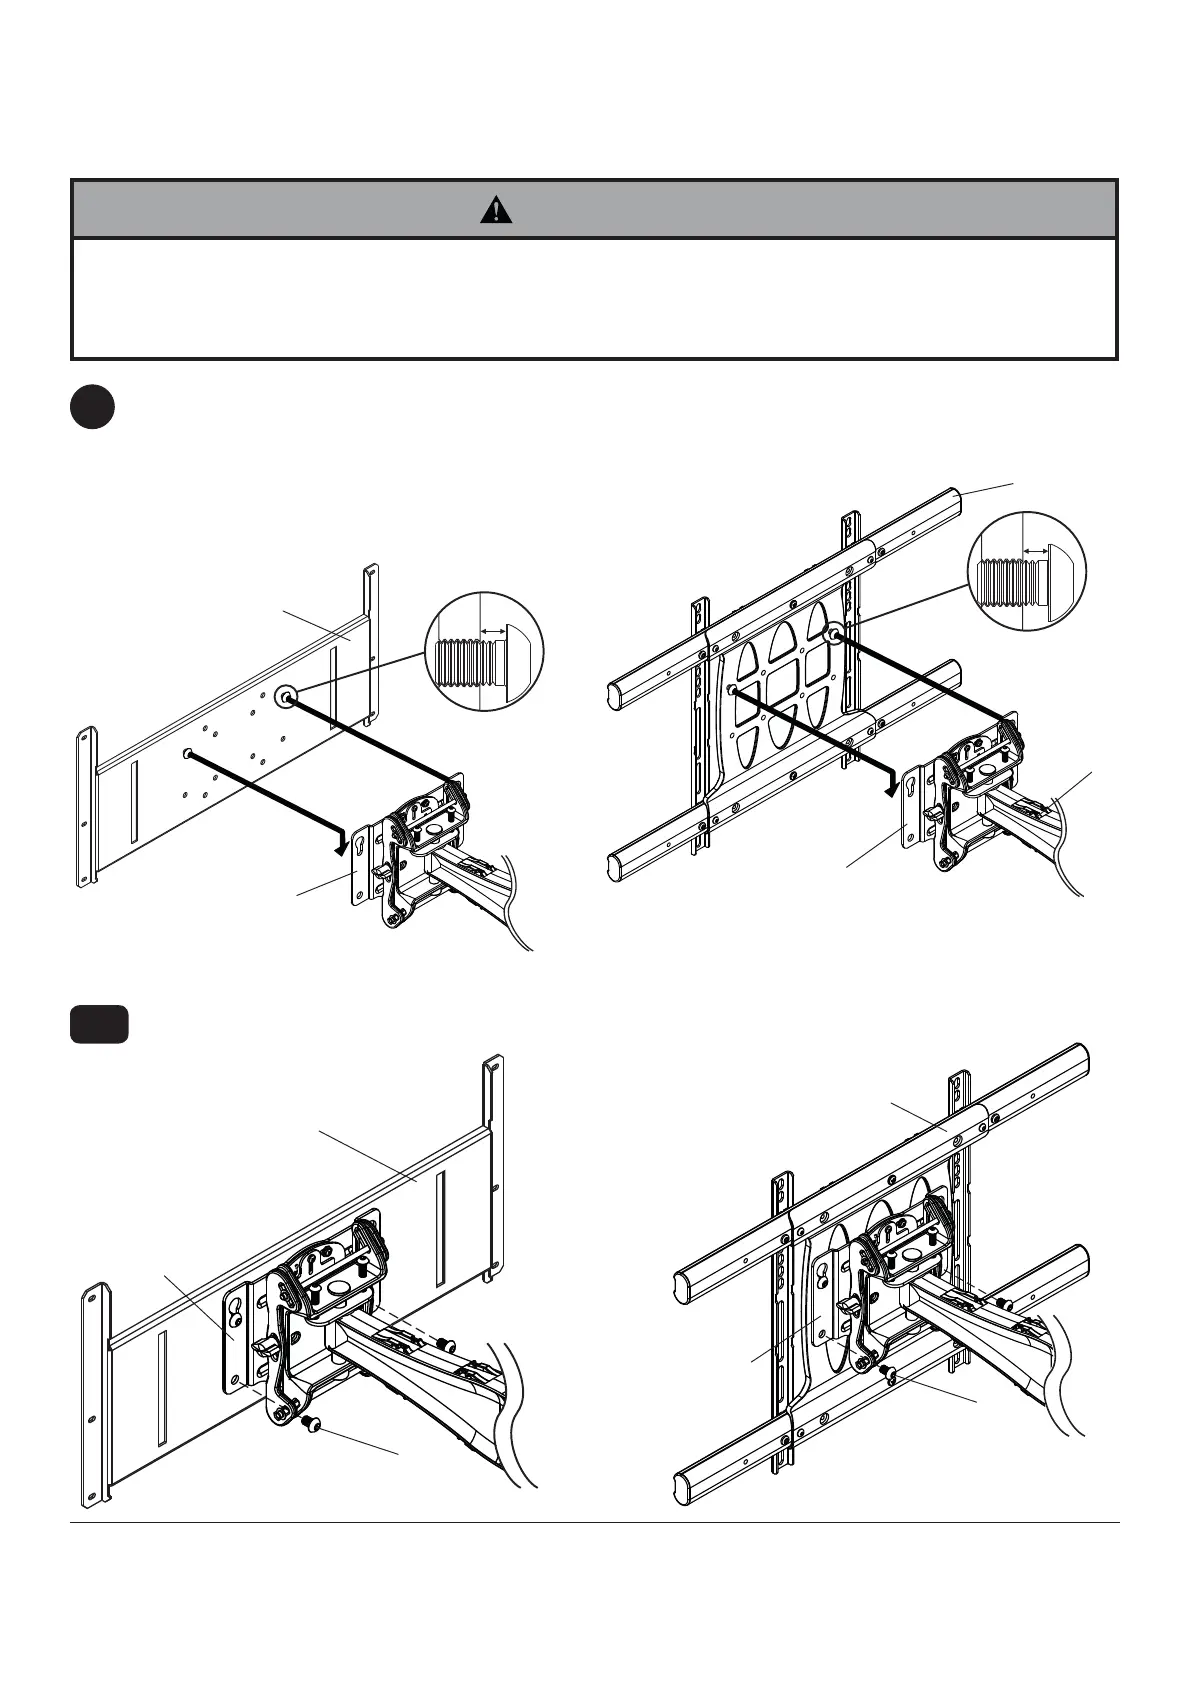
For Dedicated PLP Plate (not evaluated by UL):
Refer to PLP model instruction sheet for attachment
of dedicated PLP plate to display.
Install two M10 x 15mm screws (provided with
dedicated PLP plate) into top two holes of dedicated
PLP plate leaving 1/4" of exposed thread as shown
in fi gure 4.1.
Insert two M10 x 15mm screws (E) into bottom holes of adapter plate as shown in fi gure 4.3 or 4.4. Tighten all
fasteners with 6mm allen wrench (H).
4-1
A
B
B
E
ADAPTER PLATE
ADAPTER PLATE
DISPLAY NOT
SHOWN FOR
CLARITY
• Do not lift more weight than you can handle. Use additional man power or mechanical lifting equipment to safely
handle placement of the display.
• Do not tighten screws with excessive force. Overtightening can cause damage to mount. Tighten M10 x 15mm
screws (E) to 40 in. • lb (4.52 N.M.) maximum torque.
WARNING
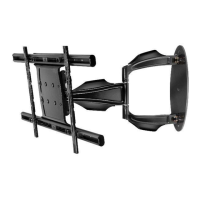
Mounting Flat Panel Display
4
1/4"
M10 X 15MM SCREW
1/4"
M10 X 15MM SCREW
DEDICATED PLP PLATE
ADAPTER PLATE
fi g. 4.1
fi g. 4.2
E
DEDICATED PLP PLATE
ADAPTER PLATE
fi g. 4.4fi g. 4.3
For Universal Adapter Bracket: Hook M10 x 15mm
screws into keyslots of wall arm adapter plate (A) as
shown fi gure 4.2.