IntelliBrite Landscape Light Installation and User’s Guide
13
Setting the Color Swim Effect (optional)
The additional “Color Swim” effect feature works with any of the “IntelliBrite” or
“Landscape” color shows . The color effect starts from the first light, then the
color change is delayed across to the adjacent lights creating a wave effect.
The color swim effect is used with multiple lights. Each light is set to its own
address number. The Color Swim effect is automatically activated when each
light is assigned its own address number, as described below.
To set a light address number
The address dial switch is located on the front side of the light fixture circuit
board. To access the light address dial switch, first remove the lens cap
(see “Lens Cap Removal/Replacement” on page 12.
Assigning address numbers to multiple lights
1 to 10 lights: Set each light with its own address number. The default light
address is set to Address 0. Set the first light to address 0, second light address
1, and so on.
20 lights (even number of lights - more than 10): Pair adjacent lights with the
same address number; lights 1 & 2 (address 0), 3 & 4 (address 1) and so on.
15 lights (odd number of lights - more than 10): Pair adjacent lights with the
same address number. Assign the odd numbered single lights with their own
address number as follows:
Paired Single
Lights Address Light Address
1 - 2 (address 0) 3 (address 1)
4 - 5 (address 2) 6 (address 3)
7 - 8 (address 4) 9 (address 5)
10 - 11 (address 6) 12 (address 7)
13 - 14 (address 8) 15 (address 9)
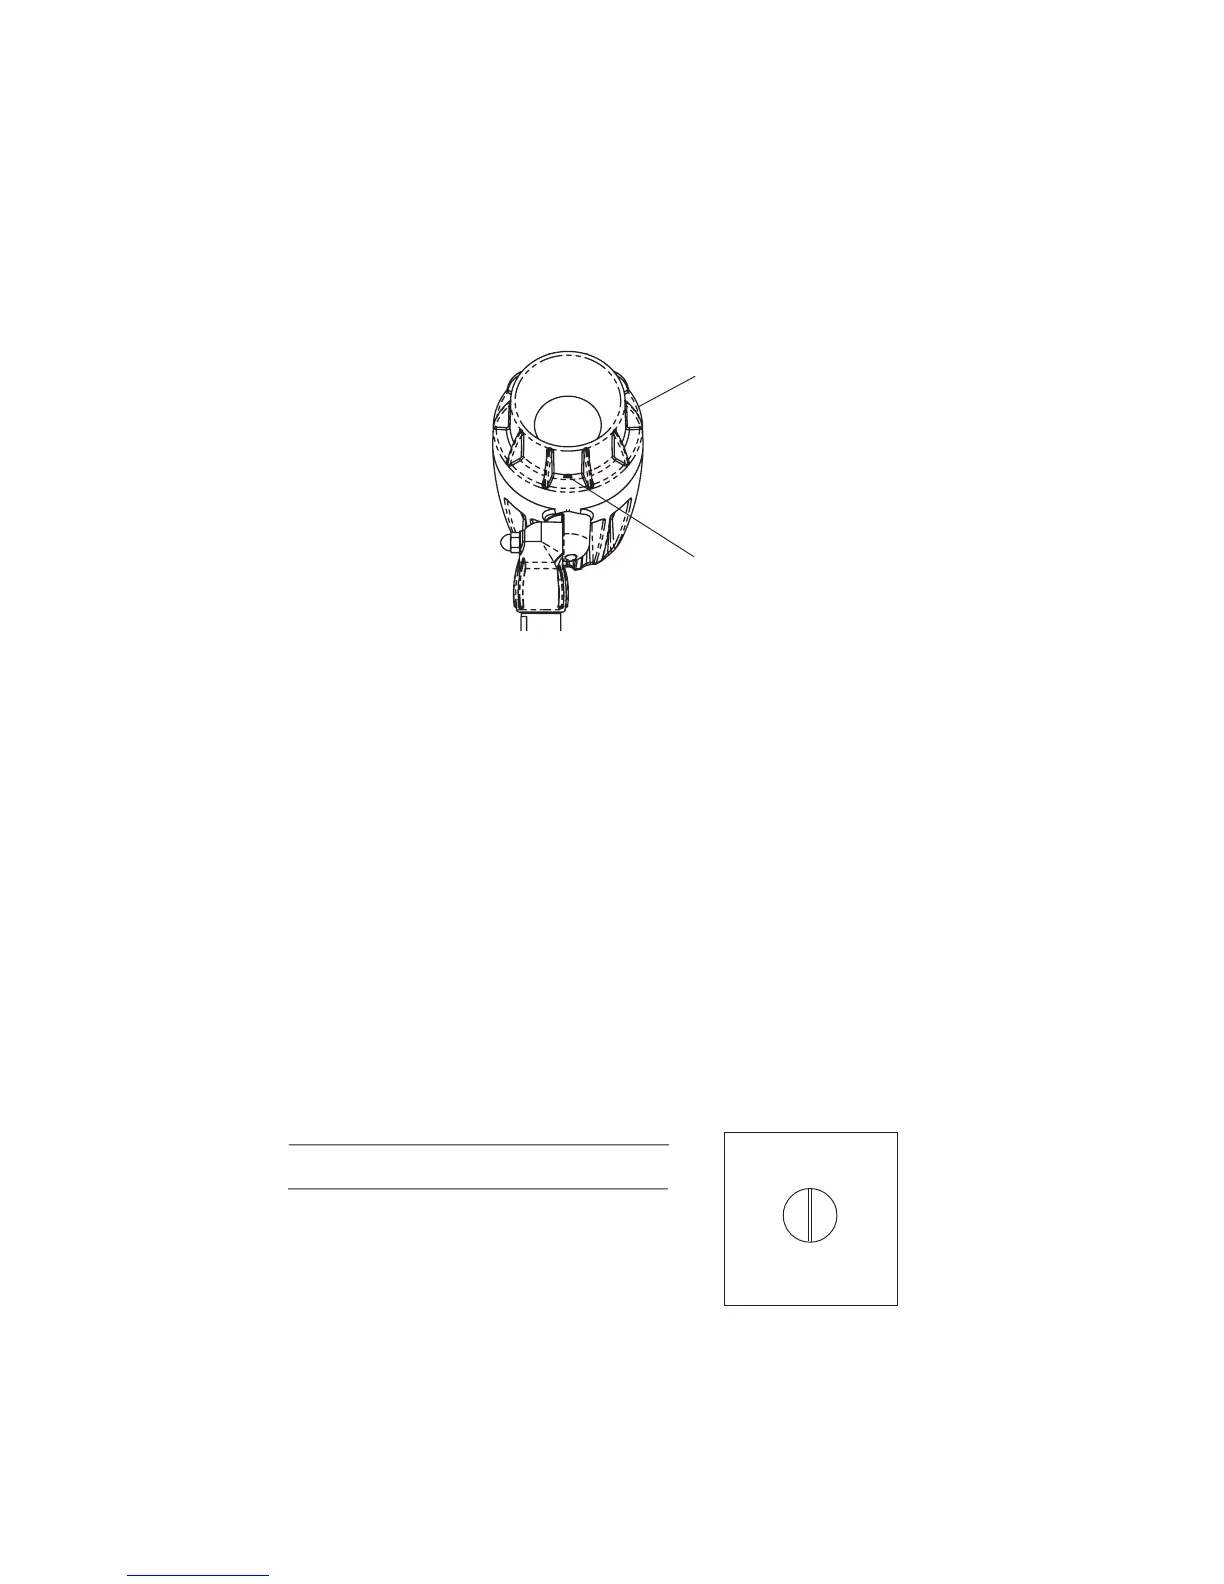
3. Align the Lens Cap Drain-Hole: Rotate the lens cap to vertically align
the lower drain hole with the top of the light mounting pipe. This will
allow water to drain out of the lens cap.
4. The lens cap installation is complete.
LIGHT ADDRESS DIAL SWITCH
0
1
9
8
7
6
5
4
3
▲
2
LOWER
DRAIN
HOLE
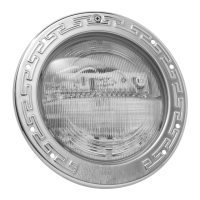
LENS CAP

 Loading...