SPACOMMAND
®
Spa-Side Remote Installation and User’s Guide
17
The IntelliTouch® Control System supports up to four SpaCommand
®
Spa-Side Remotes
(EasyTouch
®
Control System supports one remote). Each remote can control different
functions or the same functions at different locations. Each remote can be assigned as
number 1, 2, 3, or 4. If a different number is not assigned to each installed remote all
remotes are assigned as number iS1. This is useful if you wish to have the same
functions available at different remote locations.
The following steps describe how to manually assign number 2, 3, or 4 to each spa-side
remote.
Note: The first installed spa-side remote is automatically assigned as number IS1.
Additional remotes need to be manually assigned.
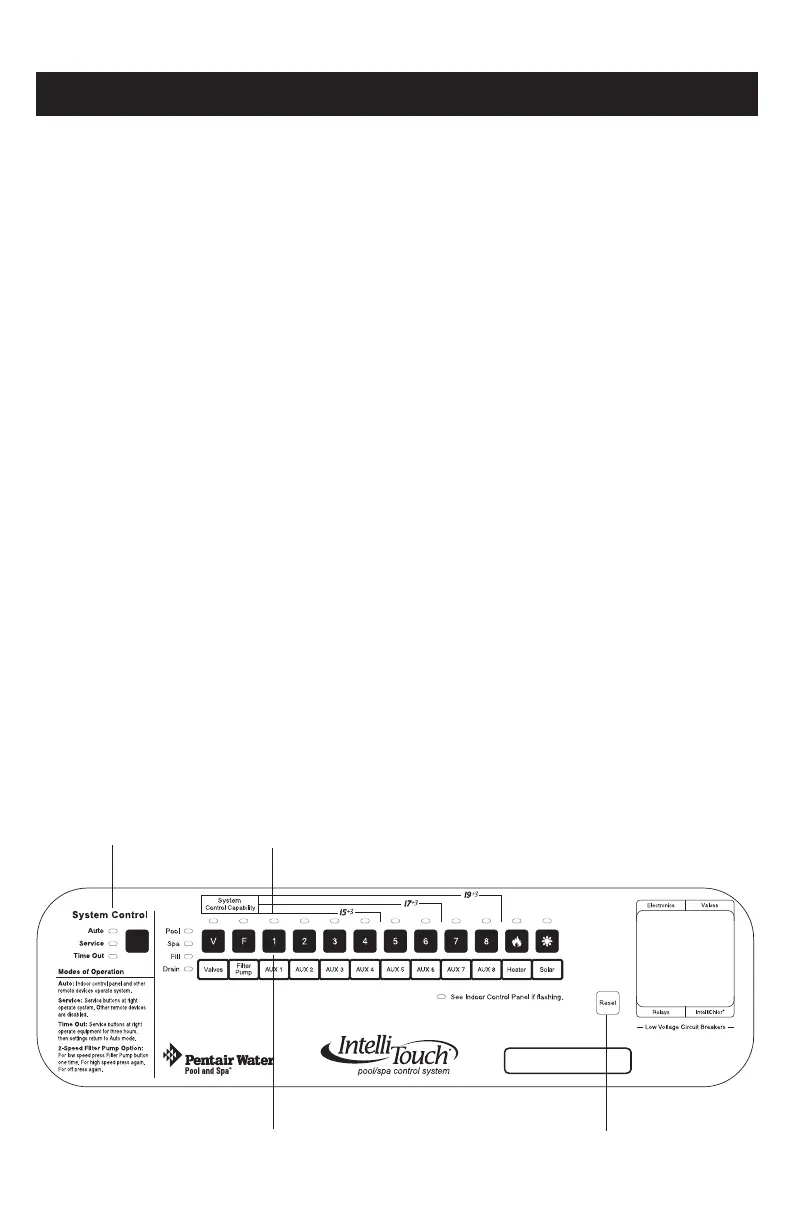
To assign additional spa-side remotes (iS2, iS3, or iS4):
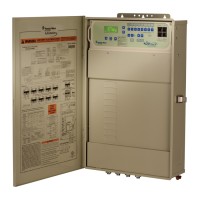
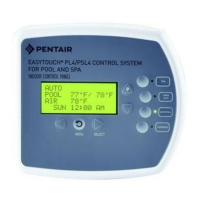
1. On the IntelliTouch outdoor control panel, press the Reset button then press
the 1 button. The three “System Control” LEDs will start flashing (see page
16).
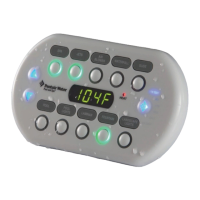
2. On the remote, press the both the DOWN arrow button and the 1 button at the
same time while the outdoor control panel LEDs are flashing.
3. The remote display will show SHA.
4. The four green remote LEDs behind circuit buttons will be illuminated. Do one
of the following:
• For the second remote, press 2 button. IS2 is displayed.
• For the third remote, press 3 button. IS3 is displayed.
• For the fourth remote, press 4 button. IS4 is displayed.
5. The remote red LEDs will start to flash for about a minute. Wait until they stop
flashing. Repeat steps 2-4 for each remote.
6. On the outdoor control panel, press the Reset button. The spa-side remote is
now configured.
Note: To configure the auxiliary buttons on the spa-side remote, refer to IntelliTouch
control system Installation and User’s Guide (P/N 521075)
ADDING MULTIPLE REMOTES TO INTELLITOUCH
®
CONTROL SYSTEM
Auxiliary LEDs
Reset button
1 button
Three System
Control LEDs
 Loading...