L1050069A
5
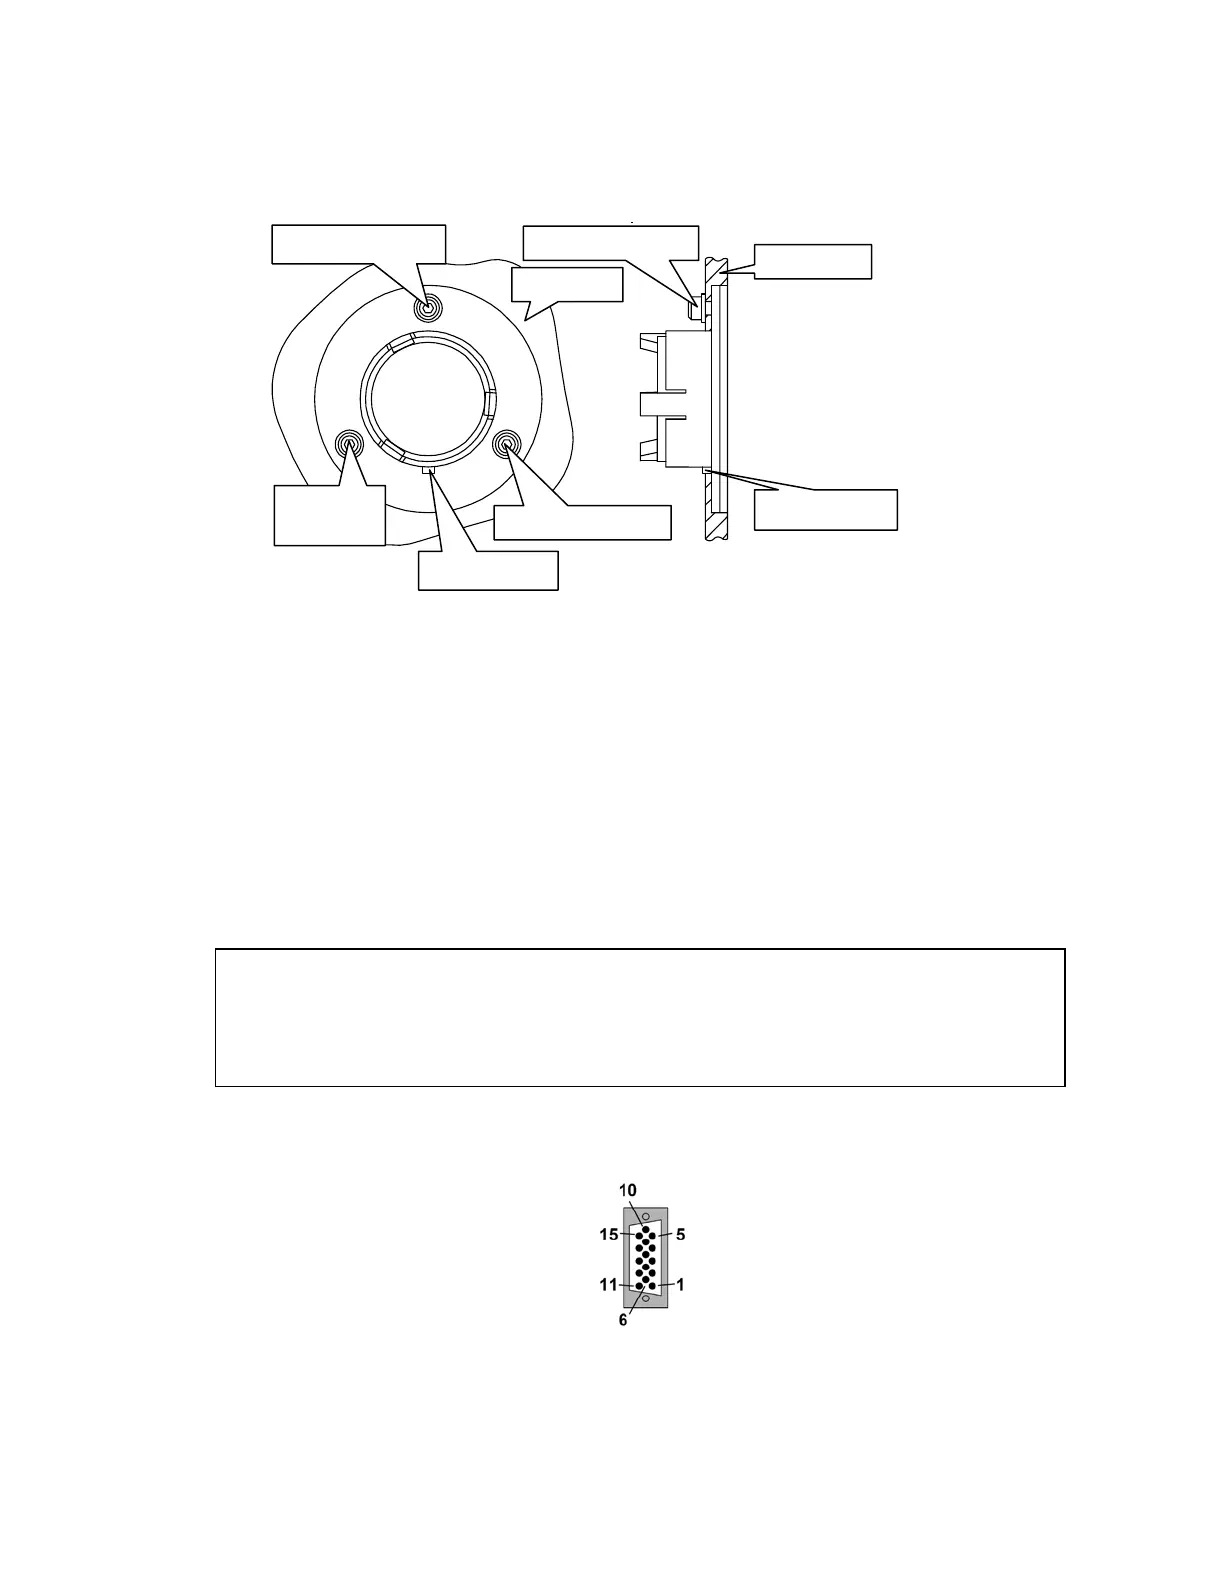
6. Fit the window to the main cover from the outside in.
Ensure the seal is fully seated and the key on the window lines up with the notch in the
main cover.
Figure 3 Window installed in main cover
7. Secure the window to the main cover by fitting the screws and washers and tightening
the screws using the hexagonal wrench (Figure 3).
8. Close and secure the main cover.
9. Plug in and switch on the instrument.
Fitting a Third-party Pre-amplifier and Detector to the
Instrument
The EXT.R socket on the instrument is a 15-Way High Density D-type. The connection is NOT
hot swappable.
Figure 4 EXT.R socket
CAUTION
You
ensure that you have switched off the spectrometer and
disconnected it from the mains supply before you fit any third-party
pre-amplifier and detector to the instrument.
Screw and Washer
Screw and
Washer
Notch and Key
Notch and Key
 Loading...