5.8.2 Seal replacement
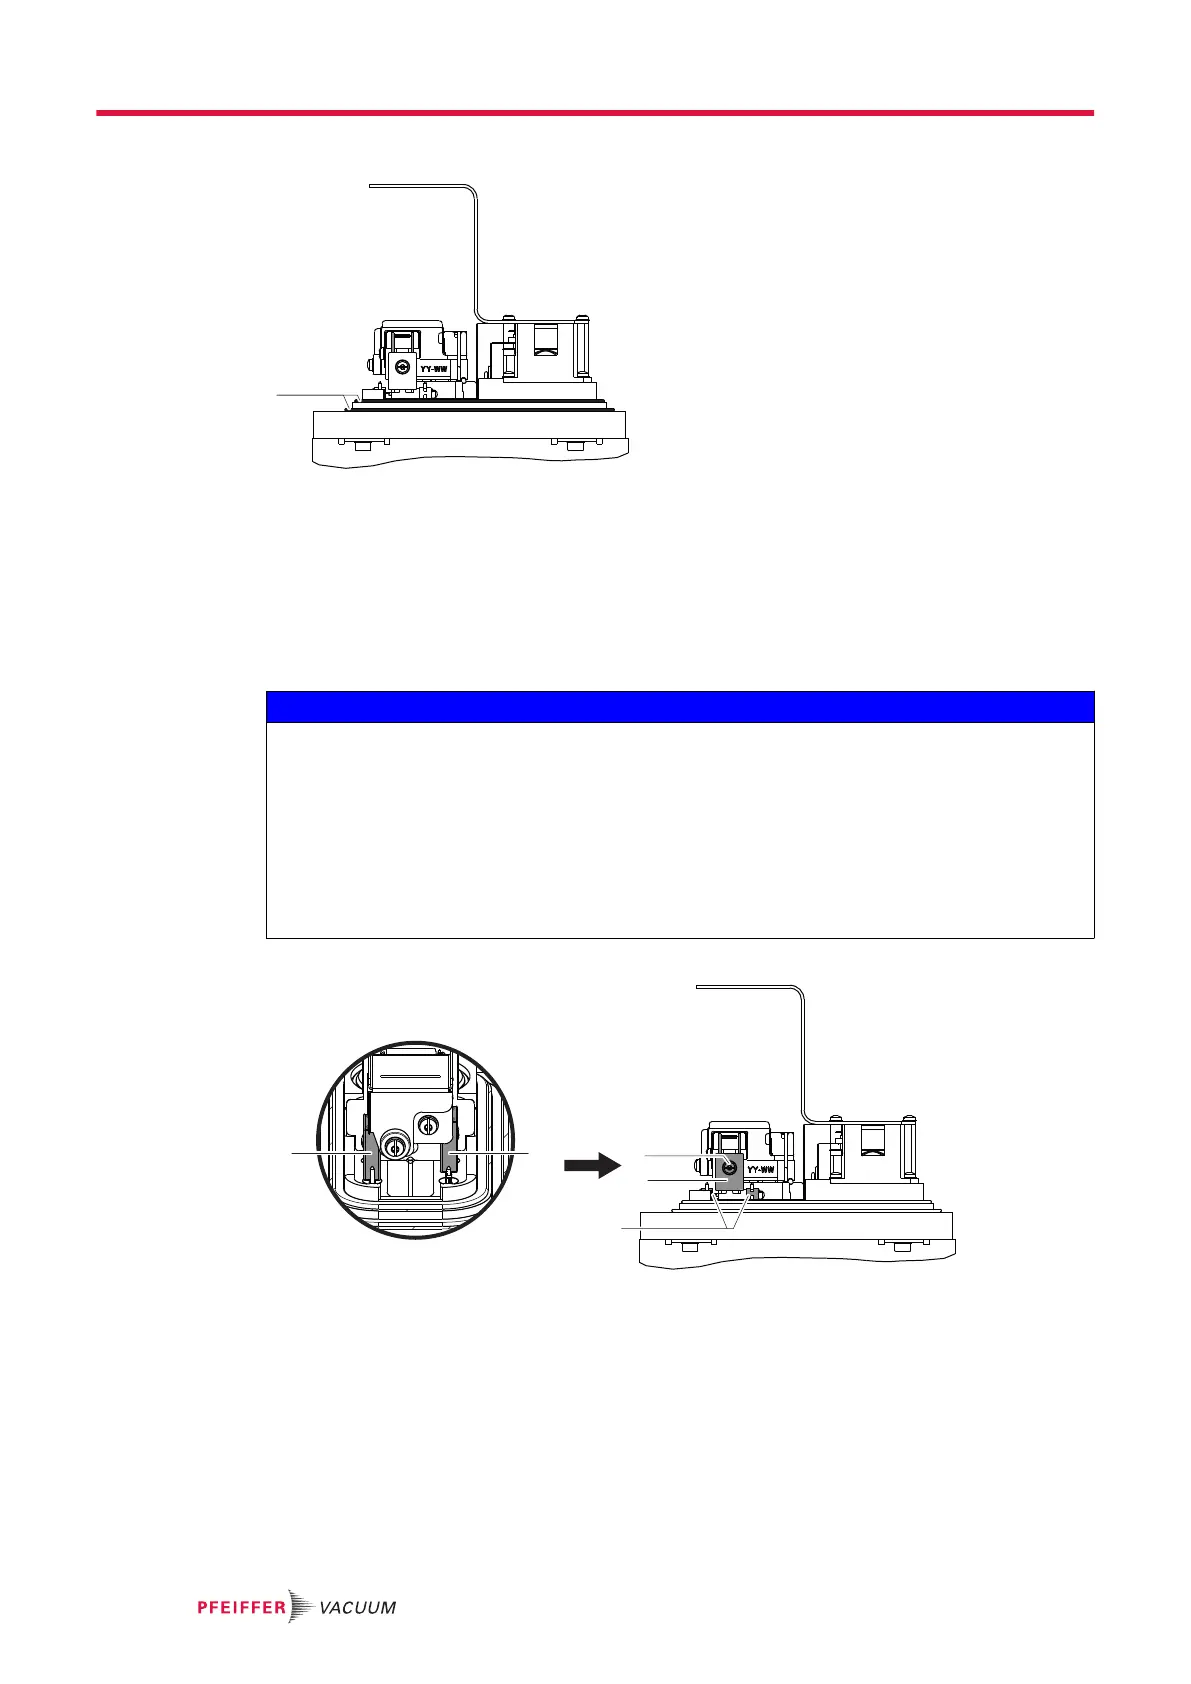
1 Seals
1. Remove the detector analyzer cell (see chapter “Disassembly/reassembly of the analyzer cell”).
2. Check the condition of the seals: change them if necessary.
3. Replace the 2 seals. Never lubricate the seals.
5.8.3 Filament replacement
NOTICE
Distortion of product performance due to damaged filament
The new filament has a white deposit on the surface.
With use, the white deposit oxidizes and turns black: this is normal.
Any contact with the filament may damage it.
►
Keep the filament in its protective box when it is not installed in the analyzer cell.
►
Do not touch the filament with your fingers (even with gloves) or any other object.
►
Do not clean the new or used filament with cloth or fingers.
►
Do not dust the filament with pressurized air or by blowing on it.
Disassembly
F1 Filament 1 1 Fixing screw and washer
F2 Filament 2 2 Fastening clips
1. Remove the detector analyzer cell (see chapter “Disassembly/reassembly of the analyzer cell”).
2. Remove the fixing screw and washer of the defective filament.
3. Remove the 2 fastening clips using flat pliers (2 new clips are supplied with the spare filament).
Service - Maintenance
20/36