i Repeat steps fto huntil you have given a
programme number to all TV channels you wish to
allocate.
j To stop the allocation, press the MENU button.
k To exit the main menu, press the MENU button.
Setting the time and date
DIf a TV channel which transmits Teletext/PDC is
stored under programme number ’P01’, time and
date will automatically be taken from the
Teletext/PDC information.
DThe next section ’Automatic setting of time/date
(SMART CLOCK)’ will show you how to turn ’SMART
CLOCK’ on and off.
a Press the MENU button on the remote control. The main
menu will appear.
b Select the line ’CLOCK’ using the =P r or ;P q
buttons and confirm this selection with the button
SqP .
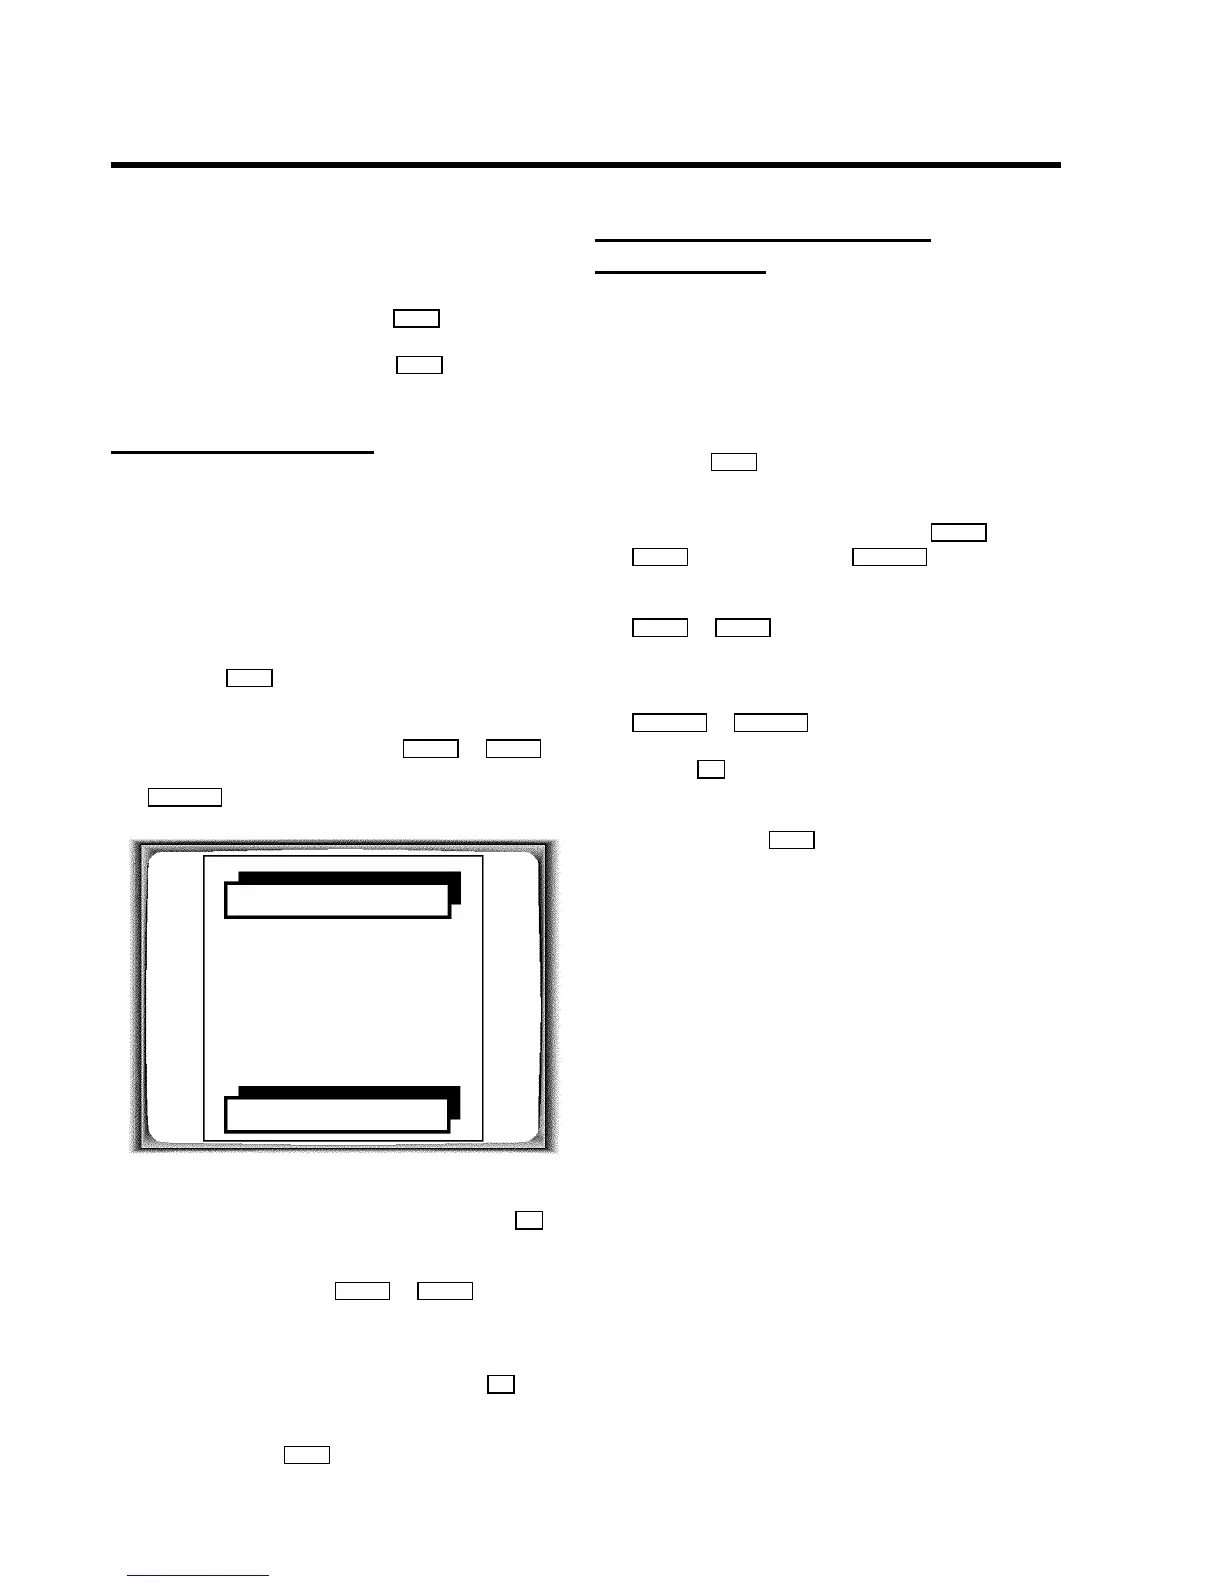
CLOCK
YEAR W 2001 X
MONTH 01
DATE 01
TIME 20:00
SMART CLOCK ON
… STORE: OK
†
c Check the year displayed in the line ’YEAR’. If required,
please change the year with the number buttons 0..9 on
the remote control.
d Select the next line with ;P q or =P r .
e Check ’MONTH’, ’DATE’ and ’TIME’ in the same way.
f When all information is correct, confirm with OK .
’STORED’ will briefly appear on the display.
g To end, press the MENU button.
Automatic time and date setting
(SMART CLOCK)
If a TV channel which transmits TELETEXT/PDC information is
stored under programme number ’P01’, the time and date are
automatically set by the TELETEXT/PDC information.
DThe time will automatically be adjusted to winter
time and summer time.
a Press the MENU button on the remote control. The main
menu appears.
b Select the line ’CLOCK’ with the button =P r or
;P q and confirm with the SqP button.
c Select the line ’SMART CLOCK’ with the button
=P r or ;P q .
d Select ’ON’ (SMART CLOCK switched on) or ’OFF’
(SMART CLOCK turned off ) ’using the buttons
QSr or SqP .
e Use the OK button to store this information.
’STORED’ will briefly appear on the display.
f To end, press the MENU button.
9