Alignments
EN 166 BJ3.1E LA8.
8.3.3 White Point
• Set “Active control” to “Off” as earlier described.
• Choose “TV menu”, “TV Settings” and then “Picture” and
put:
– “Dynamic contrast” to “Off”.
– “Colour enhancement” to “Off”.
– “Light sensor” to “Off”.
– “Clear LCD” to “On” where applicable.
– “Colour” to "0".
– “Contrast” to "100".
• Go to the SAM and select “Alignments”-> “Whitepoint”.
White point alignment:
• Use a 100% white screen as input signal and set the
following values:
– “Colour temperature”: "Normal".
– All “Whitepoint” values to: "127".
– “Red BL offset” and “Green BL offset” values to “8”.
In case you have a colour analyser:
• Measure with a calibrated (phosphor- independent) colour
analyser in the centre of the screen. Consequently, the
measurement needs to be done in a dark environment.
• Adjust the correct x,y coordinates (while holding one of the
White point registers R, G or B on 127) by means of
decreasing the value of one or two other white points to the
correct x,y coordinates (see table "White D alignment
values"). Tolerance: dx: ± 0.004, dy: ± 0.004.
• Repeat this step for the other Colour Temperatures that
need to be aligned.
• When finished press OK on the RC and then press STORE
(in the SAM root menu) to store the aligned values to the
NVM.
• Restore the initial picture settings after the alignments.
If you do not have a colour analyser, you can use the default
values. This is the next best solution. The default values are
average values coming from production (statistics).
• Select a COLOUR TEMPERATURE (e.g. COOL,
NORMAL, or WARM).
• Set the RED, GREEN and BLUE default values according
to the values in the "Tint settings" table.
• When finished press OK on the RC, then press STORE (in
the SAM root menu) to store the aligned values to the NVM.
• Restore the initial picture settings after the alignments.
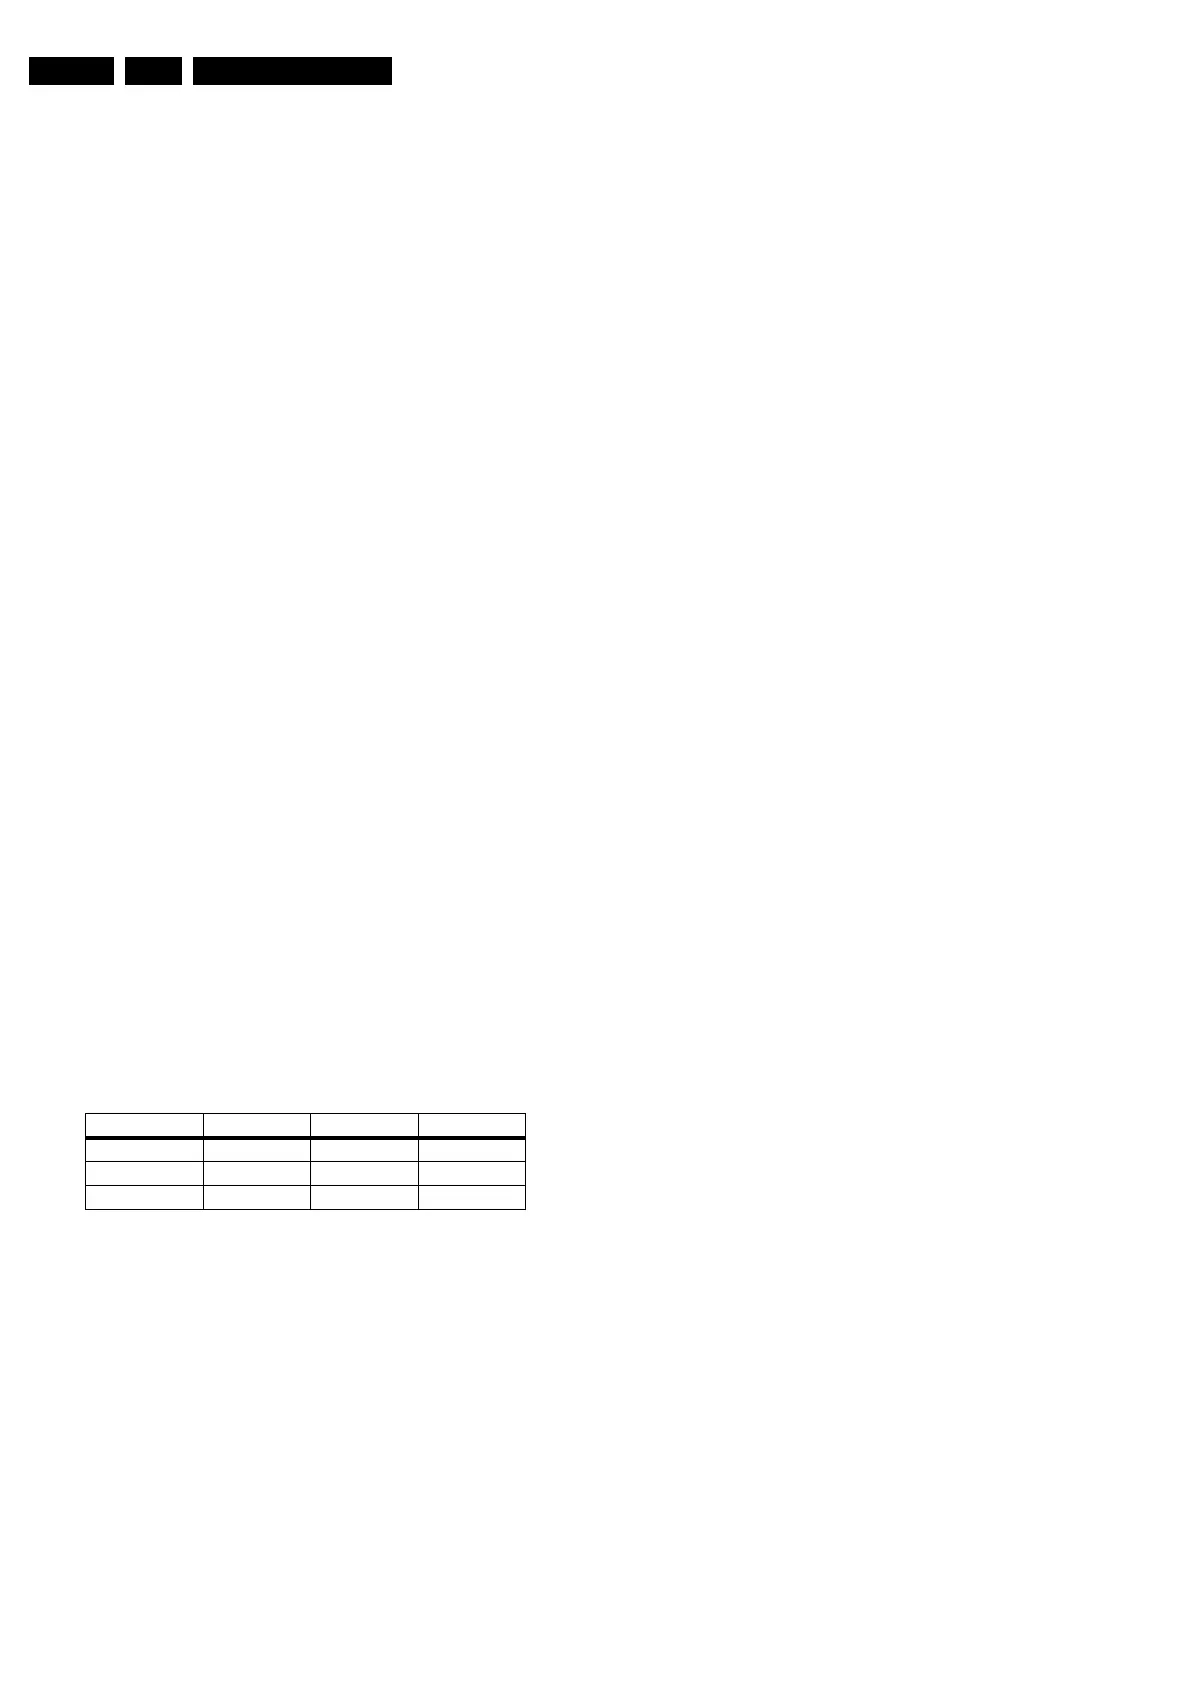
Table 8-1 Tint settings
Colour Temp. R G B
Cool 122 120 121
Normal 125 118 108
Warm 127 110 75



 To Next Page