16 17First steps First steps
Table of contents
Table of contents
Note
• The device switches itself o automatically if no key is pressed
within a pre-set period of time (see also chapter 9.3.4 AUTO-
OFF, page 49).
4.3 Initial installation process
The initial installation process starts when first using the device or
possibly if there has been a long interruption to the power supply. The
date and time entered are saved with each recording as the recording
time.
4.3.1 Select language
1
Use the + / – keys to select the display language you want.
2
Press the record key, g, to confirm.
Note
• Your language might not be available. Select an alternative one.
4.3.2 Set date & time
1
Press + / – to set the year.
2
Press b.
3
Press + / – to set the month.
4
Press b.
5
Press + / – to set the day.
6
Press b.
7
Press + / – to switch between the 12/24-hour system.
8
Press b.
9
Press + / – to set the hours.
10
Press b.
11
Press + / – to set the minutes.
12
Press the record key, g, to confirm.
Tip
• You can change the language, date and time at any time using the
settings menu (see also chapter 9.2.1 Select language, page 46)
(see also chapter 9.3.1 Set date & time, page 48).
4.4 Show recording and device information
1
Press the stop key in the stop mode (start-up screen) j.
a The display shows the properties of the selected recording:
Symbol for the storage location, recording date and time,
recording quality, recording length, and file size in megabytes.
b The display shows general device-related data: Date and time,
remaining recording time in the selected memory, firmware
version and serial number of the device.
2
Press the stop key j to return to the stop mode.
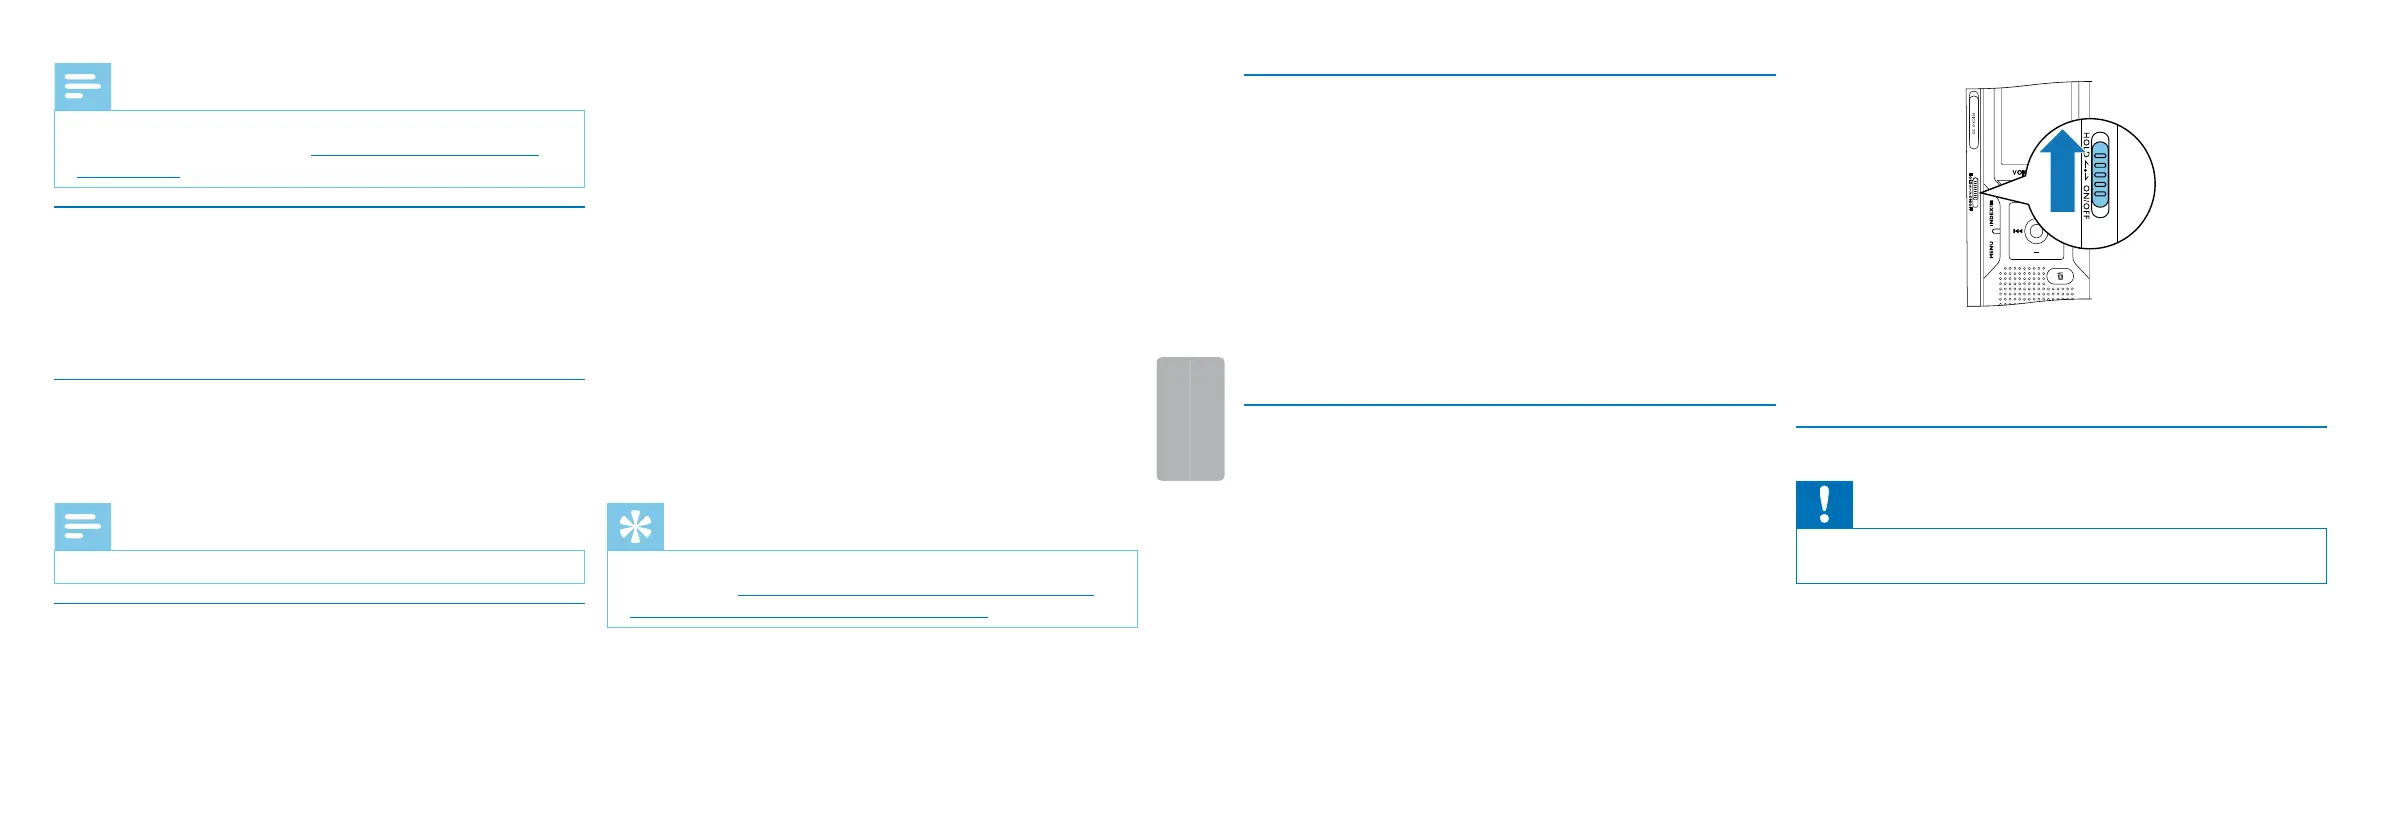
4.5 Enable/disable the keypad lock
The keypad lock deactivates all keys on the device. The timer function
of the device continues to function.
1
Slide the HOLD switch up into the HOLD position to lock the
keypad of the device.
X The display briefly shows ‘On Hold’ and turns o.
2
Slide the HOLD switch down to the O position to disengage the
keypad lock.
X The display briefly shows ‘O Hold’ and turns o.
4.6 Insert microSD card
Caution
• Do not remove the memory card while recording is in progress. If
you do this, data may be damaged or lost.
1
Flip the memory card slot cover to the side.
2
Insert the microSD card into the card slot with the contacts facing
upwards.