Page 30 E
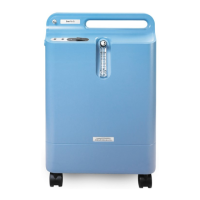
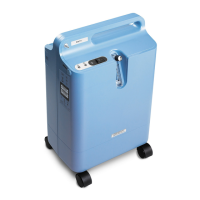
VERFLO
TM
SERVICE & TECHNICAL INFORMATION 1039055, VER. 06
2. Remove the blue hose running from the Compressor to the Sieve Canister Assembly by carefully cutting
the one-eared clamp.
3. Connect the Compressor blue outlet tube to the Test Fixture’s Barbed Tube Fitting Reducing Tee.
4. Install the Inlet Filter to the Compressor’s Inlet Boot.
5. If using Test Fixture Option 1, turn ON the flow meter.
6. Ensure is Compact Plastic Needle Valve is fully open.
7. Turn ON the EverFlo power switch.
8. Start the stopwatch.
9. Adjust Compact Plastic Needle Valve to achieve 20 psi pressure. (turning clockwise to increase pressure
and turning counter-clockwise to decrease pressure)
10. When time reaches 1 minute, observe and record LPM reading from Flow Meter.
11. Stop the stopwatch.
12. A reading ≥ 69 LPM indicates a “PASS” for the 0.44 compressor, a reading < 69 LPM indicates a “FAIL”.
13. A reading ≥ 63 LPM indicates a “PASS” for the 0.38 compressor, a reading of < 63 LPM indicates a
“FAIL”
14. If the Compressor failed, replace the compressor as per the Service Manual Compressor Replacement
instruction.
15. If the Compressor passed, continue to troubleshoot as per the System Verification Procedures in the
Service Manual.
VER
LO
OMPRESSOR
MODEL
OR
≤ 63.0 LPM indicates a “FAIL”
EverFlo Compressor-120V .44 (
MODEL
OR
≤ 69.0 LPM indicates a “FAIL”.
PRI Compressor model 1082141 (115, 60Hz and .38 stroke)
≤ 56.0LPM indicates a “FAIL”.
PRI Compressor model 1082142 (115, 60Hz and .44 stroke)
≤ 65.0 LPM indicates a “FAIL”.
GSE compressor (115, 60Hz and .45 stroke)
≤ 68.0 LPM indicates a “FAIL”.
 Loading...