2-2
2-2
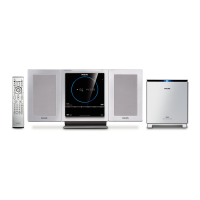
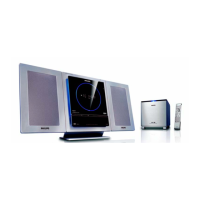
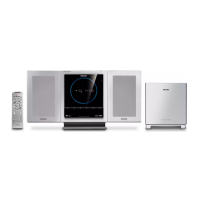
Service pos A
Figure 5
Dismantling of the PCB assemblies and modules
5) Loosen 3 screws I to remove the Power Board mounting
it to the Rear Cabinet as shown in Figure 5.
6) Loosen 2 nuts from D-SUB jack on the rear side of the Rear
Cabinet to separate it from the Rear panel.
Dismantling of the Subwoofer
1) Use the flat screw driver prize up 4 rubber pads as shown
in Figure 6.
2) Loosen 4 screws J to remove two subwoofer feet on the
bottom of the subwoofer as shown in Figure 7.
Figure 7
Figure 6
3) Loosen 10 screws K to remove the Subwoofer Output Pan
as shown in Figure 8.
Figure 8
Dismantling of the Subwoofer
4) Loosen 10 screws L to remove subwoofer bottom cover as
shown in Figure 7.