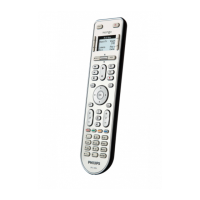
User Guide
17
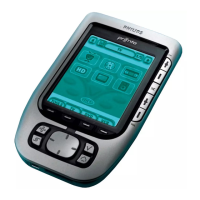
Installing the brand
1 Tap in the ‘Installing the Brand’ screen.
The first Page of the selected Device appears.
2 Tap different buttons to see if the device is responding to the IR codes
for the selected brand and code set.
3 Press the left hard button .
The IR codes for the selected brand and code set are installed.
-or-
Press the right hard button .
The ‘Code Set’ screen appears again without installing the code set.
4 Press the left hard button below the touch screen to exit
Brand Tool.
Selecting the Brand and searching the Code Set for your device
1 Press the left hard button below the touch screen for
3 seconds.
The Tools menu appears.
2 Tap Brand in the Tools Menu.
The ‘Brand Tool’ screen appears.
3 Tap in the ‘Brand Tool’ screen.
The Device Overview appears.
4 In the Device Overview, tap the Device for which you want to define
the brand.
The ‘Brand Tool’ screen appears.
5 Tap in the ‘Brand Tool’ screen.
The ‘Brands’ screen appears.
6 Select the brand of your device as described in “Selecting the brand”
on page 15.
Searching the code set
1 Tap in the ‘Code Sets’ screen.
The ‘Searching the Code Set’ screen appears.
2 Tap and point Pronto at the device.
The ‘Searching’ screen appears. Pronto searches through the list of code sets
for the selected brand, by sending out an IR code for each code set.
Customizing Pronto