15
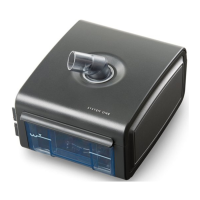
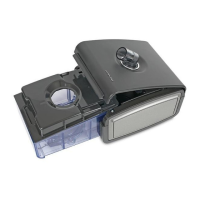
Humidifier Door Seal, Dry Box, Dry Box Seal and Inlet Seal
1. Open the humidier lid with the release lever, and then slide the water tank out of the humidier
enclosure.
2. Remove the dry box assembly by following the instructions under “Water Tank and Lid, Humid-
ier Door Seal, Dry Box Seal, Dry Box, Inlet Seal and Heated Tubing”. Be sure to remove the dry
box seal and inlet seal from the dry box assembly.
3. Remove the humidier door seal.
4. Wash the dry box assembly, humidier door seal, dry box seal and inlet seal by immersing each
in a solution of warm potable water and a mild liquid dishwashing detergent (such as Dawn
Ultra Dishwashing Liquid) and agitate for one minute. A ratio of 1 teaspoon of mild liquid dish
washing detergent per gallon (3.8 liters) of water is required. Rinse parts with potable water
for one minute.
5. Allow them to completely air dry.
6. Inspect the parts to ensure they are visibly clean. Repeat cleaning steps if necessary.
7. Reassemble the dry box seal, inlet seal and humidier door seal.
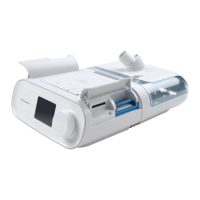
Heated Tubing
Clean the heated tubing before rst use and weekly.
IMPORTANT: For multi-patient use, complete the steps in the “Hospital and Institution
Disinfection” section before each new user.
1. Disconnect the heated tubing from the heated humidier. Refer to the “Disconnecting the
Optional Heated Tubing” section earlier in this manual.
2. Gently wash the heated tubing, including connectors, in a solution of warm potable water and
a mild liquid dishwashing detergent (such as Dawn Ultra Dishwashing Liquid) for 1 minute to
adequately remove adhering substances from the tubing and connectors. A ratio of 1 teaspoon
of mild liquid dish washing detergent per gallon (3.8 liters) of water is required
Note: Be sure to clean the entire inner surface of the tube by ensuring it is fully immersed in the
detergent solution during gentle agitation by hand.
3. Rinse thoroughly to remove all soap residue from the tube and connectors for 1 minute.
Rinse with at least 3 gallons (11.4 liters) of potable water.
4. Allow to air dry completely out of direct sunlight.
5. Visually inspect the tubing for cleanliness, including the connectors. Repeat the cleaning steps if
not visually clean.
6. Inspect the heated tubing for damage or wear (cracking, crazing, tears, punctures, etc.). Discard
and replace if necessary.