28 SUMMIT
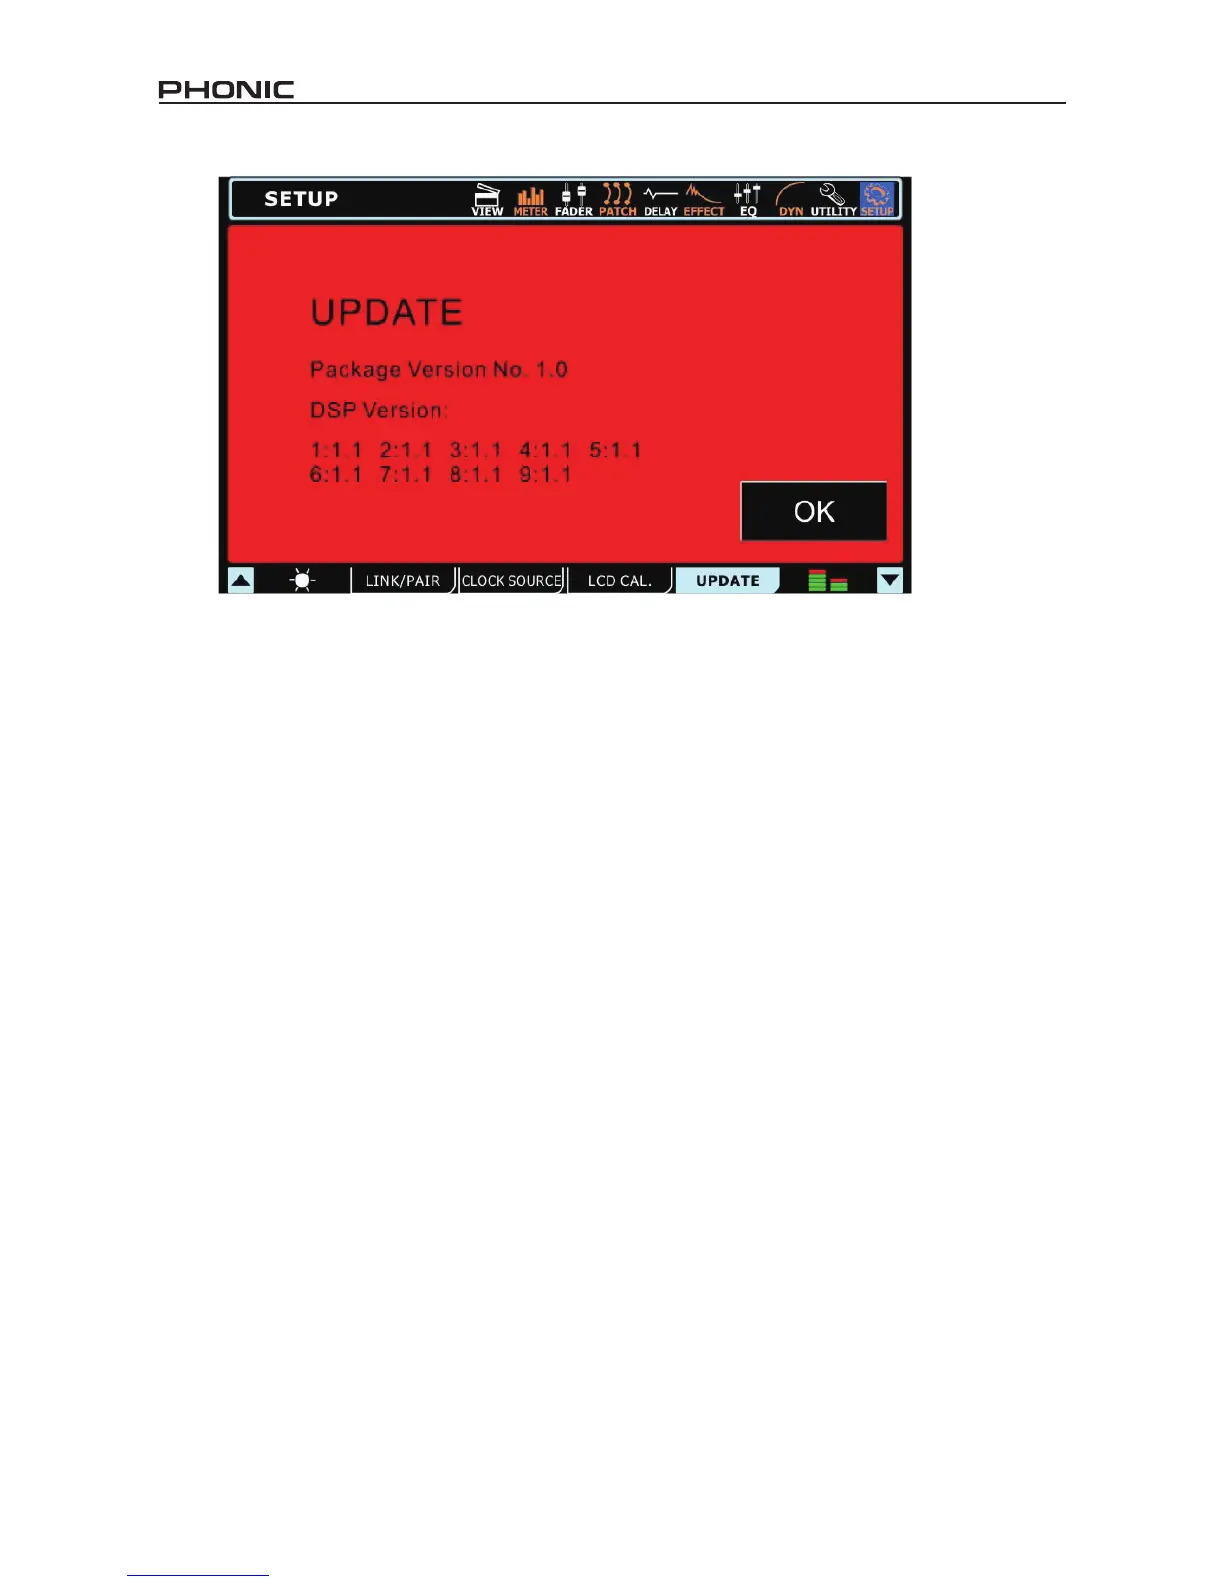
10.4 Update
The update function allows users to update the SUMMIT’s rmware to the latest version. This is done by inserting an SD card containing
the latest rmware update into the SD card slot on the rear of the mixer, then selecting the Update tab. Be sure to check your current
version before updating to avoid updating to an out-of-date rmware version.
WARNING: Do not power off the SUMMIT when in the process of updating the rmware. Doing so will render the unit virtually useless,
unless you perform a system restore.
System Restore
In the event that starting up your SUMMIT becomes impossible due to corruption of one or more of the DSPs, there is a relatively simply
way to get it up and running again. First, visit www.phonic.com to download our SUMMIT System Restore Software. Place the software
on a blank SD card. Ensure the card is otherwise blank – it is important that the Restore Software is the only le on the card. Place the
SD card into the SUMMIT’s SD card reader and turn the system on. The unit should automatically restore itself, although startup may
take a minute longer than usual.
How Do I…
…Connect an instrument or microphone?
Users are able to use the XLR or 1/4” inputs on the front of the mixer to connect their various devices. To do so, use an appropriate XLR
cable or 1/4” TRS (balanced) cable. Microphones are typically connected via XLR connectors, while instruments like guitars can be connected
via 1/4”. If connecting low impedance devices like guitars to the SUMMIT ensure you push the PAD button to attenuate the signal.
If you are using a microphone that requires phantom power, be sure to turn on the appropriate Phantom Power switch, found on the
back. Remember that phantom power is grouped, so activating one of these groups will add phantom power to all of the XLR inputs in
the corresponding channels.
…Set channel levels?
With level meters on each and every input channel, setting your levels is a cinch. Go into the view menu and bring up your channel’s
properties. You may want to set the meter to “INPUT” so you can get a better idea of input levels only. Produce a signal through this
channel (for best results, play the instrument or sing/talk into the microphone at the normal level) and check the incoming levels. For best
results, adjust the gain control (and push in the PAD button, if necessary) so that the level meter sits below the -10 dB mark, occasionally
peaking up to about -5 dB. It is best if the signal does not go much higher than this.
…Send a channel to my main mix?
After setting your levels, it should be as simple as pushing the “ON” and “TO MAIN” buttons.
…Adjust the onscreen controls?
Okay, selecting a menu and turning the channel on and o is easy enough – but what about these rotary controls? To adjust these, simply
select them onscreen (as you would the on/o buttons), then use the SUMMIT’s large jog wheel to adjust the value. As you would expect,
clockwise will increase the value, while anticlockwise decreases the value. The onscreen faders are adjusted the same way.
…Monitor a signal?
There are a number of ways to monitor a signal using the SUMMIT. The easiest is of course to solo the signal by pushing the SOLO
button in the channel’s View screen. This will immediately send the signal to your Control Room and Headphones mix. However a
normal solo will cut the signal sent to your Main mix. If you do not wish for it to do so, go into the Control Room View menu section and
set the Solo to “SOLO SAFE”.